
Leaderboard


Popular Content
Showing content with the highest reputation on 08/22/2024 in all areas
-
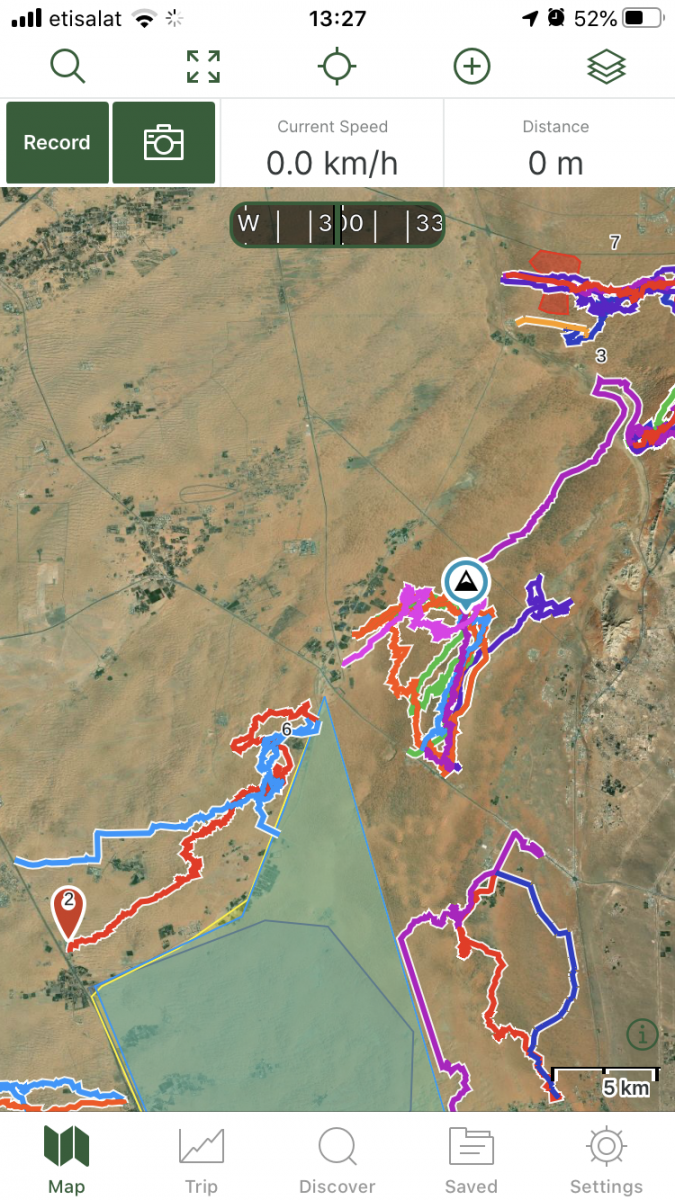
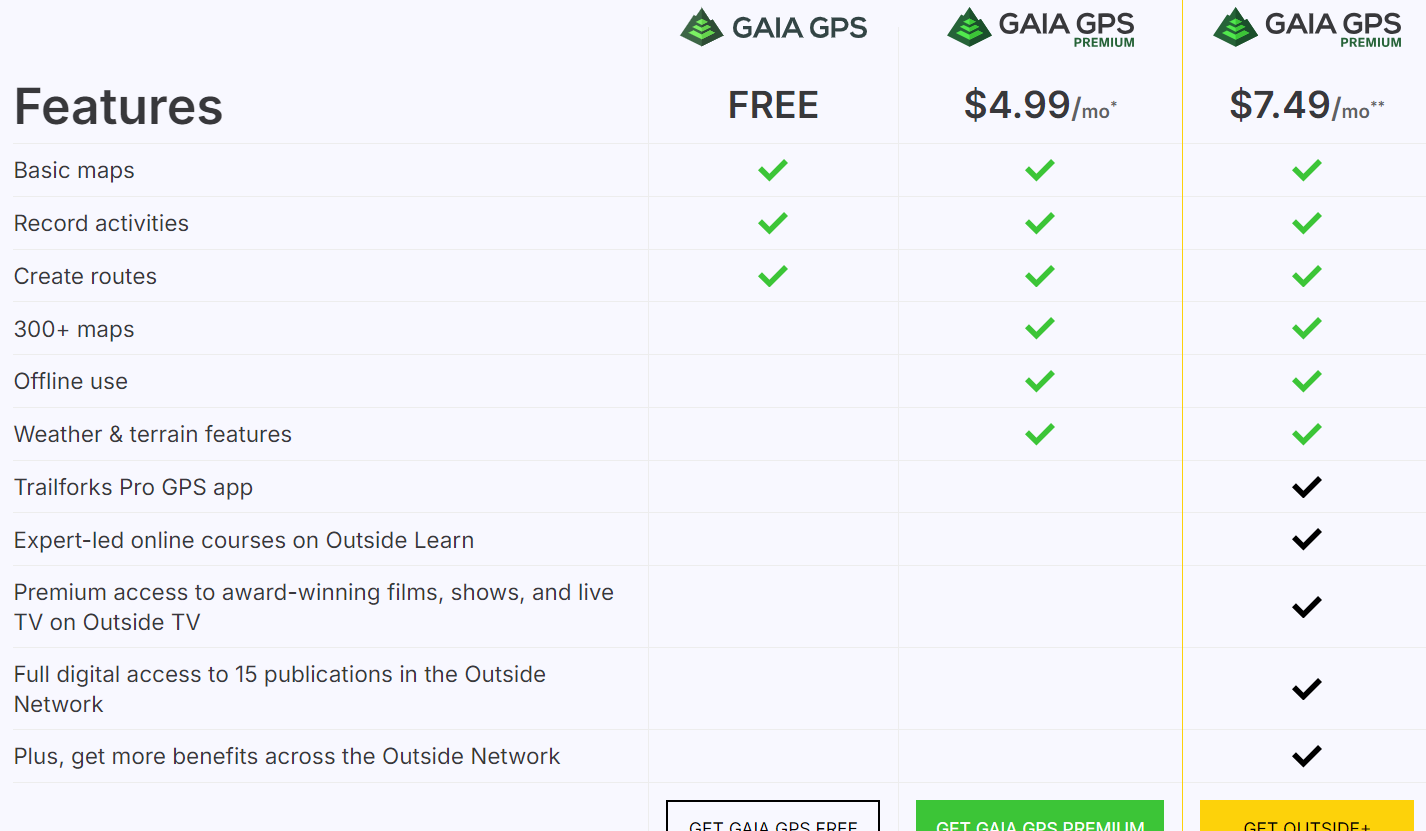
For many offroaders, navigation looks like a scary thing, and finding your way in the desert used to be a daunting task with old obsolete maps, navigation with sun or stars, and many other old tricks of crossing the deserts. Until 5-6 years ago, companies like TomTom and Garmin were ruling the world navigation software and hardware, until our phones became smarter and smarter, and nowadays there are tons of free or paid navigation software programs available which are tailored for hiking, off-roading, cycling, or other outdoor activities where you would like to record your tracks. In this post i will give some basic essential advice on how to get started with navigating by using GaiaGPS, which is an amazing app that allows you to: 1) Create routes at home via your desktop/tablet through the GaiaGPS website. 2) Use different types of maps like topographic maps, sattelite maps, to find your perfect route you'd like to explore. 3) Save and manage all your tracks, waypoints, areas. 4) Automatically sync all this data with the GaiaGPS Mobile App that is being used to record your track or follow the route you have created beforehand. 1) Registering for GaiaGPS account https://www.gaiagps.com/membership/ You can choose for a FREE account, which works fine for basic topographic and satellite maps, but will not allow to use them offline. The PREMIUM membership is recommended for around 60USD per year. The Outside+ subscription is useless as this is mostly for US based customers. Their Trailforks Pro App is very similar to Wikiloc. Once you have become a member, you can head over to Gaiagps.com, login with your account name, and have a look at the basic functionalities. I've posted a short video below that gives a small demo on how to use the GaiaGPS website functionalities. As you can see in the screen, there are many tracks i've recorded with my phone that remain saved in the website. You can remove these or hide them. The red zones i have marked are called "areas" where you can identify tricky areas that you would like to avoid. They will appear on your phone app as well so you can easily avoid them. Waypoints Waypoint, or pins, could be points of interest, landmarks, entry and exit points, or any place where you want to mark the location and save for later reference. They will appear as a "pin" on your map. You can assign a color to them as you like. This might be useful as you can categorize them. Next to the classic PIN icon, you can choose different other ones, like fences, skulls, forest, or anything that will help you in identifying the waypoint. Satellite Images Having crisp detail in the satellite images you are looking, is essential so you can create a route which focuses on the nice bigger dunes instead of the small technical or bushy areas. Gaia comes standard with the Mapbox "Sattelite with Labels" Imagery which is not bad, but the best one i have found so far is the ESRI Sattelite Imagery Map. Below you will find some information on how to add custom maps. The map called "WORLD IMAGERY" in the Premium version is the same as the ESRI Sattelite Imagery Map. Which phone ? Gaia GPS will work on any smartphone that has a decent GPS antenna built-in. In my case i purchased a separate dedicated Android phone which is mounted in my car that i solely use for navigation. This allows me to keep using my own phone as backup device. That dedicated phone has the offline maps downloaded on it, so i don't need cellphone coverage (no sim card). App functionality On an Iphone, this is how the app looks like. The buttons like "RECORD" and "PICTURE" are customizable, and by keeping your finger on it you can select something else you would like to see on the home page. The Magnifying Glass allows you to enter coordinates. You can copy them from within Google Maps. this button toggles between full screen or normal screen. The crosshair button is very important. Click on it once and it will appear green and bring you to your live location and follow you while keeping NORTH up. Click on it again and another logo appears, looking like two reversed triangles. This is the mode that keeps your live location but constantly rotates the map based on your direction. You can experiment with both modes to see what suits you best. I like to stick to the first mode because it allows me to see in which compass direction i am heading. The + Button contains all your other useful functionalities, like adding a waypoint, creating a route, download an offline map, or create an area. Once you hit the record button, the app will start recording your track. Once you finish, click again on it and select "Finish Track" It will then be saved. (and also appear on your GaiaGPS website once you have synced). On the bottom, you can see your trip details, open the list of saved tracks, or go to your settings. Note: In the settings you can put your units/distances in miles or kilometers (whatever you prefer). You can also enable or disable the autosync function, but better to keep it on. So as soon as you have Wifi/Internet on your phone it will automatically sync your tracks between the app and your GaiaGPS account (website). These things will take a bit of practice, and i can recommend you use your Gaia mobile app for a while on your daily commute and experiment a bit with the settings until you have tailored it to your own needs. Exporting Maps Most navigation software use .gpx or .kml files which you can import in Google Earth / Maps or any other navigation program. On the GaiaGPS website, and also on the app you can choose to "export" your track. It will create a .GPX file that you can share with fellow offroaders or import in the Relive app Adding Custom Maps Adding a TMS Map Source – Gaia GPS for the GaiaGps app users, the Google Maps like Satellite, Terrain, or Hybrid, are not standard built in, but can easily be added by using the GaiaGps website. This is the procedure to add for example Google Terrain. 1) While logged into Gaiagps.com, add a custom map source via TMS here: https://www.gaiagps.com/mapsource/add/ 2) Fill in this TMS URL to get Google Terrain: https://mt0.google.com/vt/lyrs=p&hl=en&x={x}&y={y}&z={z}&s=Ga 3) Give it the name "Google Terrain" 4) Set the Min and Max Zoom level on 4 and 19. 5) Click on "Add this Map Source" The next time you will login it will appear in your mobile app. Some other map links. To add them, follow the same steps as above: Google Maps: https://mt1.google.com/vt/lyrs=r&x={x}&y={y}&z={z} Google Satellite:https://www.google.cn/maps/vt?lyrs=s@189&gl=cn&x={x}&y={y}&z={z} Google Satellite Hybrid:https://mt1.google.com/vt/lyrs=y&x={x}&y={y}&z={z} Google Terrain:https://mt1.google.com/vt/lyrs=t&x={x}&y={y}&z={z} Google Roads:https://mt1.google.com/vt/lyrs=h&x={x}&y={y}&z={z} ESRI Sattelite Imagery:https://server.arcgisonline.com/ArcGIS/rest/services/World_Imagery/MapServer/tile/{z}/{y}/{x} Open Topo Maps: https://a.tile.opentopomap.org/{Z}/{X}/{Y}.png Others can be found here: Folder: / (arcgisonline.com) 15 Free Satellite Imagery Data Sources - GIS Geography


 1 point
 -
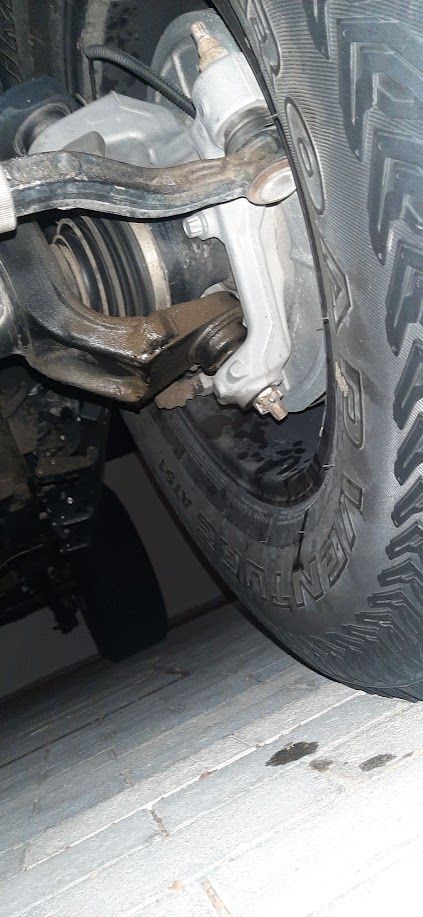
Good luck! I had to drop mine in the garage too... axle seal leak I think... 🤦♂️
 0 points
This leaderboard is set to Dubai/GMT+04:00