-
5.0 Stars ⭐⭐⭐⭐⭐ 628 Google Reviews

Frederic
-
Posts
9,090 -
Joined
-
Last visited
-
Days Won
460 -
Country
Belgium -
Carnity Points
4,082 [ Donate ]
Content Type
Profiles
Forums
Advice
Business Listing
Car Deals
Recall
OBD II Car Diagnostics
Guest lead capture
STORE
Events
Gallery
Blogs
Everything posted by Frederic
-
Pacific has been promoted to Intermediate level
Frederic replied to Gaurav's topic in Off-Road Club's Announcements
Congrats @Pacific ! -
Wade Pat2 has been promoted to Fewbie level
Frederic replied to Gaurav's topic in Off-Road Club's Announcements
Congrats @Wade Pat2 !! -
Taufique Surve has been promoted to Fewbie level
Frederic replied to Gaurav's topic in Off-Road Club's Announcements
Well deserved @Taufique Surve ! see you soon in the sand ! -
Abdul Rahman AK has been promoted to Intermediate level
Frederic replied to Gaurav's topic in Off-Road Club's Announcements
Well done and congrats @Abdul Rahman AK ! -
UPDATED: Carnity Radio Frequencies
Frederic replied to Frederic's topic in Off-Road Club's Discussions
Thanks and yes indeed. The Channel 5 frequency was the very first frequency we used in the club. The frequencies we added later on are the PMR446 license free channels which you can find on wikipedia as well. -
UPDATED: Carnity Radio Frequencies
Frederic replied to Frederic's topic in Off-Road Club's Discussions
Hi Mario, the new channels are on 6.25 as well, but let me reiterate a little bit on that, sorry if it becomes a bit technical here below: If you put your Radio in VFO mode (this the manual mode where you can type in any frequency), you can with turning your rotary dial on the top of the radio (for example Motorola MT777) go up or down in steps. This is the so called step frequency. Most of us are using the channel mode in which your rotary dial knob goes through the programmed channels, so that step frequency is not important. However in some model radios, if you want to program a certain frequency, it will not always accept a certain frequency that is located in-between two "steps", hence we used to provide the step frequency as well. The reason that frequencies have steps is because of how FM (Frequency Modulation) works: When you are broadcasting on a frequency for example 446.00625, you will be in fact broadcasting in-between 445.986 and 446.026. This is a 20Khz wideband bandwidth. And this is also the main reason why our carnity frequencies are not randomly chosen, they are selected to make sure there is enough room in between the channels so there is no interference. Compare it with Sheikh Zayed road which has 6 lanes. The white lines that represent each lane have a certain width, or bandwidth. As long as you remain in your lane you will not interfere with others. The width of the lanes are chosen to accommodate vehicles from different sizes like lorries, SUV's, or sedans. The 20Khz bandwidth is basically the width of each lane, as our radio transmit our voices over this width. I hope i did not give you a headache now
-
Sharing with you guys a very valuable DSLR Crash course, totally suited for beginners: The+DSLR+Crash+Course.pdf
-
UPDATED: Carnity Radio Frequencies
Frederic replied to Frederic's topic in Off-Road Club's Discussions
To all Carnity members. Please take note of these additional channels and program them into your radio ASAP. Thanks !- 9 replies
-
- 13
-

-

-

-
How to disable driver airbag on Pajero
Frederic replied to Paolo Pellegrini's topic in Mitsubishi Pajero Forum in UAE
Hi Paolo, the only way would be to remove the airbag fuse. -
Hi @BipinM thanks for the reply. No worries you can bring along someone if that helps you for the session.
-
untilDrive Details Level: Newbie and Above (All Levels) When: 28 May 2021, Friday. Meeting time: 5:00 AM (SHARP - Without any exceptions) Meeting Point: - https://goo.gl/maps/RdTqkKaqUjgQYbx56 Type of Car: Any proper 4x4 with front and back tow hooks and 8-10 inches of ground clearance. What to bring along: Loads of water, snacks (for yourself), smiles, face mask, rubber gloves, enthusiasm and willingness to learn. Approximate finish time: 9:00 AM End Point: Sweihan ADNOC Station
-
Join us to explore Sweihan Desert in Abu Dhabi and learn the art of offroading in a versatile playground for your first off-road adventure. You will learn to self-drive your vehicle from experts having decades of off-roading experience in the UAE. This area offers a good mix of playable long set of dunes and broad ridges to test your off-road control. Drive is open for all 4x4/4WD/SUV/AWD vehicles having 8-10 inches of ground clearance and (MANDATORY) Front and rear tow hooks (MANDATORY) What you'll learn: Introduction to off-roading. Desert driving basics and etiquette. Desert driving tips, techniques, myth and best practices. Off-road and safety gear familiarization and recovery procedures. Vehicle orientation, risk analysis, deflation and outdoor safety advice. First time with Carnity Off-road Club: Please share your vehicle details - Make, Model, Year. Do you have any prior off-road experience? Confirm your vehicle has front and rear tow hooks / eyelets. Why should i join? We will teach you how to self-drive off-road safely and learn the best offroad driving and recovery techniques. If you have already driven in sand before then you can learn more from experts having decades of offroading experience in the UAE. This area offers a good mix of playable long set of dunes and broad ridge to test your off-road control. Can my vehicle do this ? This drive is open for all 4x4/4WD/SUV/AWD vehicle having 8-10 inches of ground clearance and front and rear tow hooks. If in doubt please first announce your questions on the drive thread so we can advise you further. Any stock 4x4/4WD are most welcome, you don't need any vehicle modifications. Can i bring passengers ? Yes of course, but if you are absolute new to offroading it is better to drive alone first to avoid any distractions. Learn More About: Carnity Off-road Club This drive is organized in full compliance with the COVID19 guidelines. We expect every member that joins this drive to go through below information and and strictly follow these guidelines in order not to jeopardize someone's health, and to ensure we can keep organizing these drives safely. MUST READ AND TOTALLY AGREE: COVID19 Precautions MUST READ AND TOTALLY AGREE: BAN POST Two Way Radio Guidelines Every Offroader brings his own radio, programmed to the frequencies described in below advice topic. We will not share spare radios or program your radio on the drive. If you need assistance in programming the radio, post a topic on the Carnity website with your questions and we will help you out. Make sure your radio is fully charged. It will be your only way of communication while driving. Before buying, please carefully read below advice so you are informed properly on which model / cost / shops... No radio = No drive. It is an essential tool and you should make sure you bring it on every drive and learn/practice how to use it. MUST WATCH: NEWBIE VIDEO BRIEFING Drive Details Level: Newbie and Above (All Levels) When: 28 May 2021, Friday. Meeting time: 5:00 AM (SHARP - Without any exceptions) Meeting Point: - https://goo.gl/maps/RdTqkKaqUjgQYbx56 Type of Car: Any proper 4x4 with front and back tow hooks and 8-10 inches of ground clearance. What to bring along: Loads of water, snacks (for yourself), smiles, face mask, rubber gloves, enthusiasm and willingness to learn. Approximate finish time: 9:00 AM End Point: Sweihan ADNOC Station LIMITED SPOTS AVAILABLE: Limited to 15 cars only. RSVP will close on Thursday - 9 AM. 1 Lead Marshal + 1-2 Senior Members + 12 Members. If the RSVP is full and you wish to join, please mention your name on the drive thread to add on the waiting list. Latecomers will be returned back - without ANY EXCEPTIONS. Members without RSVP will be returned back - without ANY EXCEPTIONS. Please withdraw your RSVP, if you aren't joining, so your spot can be taken by others. Repeated no-show members after RSVP will have their account suspended for a month. PLEASE RSVP ON THE BELOW CALENDAR EVENT


-
Copying the previous session post from Mikhail as introduction here: Hello everyone! Thanks for joining us! Just a small clarification to new members that this is NOT an offroad drive, but a meetup session where everyone brings their camera and where we will practice astrophotography. We will however have to deflate and drive for 10mins off-road to reach our destination where we will do the session. Since we are going to take some moon photos, we need to have some basic equipment with us. If you do not have something, probably, you will not be able to get desired result. However, equipment list is very basic: 1) tripod suitable for your camera. There is no need to have an expensive tripod, however, if your camera and lens is heavy, a sturdy tripod would be handy. 2) DSLR or mirrorless camera. If you do not have one, you can try to shoot with a simple point and shoot camera or phone, but lack of settings could be an issue. If you have a camera but not sure if it is suitable or not, feel free to ask here! 3) You kit lens, or if you have a zoom lens, even better ! 4) fully charged battery for your camera. 6) red light headlamp. Red light helps a lot operating your camera and not overstressing your eyes That's it! Preparation plan: We will be mostly using the Manual mode on the camera. We would advise to have a look at your camera's operating manual beforehand so you are comfortable how to switch over to Manual mode and find the settings that you will need to experiment with: 1) ISO setting. 2) Shutter Speed. 3) Aperture Setting. We will be practicing with various settings and helping you out to determine what works best as per your camera, lens, and personal preferences. The main aim is to learn from each other and enjoy the beautiful scenery and tranquility at night, hence we would ask all members to respect the silence and not to disturb others by driving around with the 4x4 during the session, using bright flashlights, or shouting. Small request to the members who have not joined a Photography session with us yet. Can you please let us know which model of camera and lenses you have, and if you have some experience in using the camera in manual mode ? This will help us in preparing for the event. @varunmehndiratta @Srikumar @BipinM @Hisham Masaad @Zed @Joseph Sebastian @Jamil Abou Assali Waitlisted members in Chronological order: 1) @Zed 2) @samamara 3) @Joseph Sebastian 4) @Ranjan Das 5) @Hisham Masaad 6) @Jamil Abou Assali
-
Wadi driving is perfectly possible with the Geolandars. Deflate to around 25psi and you’ll be fine. Stick to the 265 size. 275 might start rubbing the fenders and will only weigh more which to be avoided.
- 3 replies
-
- 1
-
-
- pajero swb
- tyres
- (and 1 more)
-
Drive Report Well done @Ahmed MATAR @Joshua Thibodeaux @Taufique Surve ! The Sweihan dunes are impressive terrain for members who are relatively new to the off-road world, but you guys rocked on and we had some good fun this morning. A big thanks to @Jeepie and @Wrangeld for the support in the back, as they were on their second drive in the last 24 hours, which is in this heat not evident. @Chaitanya D his Xterra felt like taking a day off today unfortunately, and it's a shame you guys did not have a taste yet of his fantastic lead but no doubt all of us will be back in AD soon to taste those dunes again and do some exploration. Stick around guys as we Dubai peeps are totally in love with the Abu Dhabi terrain. See you soon !
- 20 replies
-
- 6
-
-
-
-
- newbie
- desert drive
- (and 2 more)
-
How to disable driver airbag on Pajero
Frederic replied to Paolo Pellegrini's topic in Mitsubishi Pajero Forum in UAE
Although we indeed always recommend to disable the airbags on 4x4 vehicles, this also depends on the type of vehicle. The main sensitive thing are the curtain airbags which are connected to inclinometer sensors and might trigger to go off when criss crossing over a dune. Especially on more electronics equipped cars like the Landrover LR3 and LR4, Defender, Ford Expedition and Explorer, etc.. In the case of a Pajero where your model does not have curtain airbags you are only left with the frontal steering wheel airbag which is not prone to ever eject during desert driving and from what i see i do not think anyone ever disables this. If anything at all it would protect you during a severe frontal impact. -
Private drive incident
Frederic replied to Thomas Varghese's topic in Off-Road Club's Offroad Drives
What happened ? -
Great snap !
-
I wrote a topic on this matter: To make a long story short, 4H uses the viscous coupling inside the transfer case to regulate the ratio power going to front and back wheels. This will be around 30% to the front and 70% to the back wheels on most cases. But this ratio can change anytime based on the terrain and torque needed. Its a pretty smart system and works well. 4HLC will lock the center differential, so the car splits the power on a 50/50 ratio permanently. Which can give an improvement on difficult terrains, but not necessarily. Up to you if you want to experiment with both options in the sand, but i do not believe this is related to overheating.. Toyota FJ Cruiser has Torsen differential which works also on torque-sensing technology. I am not sure how different it is from the 4WD select Mitusbishi technology. Xterra does not have this, their 4H locks the front and rear on a 50/50 basis just like 4HLC.
-
Nice ! Your Nikon has 24MP you can probably crop it a bit more without losing too many pixels. My zoom lens is budget too, the Sigma 70-300 is probably my least loved lens as it has no O.I.S so it’s basically useless unless you put it on a tripod and use the 10 seconds delay timer to avoid the camera lens from shaking when i push the release.
-
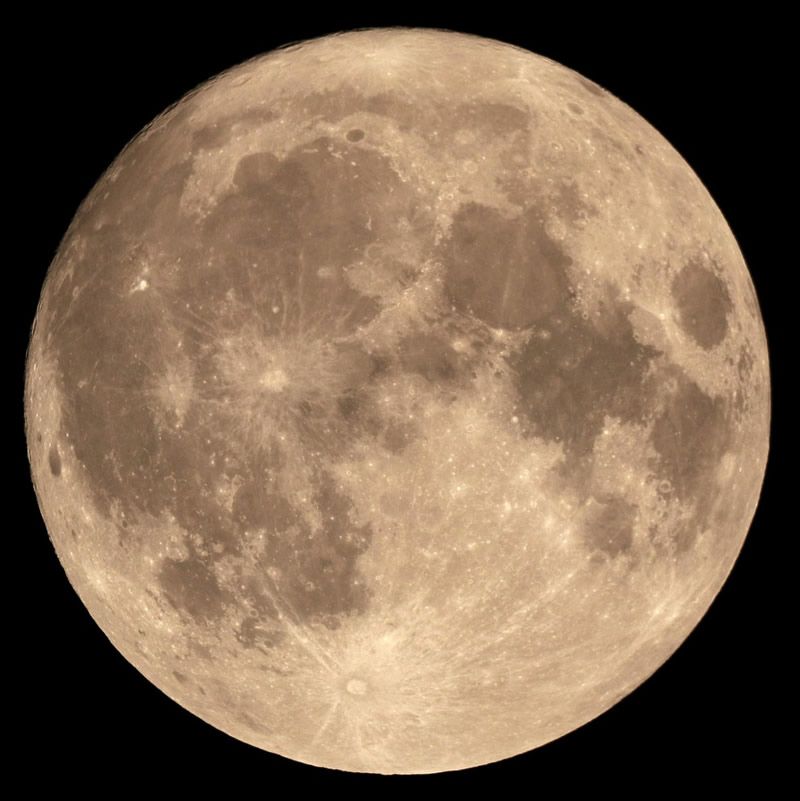
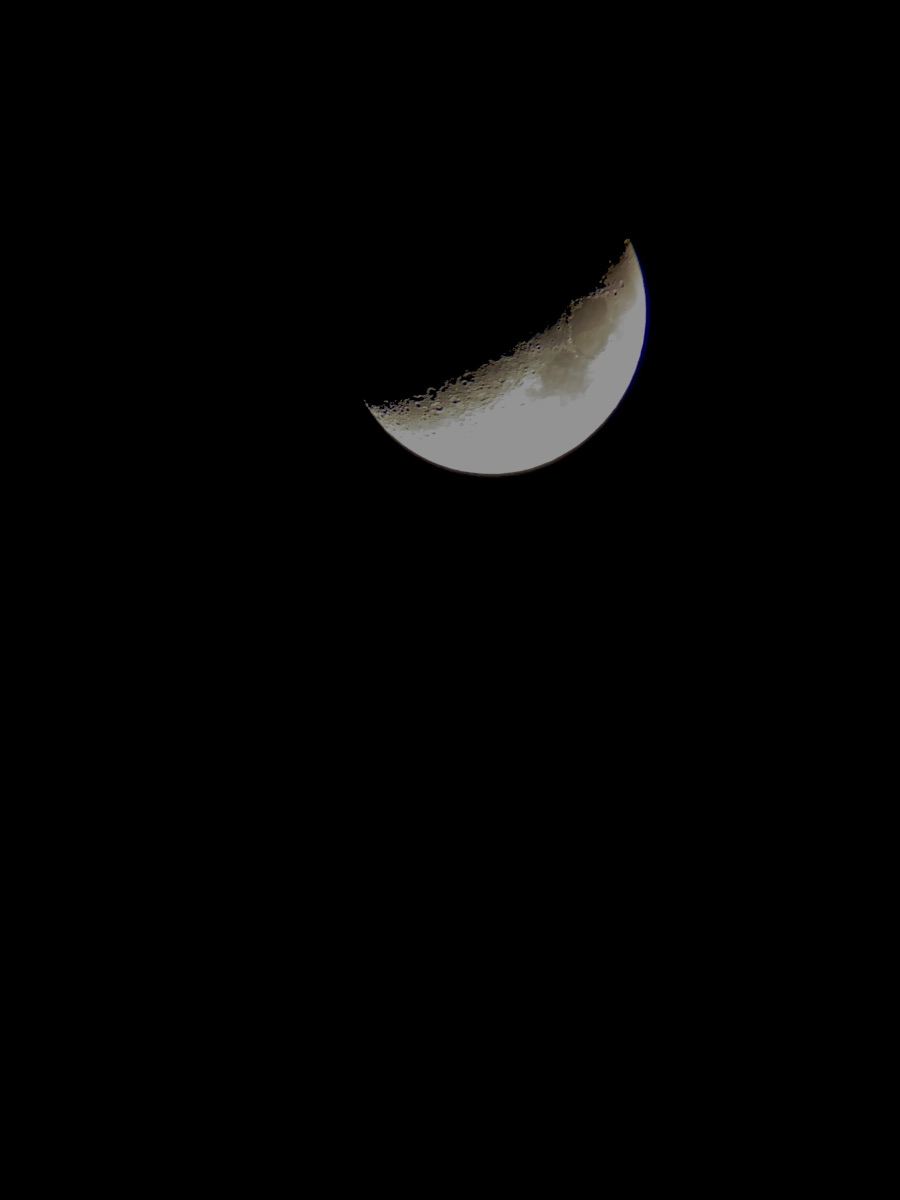
This one was taken with my daughter’s Celestron 700mm telescope, with the iPhone camera 😅
-
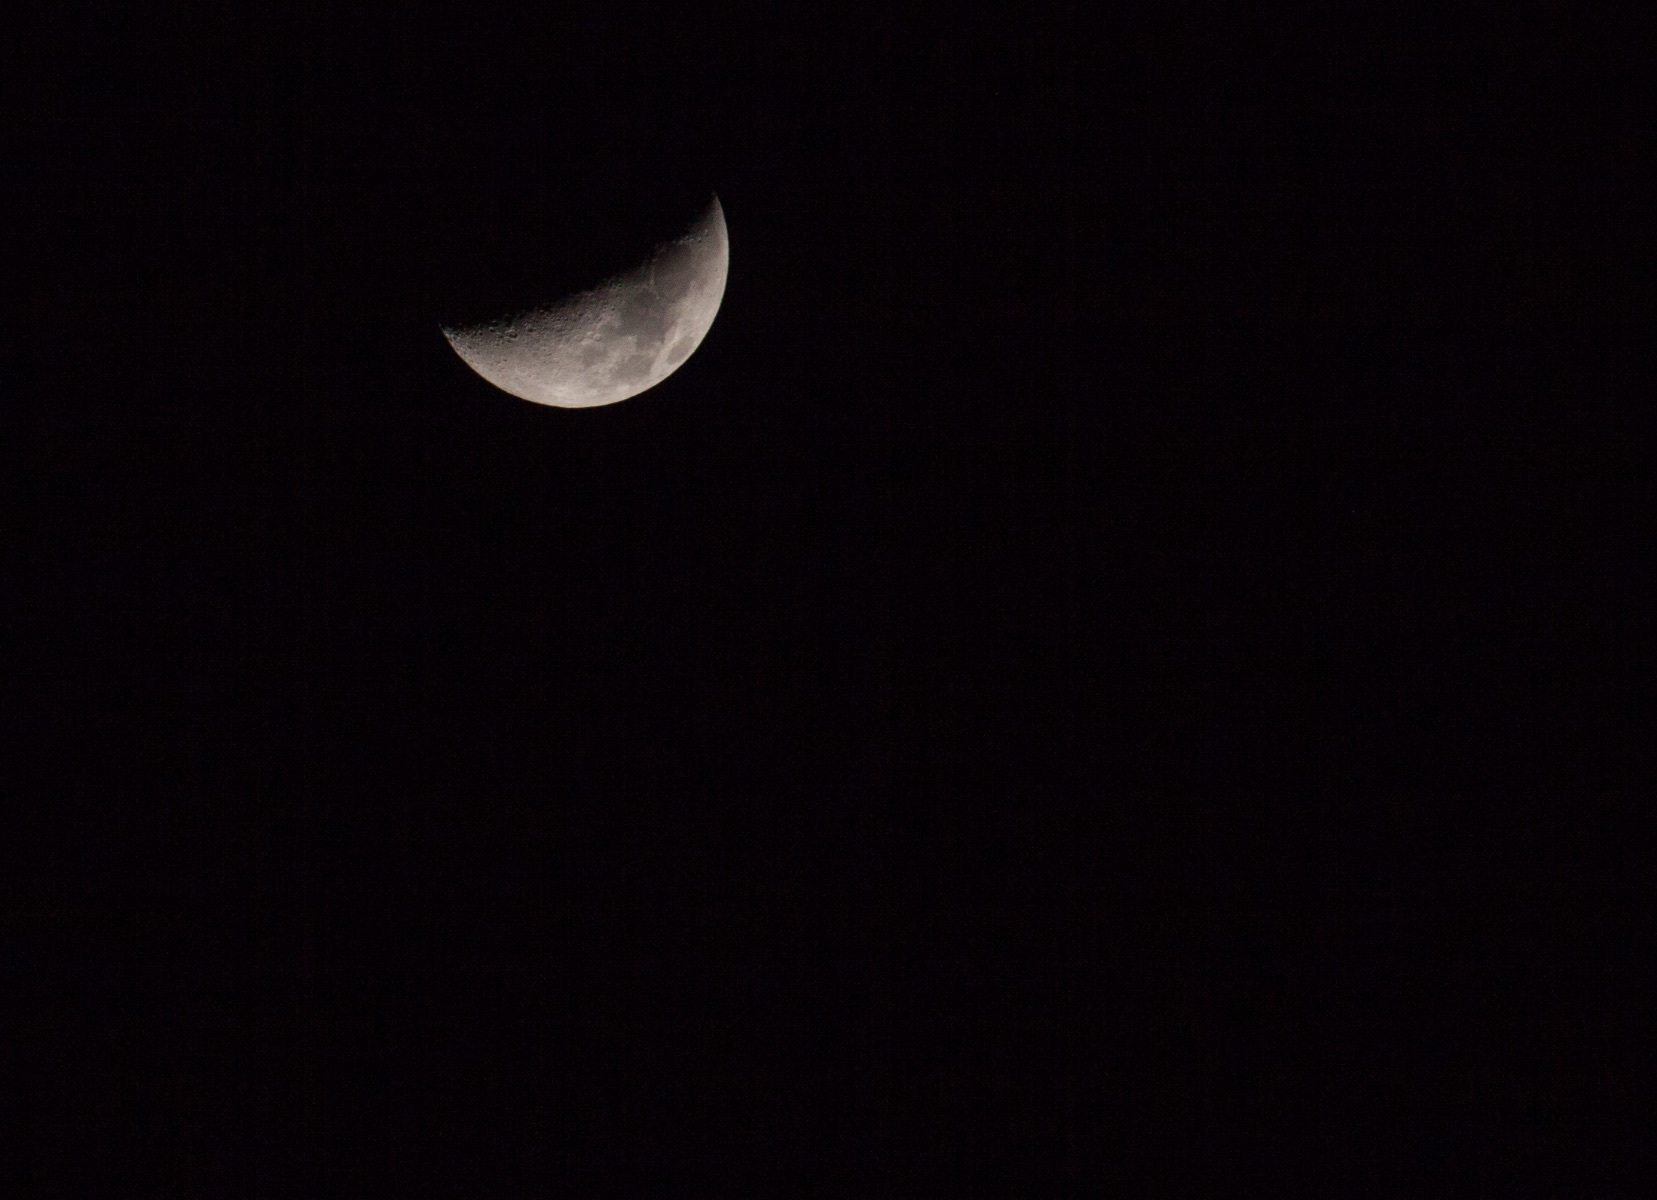
First Attempt: 70-300mm Sigma f/11 1/125 sec. shutterspeed Canon EOS 5D mk2
-
That is a good idea @JeromeFJ, i will adjust the timings.
-
Some starting information: Lenses You can use the kit lens that comes with your camera when taking photos of night landscapes with the moon in the background. But you need to be aware that it doesn’t have the magnifying power required to shoot close-up shots of the moon. Now you must be asking, how do I make the moon look bigger in pictures? The simple answer is by using a telephoto lens. Think of it as a big telescope that allows you to see everything up close. You can find so many options for your camera out there with various levels of magnification. So what’s the optimal lens to pick for moon photography? You need to find one with a focal length of, at least, 300mm. Thankfully, the moon is so bright that you do not need fast, expensive, telephoto lenses. Anything with an aperture of f/5.6 or f/8 will do. Headlamp Even when the moon is shining, it can still be quite challenging to see everything at night. So bring a headlamp with you to make everything easier. You’ll find it useful when setting up your equipment as well as adjusting camera settings. Just remember to turn it off before you take any pictures. You don’t want to be accidentally shining a light on your lens. Any headlamp works for night photography. But try to get one with a red LED light. Since it’s not as bright as the white light, you can use it without worrying about accidental lens flares as much. How to Focus on the Moon to Get Sharp Images If you want to get sharp moon photos, your focus needs to be precise. Unfortunately, chances are the autofocus will have difficulty when it’s so dark. So, switch to manual focus. Do not trust the infinite mark on your lens or the hard stop of the focusing ring because it’s not reliable. Although it comes standard on all lenses, its position is often inaccurate. In reality, the infinity zone sits somewhere between your lens’s infinity mark and the maximum focal length mark. So instead of using the infinity mark, use all the advanced functions your camera has to help you focus on the moon. Features such as Live View, Magnification, and Focus Peaking will all help. With the camera on a tripod, frame an area on the moon with contrasted craters. Now, try to get their ridges as sharp as you can by focusing back and forth until you find the sweet spot. Achieving good focus can take time. If you can, use a white marker to mark true infinite on your lens. Doing so will speed up your future photographic sessions. How to Include Landscape in your Moon Photos Taking pictures of both the landscape and the moon can be tricky. Especially since each one requires specific exposure settings. For the most part, moon pictures need a fast shutter speed while longer exposures are essential or nightscapes (a.k.a. night landscapes). So it’s not surprising that there are plenty of ways to take pictures of scenes with the moon in the same shot. And each method produces a distinct effect. The simplest way is to photograph both the moon and the nightscape is by using long exposure. The slow shutter speed lets in enough light to properly expose the landscape. In this case, the moon will be overexposed, which would otherwise be bad news. But sometimes, it creates a beautiful hazy effect that adds mood to your pictures. This method works even better if clouds are blocking the moonbeam. But what if you want to expose both the landscape and the moon in one shot? Then you can try boosting your ISO. These days, some cameras let you work between 3000 to 6000 ISO or more without introducing distracting image noise. With such high sensitivity, you can take pictures of anything with relatively fast shutter speed. The only downside is that even with minimal image noise, high ISO could still drastically reduce the image quality. So use this method with caution and only apply it only if you find it necessary. The best way to expose for the landscape and the moon separately. In other words, take two photos with different exposure times and combine them in Photoshop. Mask in the moon into your nightscape, and you got yourself the perfect image. Photographing and Editing Workflow for Moon Photography What Settings Should I Use to Photograph the Moon? Now to the most crucial question in moon photography: How do I set my camera to take a picture of the moon? A lot of people end up with overexposed images because they think the moon requires long exposures. But the truth is that you need to photograph it using daytime settings. So what does that mean? First, you set your ISO to 100. Next, adjust your aperture between f/11 and f/16 for maximum sharpness. And finally, use a shutter speed of about 1/125th of a second or faster. It’s that simple. To get the best results, you should always shoot in RAW. Take a test shot and check the histogram that you have not clipped the highlights and that the Moon is not too dark. The sky will probably be pitch black, but that is not a problem. If you don’t have a remote shutter, use the built-in 2-second timer to avoid camera shake. When checking the exposure, be sure your moon is sharp.
-
This time we will be focusing on taking nice shots from the full moon. Bring your DSLR with zoom lens (if you have one), or if you have a telescope please bring it along as well. You can signup for the event in below calendar: