
Leaderboard


-min.thumb.jpg.f1e1f788a8d3f12a276b2c5b1f1faaed.jpg)

Popular Content
Showing content with the highest reputation on 10/25/2023 in all areas
-
@Gurcharan Mehta Your first fantastic decision - Jeep 😉, and second one is 392🔥😁😁! Welcome to "Jeep brotherhood"😂3 points
-
I'll be bringing a jeep Wrangler 3923 points
-
Congratulations @DP1011and @Simon D. 👌👌3 points
-
Leading a desert drive is the most amazing experience to have, where you can combine fun, freedom, creativity, strategic thinking and survival skills all at once. Leaders lead is the drive where selected Advisors will learn to lead under close guidance. Backed with the right techniques, experience and supervision so that you can learn the art of leading with peace of mind without any fear or pressure. You will be learning the basics of leading in the desert in three different sessions: Advance sand reading, plan your lead, plan your exits. Use navigational software to select the right course of the path. How to plan and scale the lead and recoveries in the most grueling terrain. Level: Selective Advisors only - @DP1011 and @Simon D When: 28 October 2023, Saturday Meeting time: 2:00 PM, (Sharp, without any exceptions) Meeting Point: Al Lisaili - https://goo.gl/maps/UDzJ7FKT2Aq5HcyFA Type of Car: Any proper 4x4 with front and back tow hooks and 8-10 inches of ground clearance. Approximate finish time: 6:00 PM Please RSVP on the below calendar:2 points
-
2 points
-
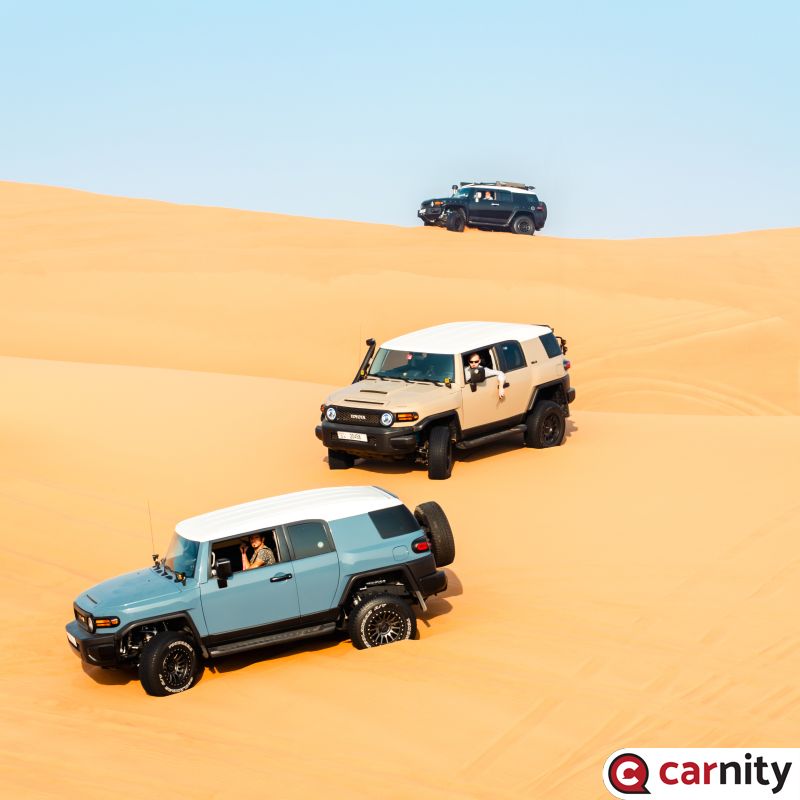 @Rob S my photoshop skills are crude, very very crude - I can just open and do YouTube video thumbnails. so this is what I could get. It screwed the front driver side light so I copied from @Jona car, and at this resolution I can't tell the difference. Also removed all the flags to keep consistency. cc: @Hisham Masaad you can find slightly higher resolution pic here: https://share.icloud.com/photos/0a2Msvt3XDi6dxBnNo-TAYLPg2 points
 -
2 points
-
Well done guys… first session is really fun. Enjoy 😊 👍2 points
-
Congrats Lads! @DP1011 and @Simon D I look forward to supporting some of your drives. Well deserved2 points
-
Congratulations @DP1011 @Simon D 😃2 points
-
Welcome "Team Icon" from Icon Auto Garage to the Desert Champions Trophy - 2023! We are thrilled to welcome your team to this year's challenge, and we look forward to an exciting and spirited event. Team Lead: Said Al Akraby @Icon Auto Participants: Stuwart Fernandes @stuwart fernandes Abu Fathi @Moh Qar Thomas Eibu @eibuthomas Fadi @fadijoin
 2 points
 -
Section 4: Some Key Terms Before you start with editing you should know these terms and information to decide what you want to do. Stitching When you record a video on a 360 camera, what you essentially do is record two videos front and back with wide angle lens that covers the entire 360 degrees field of view. Stitching is the process in which both these videos are combined to make one panorama video. You will most often be using the device software to do the stitching. A 360 video can be uploaded directly to YouTube since it supports that format. See this example: Reframing Reframing is the process of manipulating your 360 video and turning it into a “normal” video. Re-framing allows you to choose where the camera is pointing at any one time after you’ve shot your video, opening up more editing opportunities than you would get with a normal camera. You can also change the perspective and field of View (FOV) and edit a video to show exactly what you want to show. Aspect ratios Aspect ratio is the ratio between the width and the height of a video or a screen. It determines how wide (or long) your video will be. Aspect ratios are usually written as – x : y and read as – x by y. The first number refers to the width, while the second to the height. 16:9 (Widescreen): This is the most common aspect ratio today. It’s widely used for TV broadcasts, YouTube videos, and feature films. 2.35:1 (Ultra Widescreen): This gives the 70 mm look, and used mostly in the Movies. 1:1 (Square): This aspect ratio is commonly used for social media platforms like Instagram, YouTube Shorts. 9:16 (Vertical): This is commonly used for mobile content, especially on platforms like TikTok and Instagram Stories and Reels & YouTube Shorts. Different platforms may prefer different aspect ratios. For example, YouTube typically uses 16:9, while Instagram can use 1:1 (for posts), or 9:16 (for stories and Reels). Remember, choosing the right aspect ratio is crucial as it can affect the viewing experience of your audience. Examples of YouTube Videos (not Shorts): Ultrawide (2.35:1): Wide (16:9): Square (1:1): Vertical (9:16): Resolution Video resolution is a crucial aspect of video editing as it determines the amount of detail in your video, or how realistic and clear the video appears. It’s measured by the number of pixels contained in each frame. Here are some common video resolutions you would be using: 720p (1280 x 720 pixels): This is considered an acceptable resolution for smaller web content. However, with most computer screens being HD, it’s best to aim for a higher resolution than 720 for web use and streaming. 1080p (1920 x 1080 pixels): Often referred to as “full HD,” this has become the standard for a crisp HD digital video. 4K (3840 x 2160 pixels): This is becoming increasingly popular, especially with the advent of 4K-capable smartphones and TVs. Always use the 4K or the equivalent resolution for your aspect ratio. Instagram unless you specify will upload a lower resolution file. It will convert your video to a 720p file and save a file on your phone. YouTube will however take a 4K upload. So, you make sure that you upload the 4K version if you are uploading both to Instagram and YouTube. Understand the Files In this section I will not go deep into all the video formats but will tell you the 3 files for every clip you will see in insta360 even then it will seem a little bit daunting. File Name Format VID_yyyymmdd_hhmmss_xx_nnn.insv yyyy = four-digit year (2022) mm = two-digit month (01-12) dd = two-digit day (01-31) hh = two-digit 24-hour (00-23) mm = two-digit minute (00-59) ss = two-digit second (00-59) xx = camera 00 – back camera 10 – front camera nnn = sequence number (000-999) Extensions: .insv = 360-degree video LRV_ – 360 low res version of the video. xx will be 11: VID_ – 360-degree full size video. Two files with same yyyymmdd_hhmmss name and xx of 00 for back camera video and 10 for front camera video. You can preview a .insv file by adding the extension “.mp4” to the end. Also note that 00 file contains the GPS telemetry data and is usually slightly larger than the 10 file. If you want to use 3rd party telemetry software after you have exported a flat video file you can use these 00 numbered files. PS: I plan to update and revise certain sections to enhance clarity, streamline information for brevity, and improve language and grammar.2 points
-
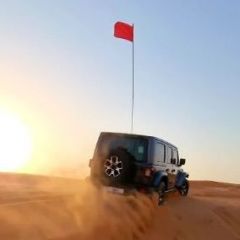
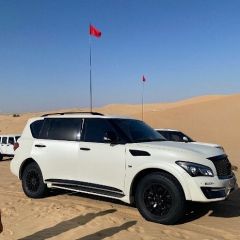
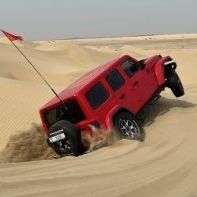
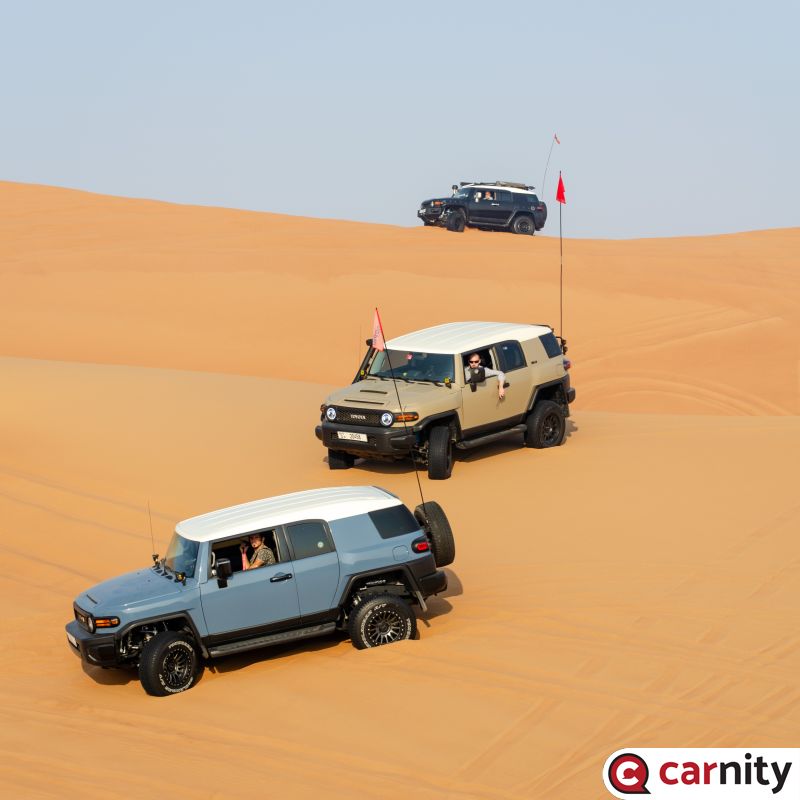 all with wheels pointing down the dune, perfect examples of how to stop in the soft sands! Do you think you can edit out Jona's flag? would make a great photo to stick on the wall!2 points
 -
If you want to read more about my advice on buying 360 cameras please read this article: Introduction We all love driving in the desert and few of us can ever have enough of it. The sweet sound of the engines growling, climbing on to those tall dunes at Badayer to the calls of “Yalla Push” or tackling tricky fast paced long-range dunes at Faqa’a we want to live and relive every moment we spend driving in the desert. Some of us record videos of our adventures. A good seamless workflow is important so that you don’t spend a lot of time making those videos, which to be honest we can do only so much since we are not professional video editors. I will attempt to go over the workflows that I follow, which might be useful for some of you. These days I record my videos using Insta360 X3 action camera. I do the initial framing in the Insta360 STUDIO 2022 app on my first generation M1 Mac Mini with 16 GB ram. Post export I do the final edit of the videos in Final Cut Pro X on the mac. In some of the videos I overlay telemetry data using either Insta 360 STUDIO or Telemetry Overlay app. In this thread I am going to post series of articles going over the various aspects of videos editing starting from setting up the action cameras, video editing to exporting and publishing on YouTube and Instagram our favorite destinations for sharing the videos. Why am I writing this? Because I have tried it all, different cameras, different mounting options, various editing medium and software and techniques. I feel I can help the community with the knowledge I have gained. Follow this thread to be up to date. PS: I plan to update and revise certain sections to enhance clarity, streamline information for brevity, and improve language and grammar.1 point
-
Let me try this evening, these days AI does wonders...1 point
-
Hey Davie, Hope you're well, just wanted to say that I'll be driving a different vehicle and have gotten all the equipment required1 point
-
👏👏👏👏👏👏👏👏👏👏 @DP1011 @Simon D yalla push, let's follow1 point
-
1 point
-
Congratulations @DP1011 & @Simon D happy to see you guys move on to the Learning1 point
-
Congratulations @DP1011 and @Simon D.. can’t wait to follow your lead1 point
-
Congratulations Guys, great to see you move on to the next stage... Well Done @DP1011 & @Simon D1 point
-
Welcome to the DCT Guys1 point
-
Great to see you guys !1 point
-
Section 3: Data Acquisition for Telemetry Overlay Introduction to Telemetry Overlay Telemetry is the in-situ collection of measurement of various data points such as speed, elevation, G force, track etc. In our sport we use Global Positioning Satellite or GPS to collect this information. Most of us record the track in apps such as Gaia GPS. While driving we feel the adrenaline but by the time we look the same drive footage, it does not look that impressive. This is where in my opinion the Telemetry Data overlay plays an important role as it helps to highlight the rollercoaster ride that we experience. I like to overlay the Track, Speed, Speed Profile and Elevation profile along with the Compass to give an immersive experience of the drive. Integration with Insta 360 X3 We can record the GPS data embedded with the footage we record while driving. This can be achieved in two ways. In Insta360 X3 camera, if GPS remote is used to record video, it also records the GPS data by default. In case a phone is used as a remote, in that case the user can enable GPS data recording as well. However, in my experience the data collected using phone as a remote is quite unreliable and gives erroneous information. GoPro Max, however, records the GPS data by default in the device itself and it does not need external sources to get the data. Another way to overlay telemetry data is using external independent data sources such as Gaia GPS. However, it becomes cumbersome to sync data with the footage to overlay on the video data source. An issue with GPS data is, however, good the data source might be, it still sometimes looks different than the footage. Because the data is collected using satellites and there is always a time delay. This is more pronounced while looking at Speed data, while a vehicle would have come to a stop in the footage, but the data recording will show gradual decrease in the speed to zero. Another issue is if you are using maps to show the track, it might not correlate to the actual footage, due to the shifting dunes as well. In this video I recorded at Faya (see the previous post) I have overlayed a mini map showing the track, and speed and direction. You will see that the dunes on the map don't match all the time with the footage. In the following video I recorded at Badayer I have overlayed the speed provided as well as elevation profile. These two are normally an approximation rather than cent percent accurate data. PS: I plan to update and revise certain sections to enhance clarity, streamline information for brevity, and improve language and grammar.1 point
-
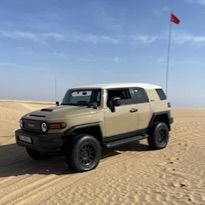
FJs in planetary alignment, @Hisham Masaad, @Rob S, @Jona1 point
-
Section 2: Filming Techniques Effective Filming Techniques Most of the discussion in this post is going to be about the 360 cameras. The reason is you want to capture action all around you. The winding tracks we take, and the refusals we have, the ridge riding and the crisscrossing we do; we want to be able to capture everything that's happening to us as well as to see what other guys are up to. With a unidirectional camera you would not be able to capture the action around you. The only time you can get away with a unidirectional camera is when you say you are driving in the dark and you have only the front that is visible for you. You can see me doing it in the current “Chasing the Doctor Series” on YouTube which was mostly short in the dark in the evening and in night. Even here, I am using a camera to track the Doctor where both 360 degrees angle is put to use. Before you start shooting - Check and double check the settings. I cannot tell you how many times I didn't check and lost what could have been a very good footage. Camera Mount Angles Having understood that a 360 camera is the way to go, let’s discuss where you would like to mount your camera and what will be the results of it. The discussion will be limited to my own experience and productions. My favorite place to mount the camera was on driver side Rear Quarter Glass or Rear Door Glass for 4 door cars. This would provide a very good view of the front and rear as well as a view of what the driver is up to. You can see this mount in action here: I had used it on the passenger side as well as seen in this video: If I am not leading a drive, I like to mount the camera on front bumper, because it is best when you intend to cover the action in front of you and it will show how you handled the ridge riding and side sloping etc. You can see the results here in action here: When leading I like to use the rear mount because I can show what the guys at the back have been up to. You can see it here in action: I have not personally mounted the insta360 X3 on the bonnet or on the roof so I will not comment on it for the time being. PS: I plan to update and revise certain sections to enhance clarity, streamline information for brevity, and improve language and grammar.1 point
-
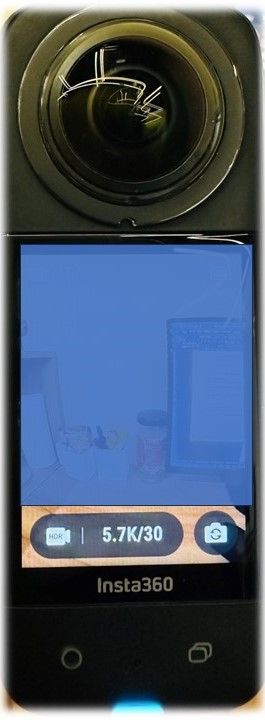
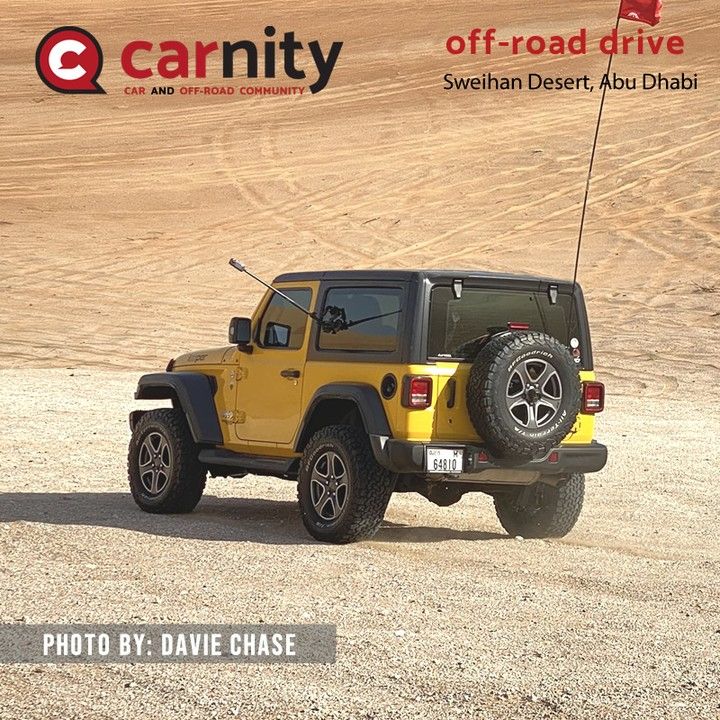
Section 1: Gear Preparation Insta 360 X3 Setup Before you mount the device on your car, you must dial in the best settings for the use case. Make sure that you are shooting 5.7k 30 fps. For the morning or daytime drives also make sure that you have selected Active HDR shooting mode. In case of low light in the evening or night drives, you should use Normal Video mode. Remember that the last setting that you have dialed in will be retained if you switch off the camera and switch it on later. Always double check that you are in the correct mode before you start recording because it happened to me when I recorded the best part of a drive in Bullet Time mode completely ruining the entire video because I used it before that I had used Bullet Time mode and then switched off the device. Recently I have shot a video in Log mode. Log mode is a type of video recording that is used to preserve more of the image’s dynamic range and tonality by redistributing the digital exposure value representations over the entire value set using a preset logarithmic function. It is often associated with better image quality and is used in professional video production. This however takes extra steps to color the video since the video output looks low contrast. Next you must connect your device with a remote. You can use either the phone app or a GPS remote. In the case of phone app, it will ask you to join the action camera wifi and once it has secured the connection you can control the device with the phone such as start/stop remote, change modes, use it as a remote screen, as well as change settings. In case you are using GPS remote you are able to connect it and can only change the mode and start stop recording. The benefit of GPS remote is you get a much more compact and stable remote. Before you start shooting - Check and double check the settings. I can not tell you how many times I didn't do and lost what could have been a very good footage. Mounting Action Camera Next you want to mount the device on your vehicle at the most optimal place. You can either use suction cups which are temporary and needs to be fixed every drive or permanent mounting solution to mount the action camera on your vehicle. Suction Cups: At the beginning I used a popular Triple Suction Camera Mount available on Amazon.ae with the 120 cm selfie stick that I had got along with the X3. But I could not extend the stick all the way out because the ball mount wouldn’t handle the weight of the device that far away from the base and will slip down. While using it I would extend the selfie stick only 1 or 2 levels out. The benefit of suction cups it that you can mount it anywhere on the car as long as it is a smooth surface. Many prefer to mount on the front bonnet as well as on the roof tops. Permanent Solutions: For my Jeep JL with metal bumper at the front and Teraflex flag mount on the rear door, a local enterprising offroad enthusiast has come up with permanent mounting solutions. They consist of a base which is permanently fixed in place and a rod that has a screw at one side and is attached to the base. I have mounted one at the front on the metal bumper and one at the back on the teraflex flag mount. Front Mount Rear Mount Other vehicles have roof rails that provide alternative mounting options. Either at the sides or at the back of the car. Some users also fix mounting brackets directly on their vehicle either using glue or screw them into the place. PS: I plan to update and revise certain sections to enhance clarity, streamline information for brevity, and improve language and grammar.
 1 point





This leaderboard is set to Dubai/GMT+04:00