
Leaderboard

.thumb.jpg.faf264f698ded093f59df7be5597f9ce.jpg)

Popular Content
Showing content with the highest reputation on 07/17/2023 in all areas
-
You’re the Pajero Master @Stumpy Paj ! Have a look at the Australian Pajero forums, I noticed they had some articles about it.3 points
-
Great topic @Looper, let's start some coaching again with the lens lover club, I miss those big time. Im still in love with my single lens AF-S NIKKOR 28-300mm f/3.5-5.6G ED VR on my Nikon D750 that always served me well from close up to wide angle.3 points
-
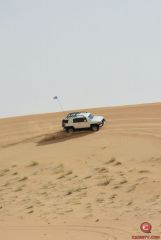
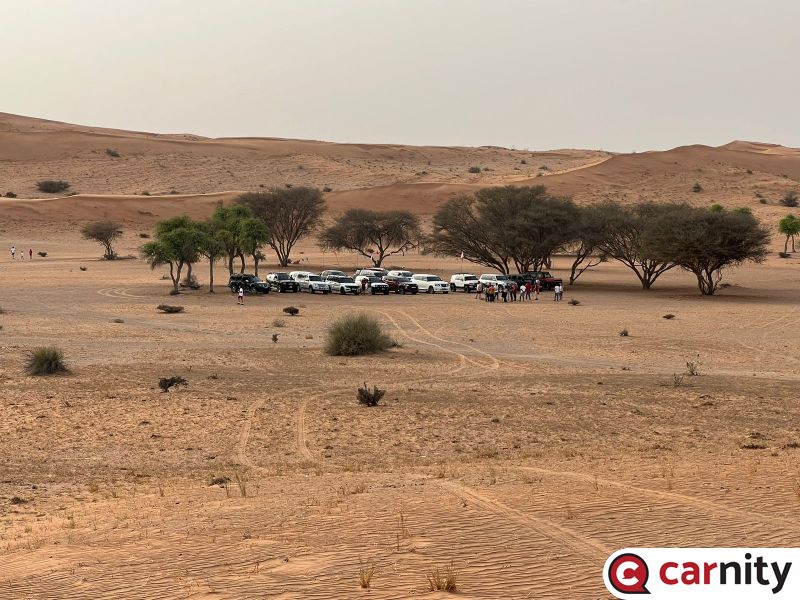
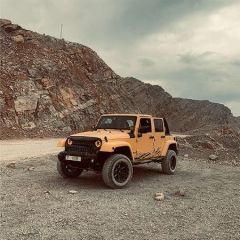
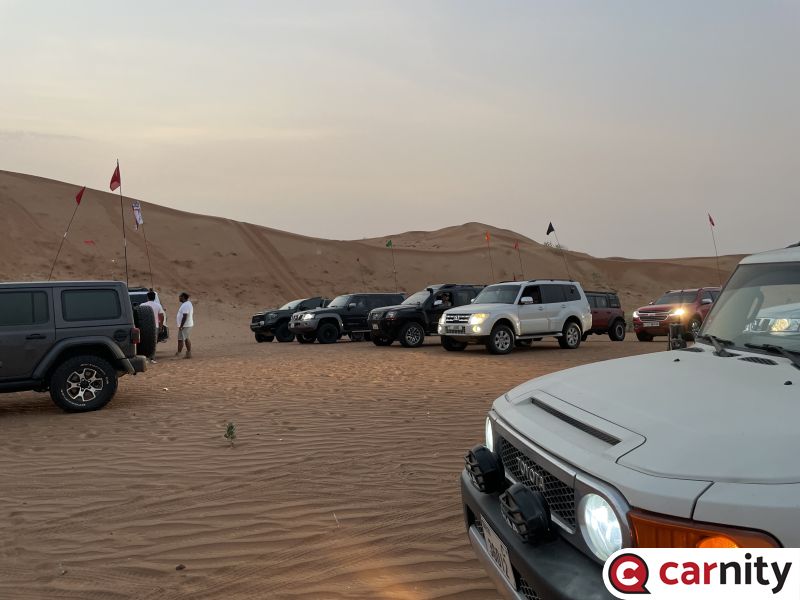
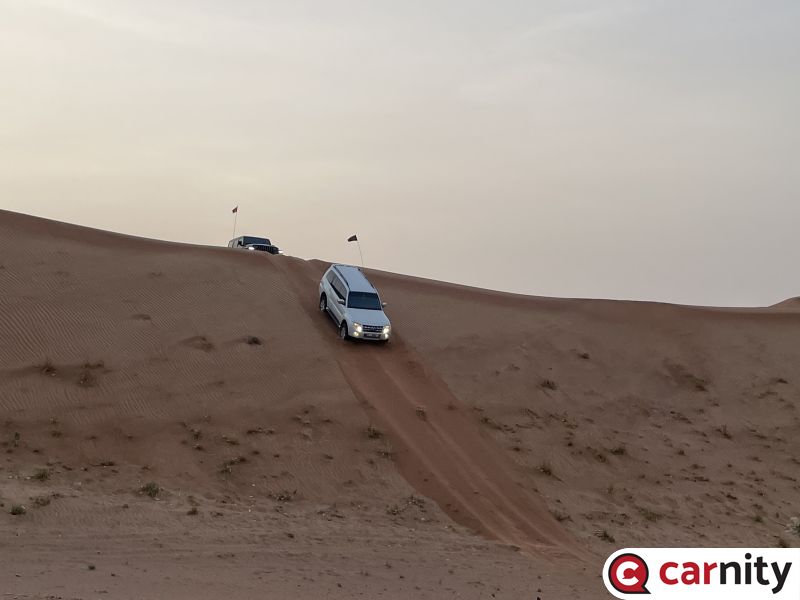
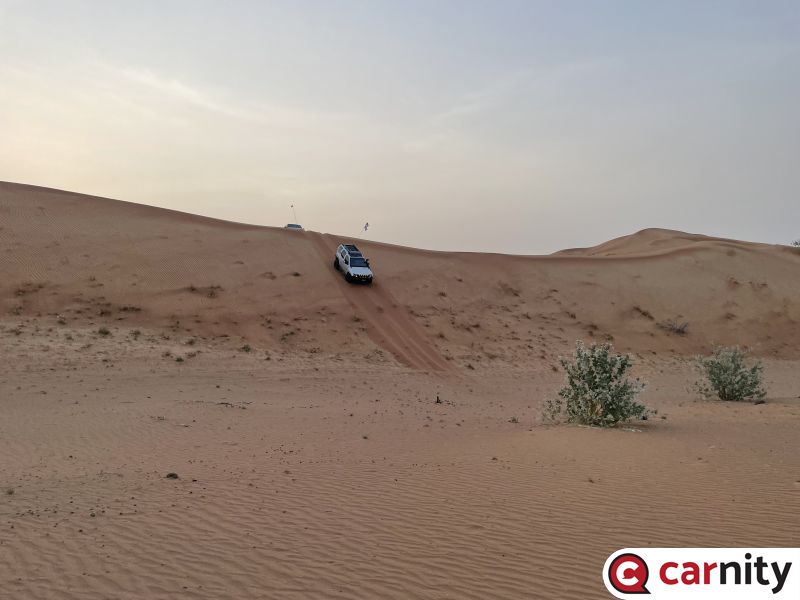
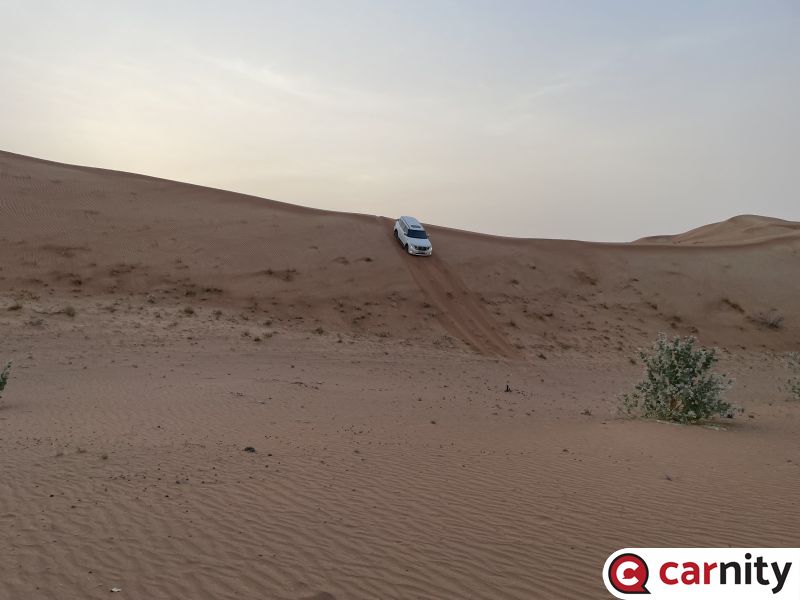
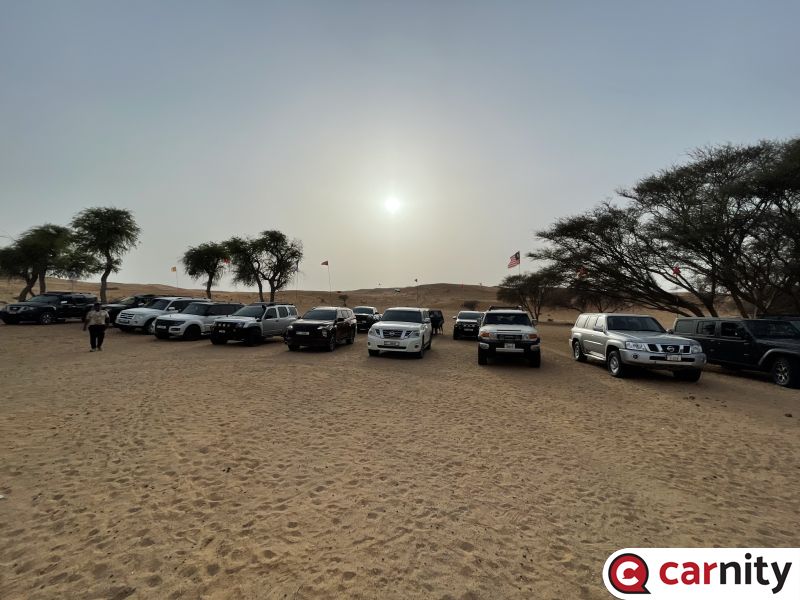
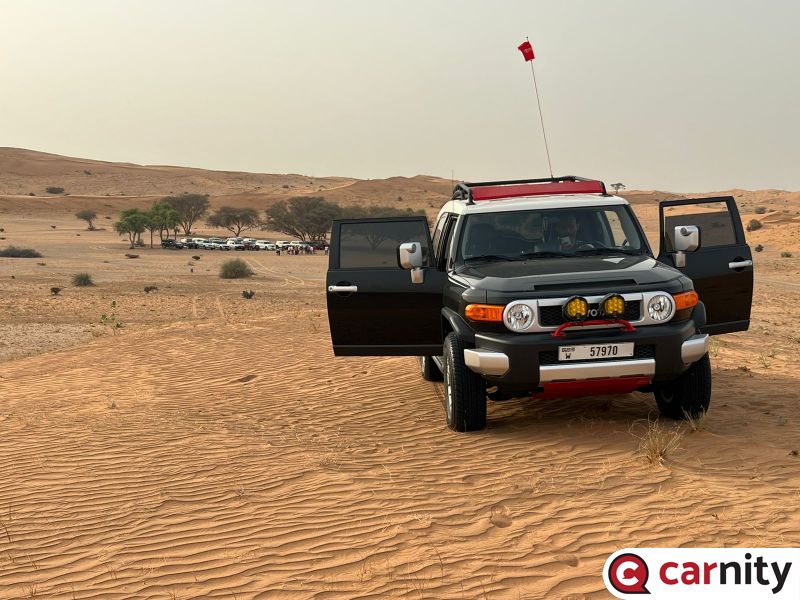
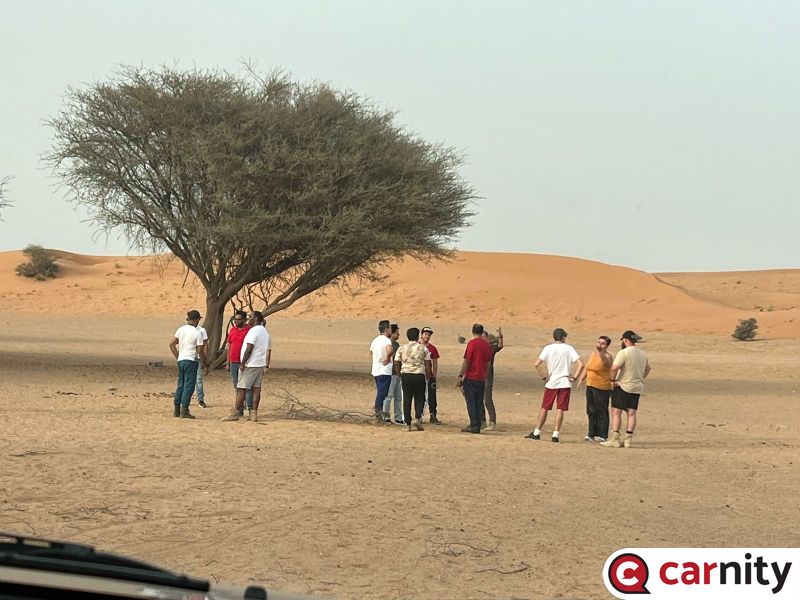
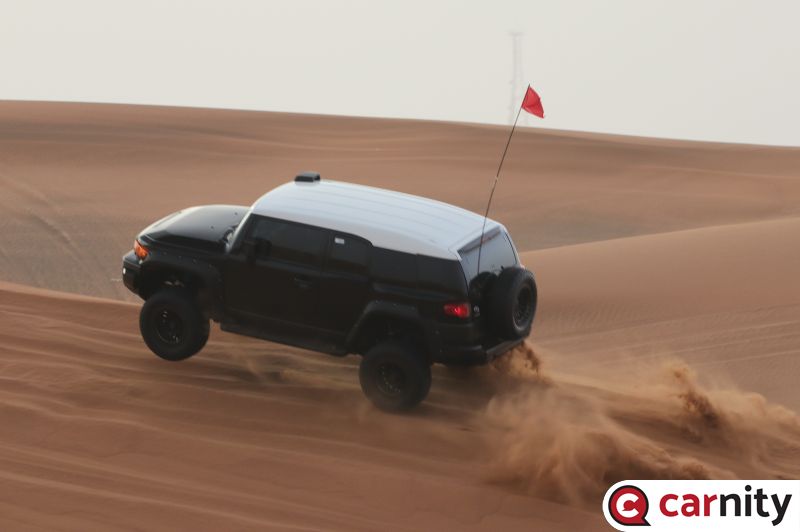
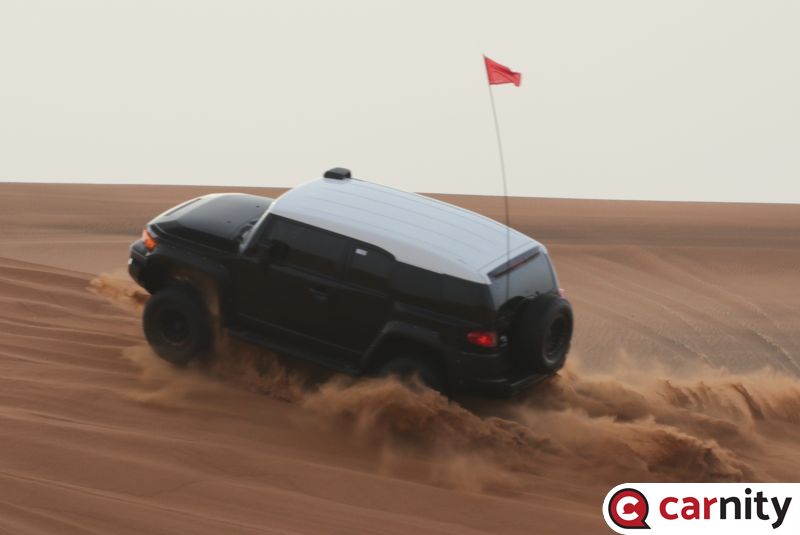
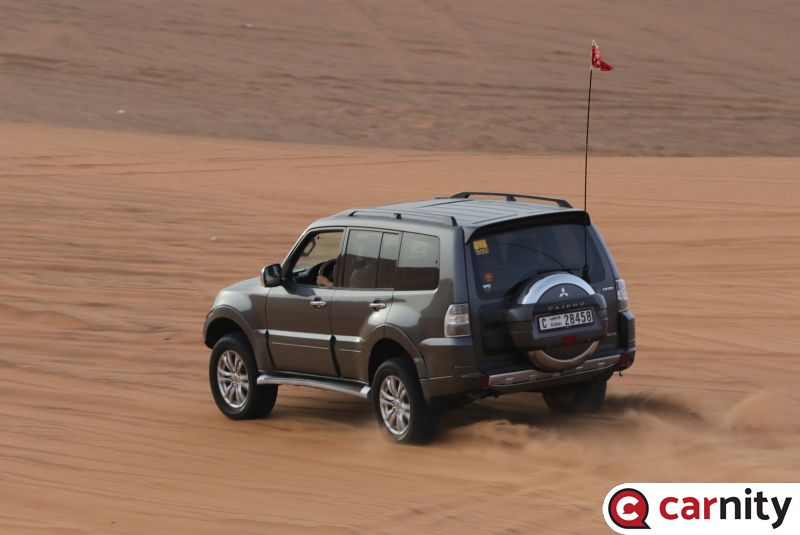
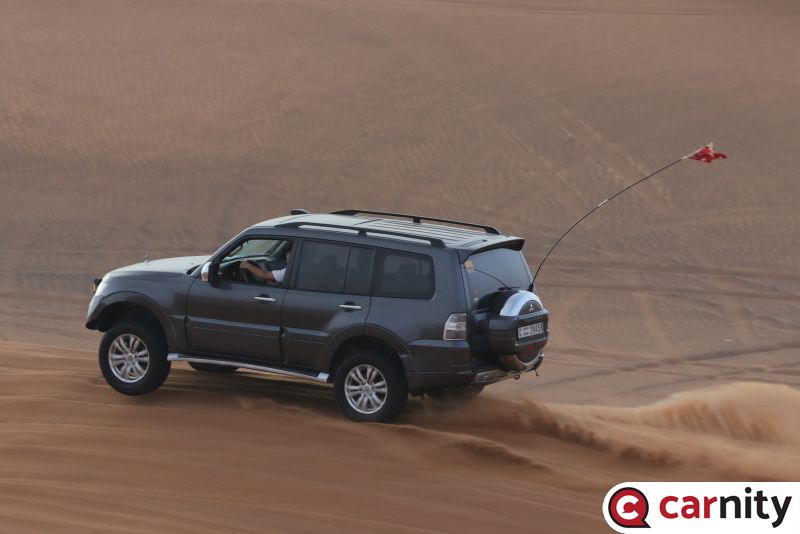
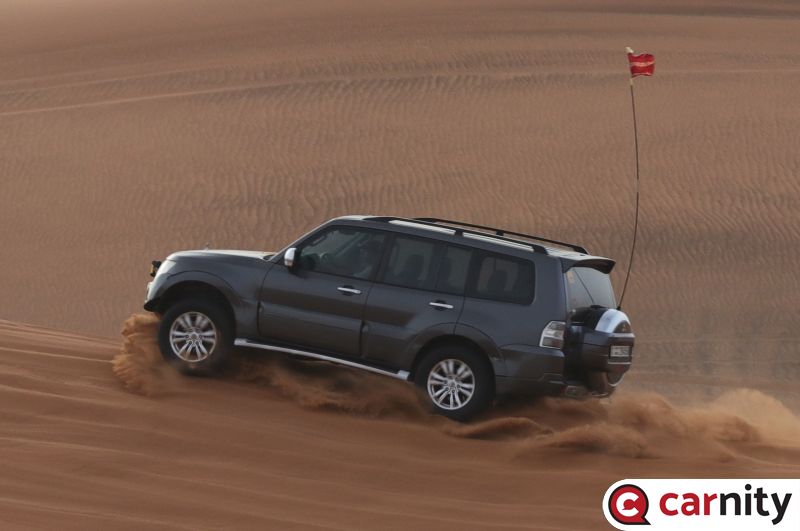
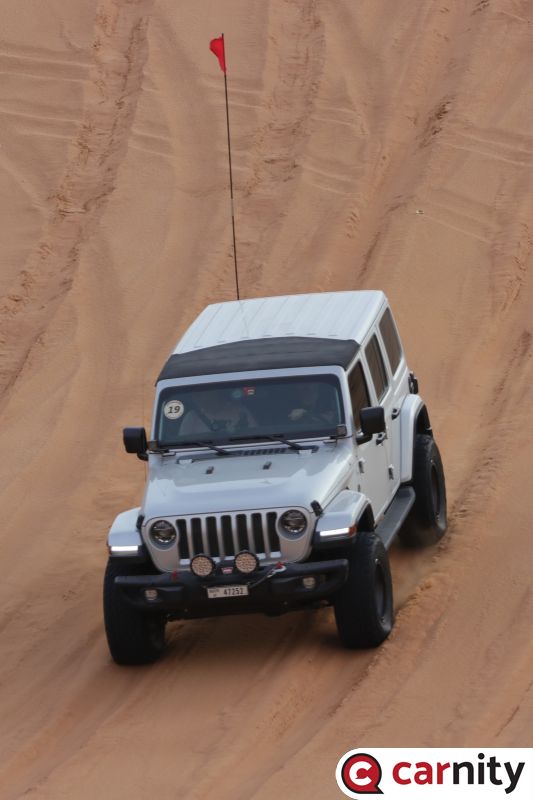
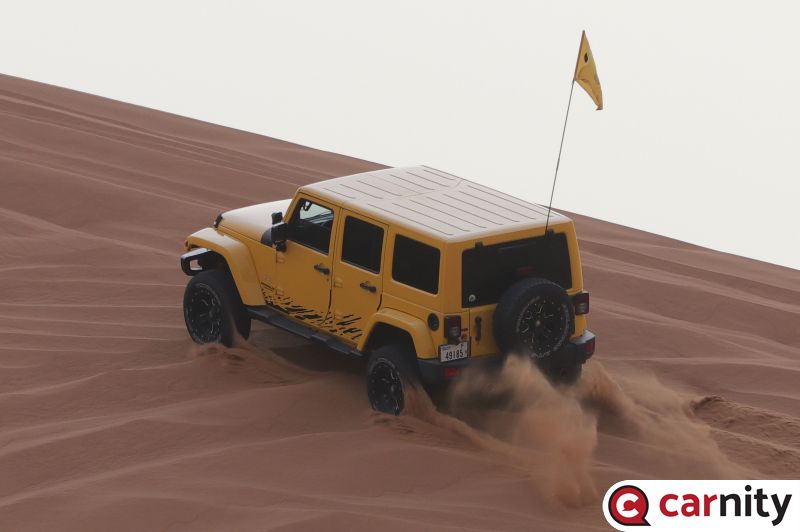
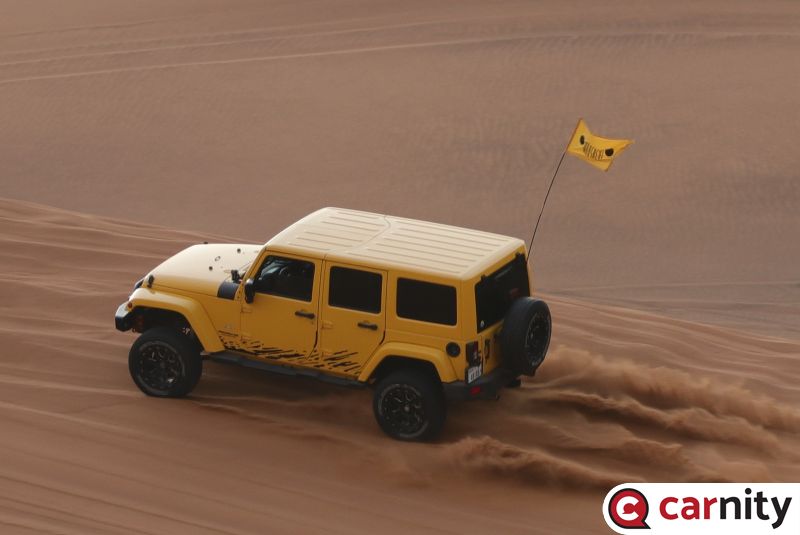
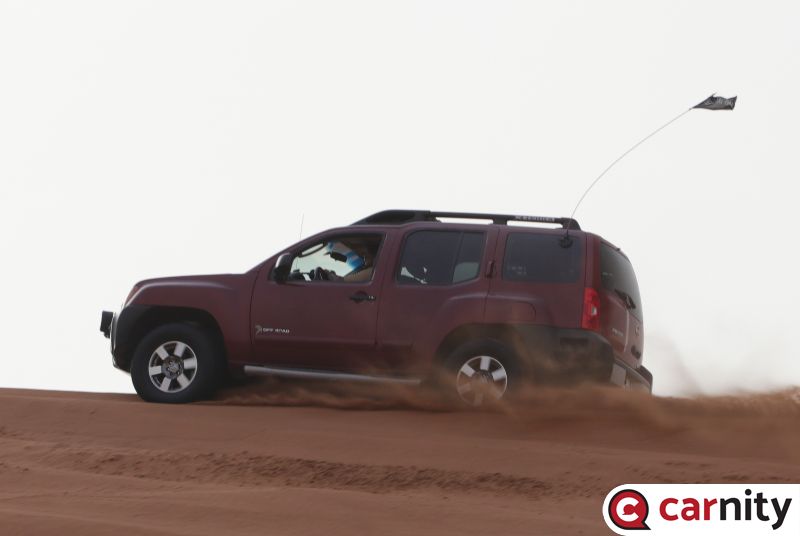
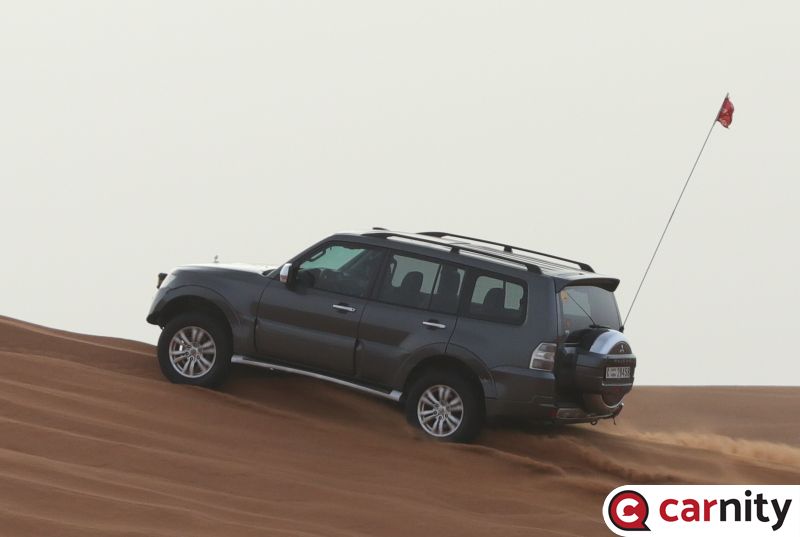
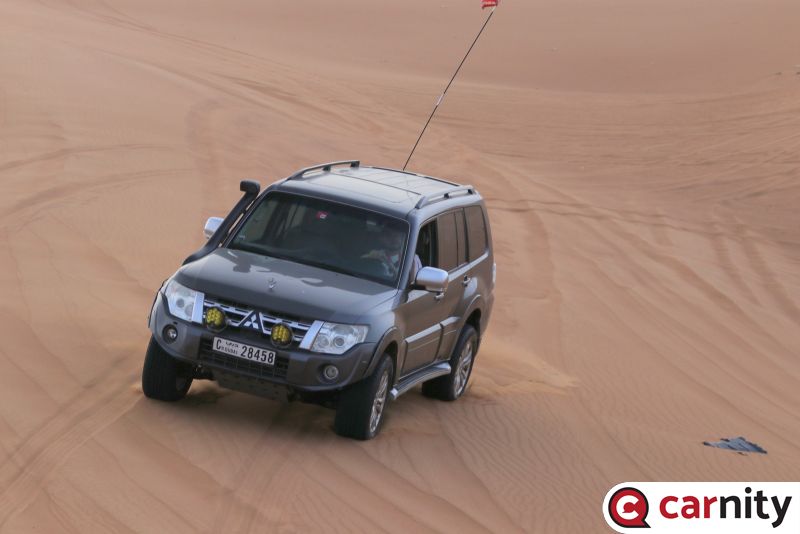
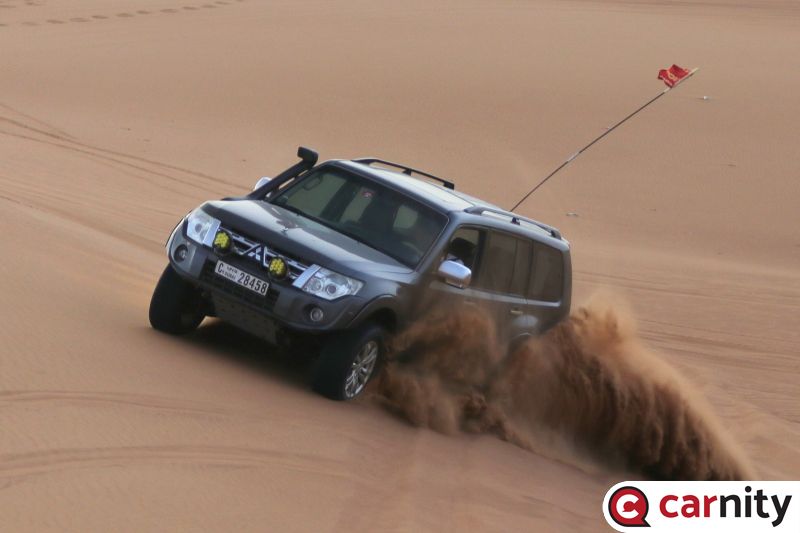
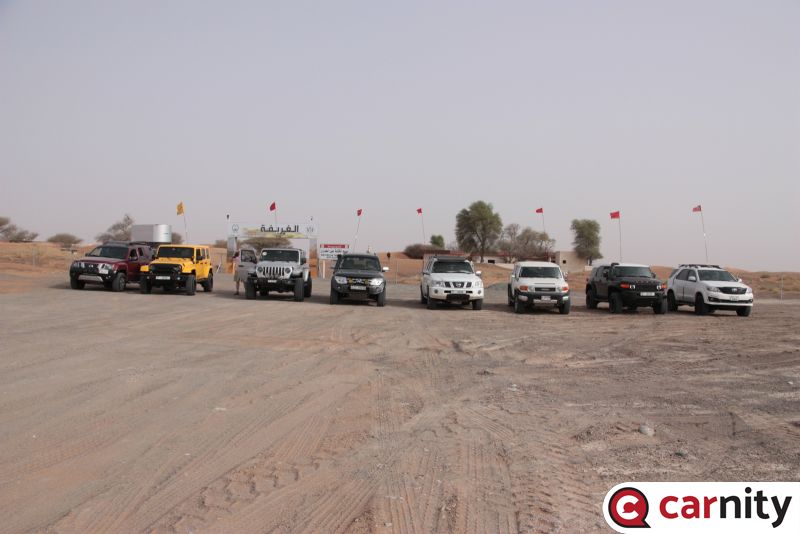
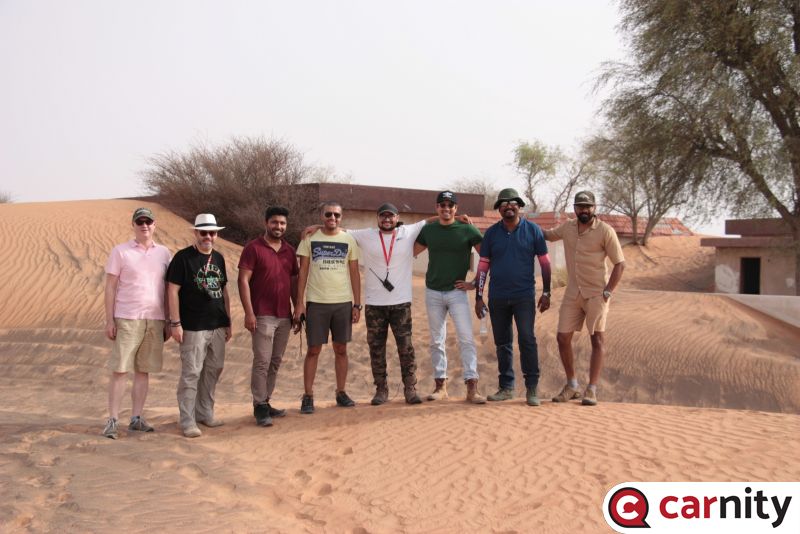
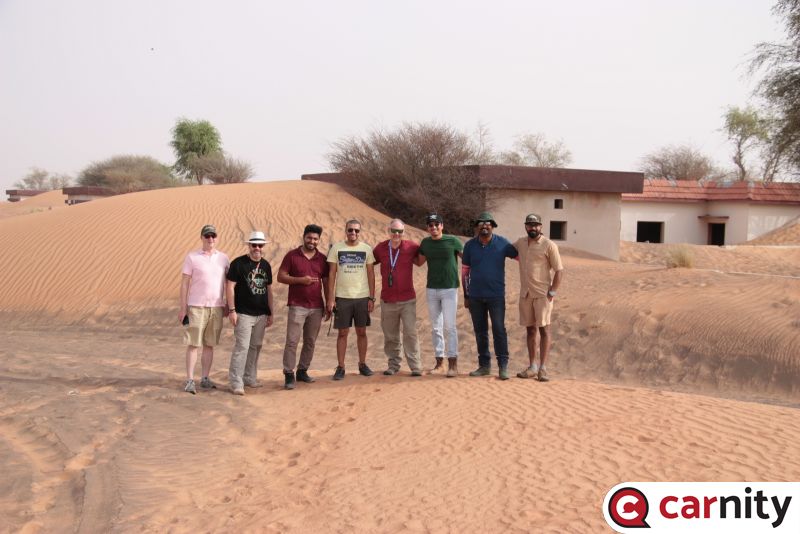
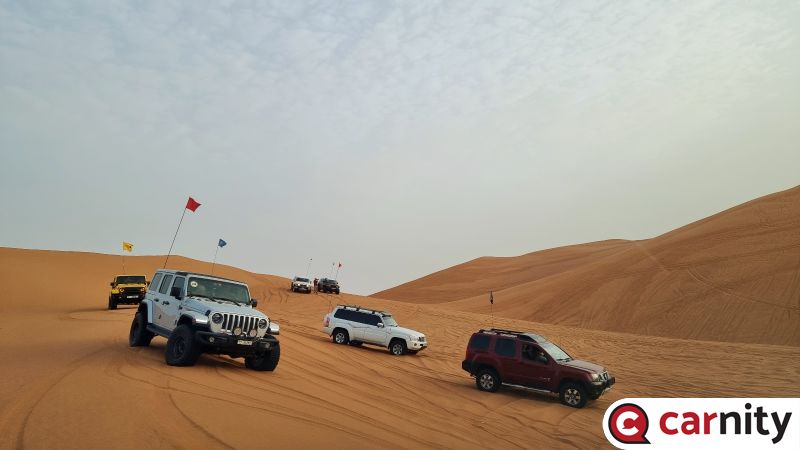
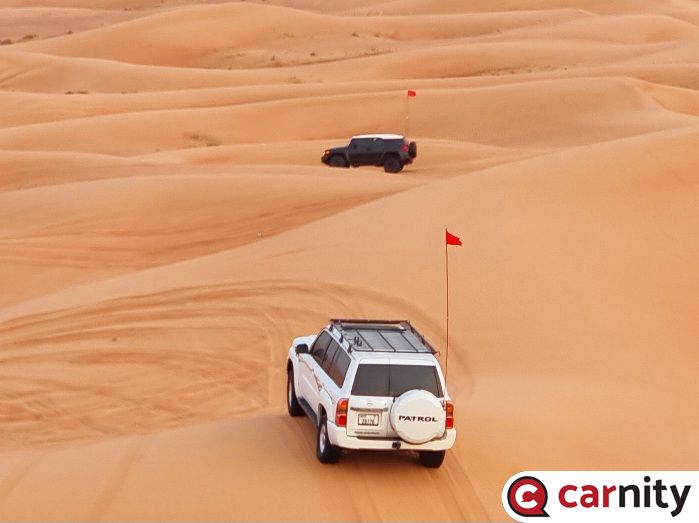
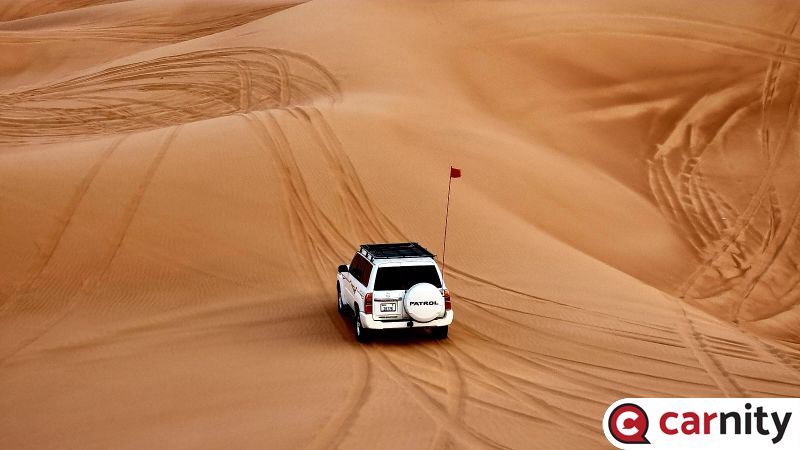
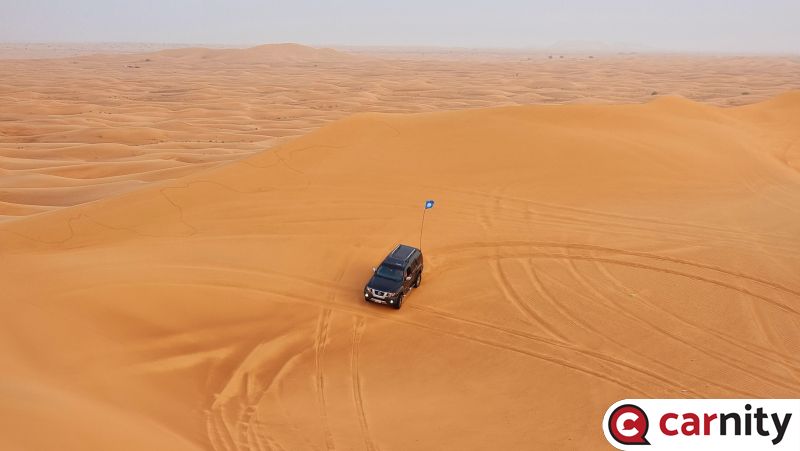
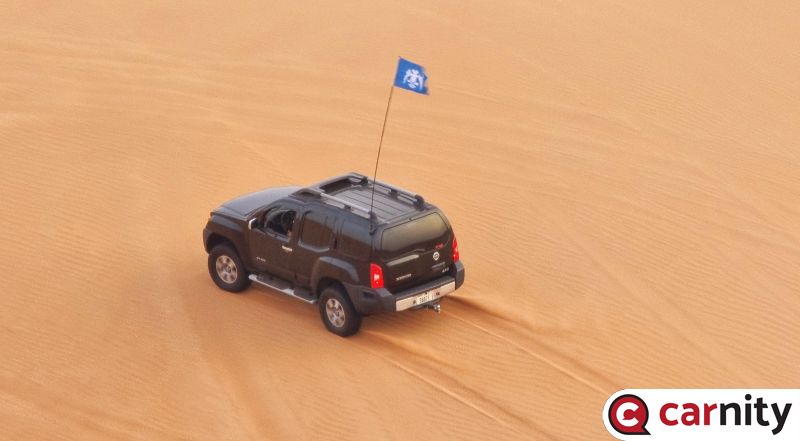
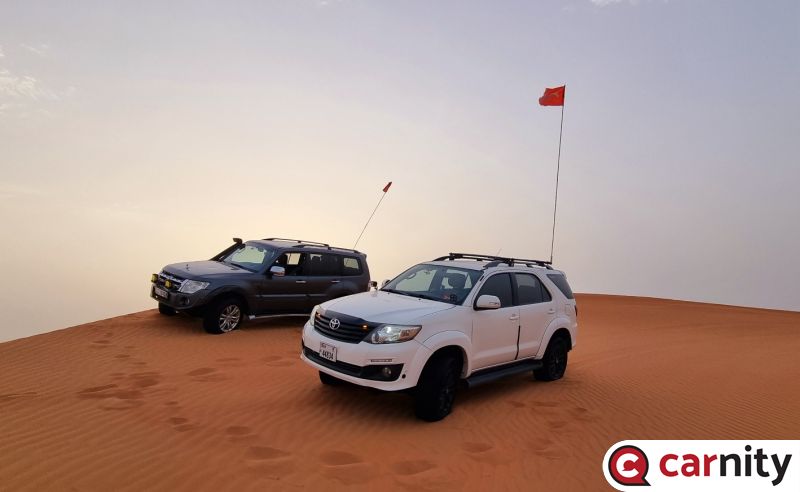
Thanks everyone who showed up especially to @Fredericwho led the drive, Dr @Chaitanya D who swept and support by @DP1011 and @Rajiv Sam It was a relaxing, scenic and enjoyable drive. This drive was good for me since I has been away from the sand for a few months. I have shared some photos.3 points
-
@babaski@BIBIN THOMAS@Pierre de Maigret@Glenn W@Thejas Uthran@topgear@Bashar Beasha@Dorian Zissi@Rajiv Sam@DTG@Arun Menon@Haneef Thayyil@Harshal@Abhilash Kottakkal @Chaitanya D @DP1011 Thanks to everyone for joining yesterday! I hope you enjoyed the laidback atmosphere and had a safe trip back home. Great support as usual from @DP1011, @Chaitanya D and @Rajiv Sam ! You’ll find some nice pics in the drive gallery ! See you soon in the sands again !3 points
-
When it comes to desert driving photography, having the right equipment is essential to capture the action from far as well as the cuteness of your ride from near. At the same time, you would also want to capture the vastness and unique beauty of these arid landscapes. Super zoom lenses offer a versatile solution, providing both telephoto and wide-angle capabilities in a single lens. We need the wide-angle for capturing photos of own cars that we love and cherish and telephoto for distant subjects like other cars while doing sidees or being recovering as well as ancillary subjects like the wildlife or other interesting details in the landscape. In this article, we will delve into the basics of super zoom lenses, highlight their benefits and drawbacks, and provide a selection of models available from popular brands. Understanding Super Zoom Lenses: Super zoom lenses, also known as all-in-one or bridge lenses, are designed to cover a wide focal range, typically ranging from wide-angle to telephoto, all within a single lens. Typically, you will find 18-300 mm in the APSC or crop sensor models and 28 mm - 200mm for the full frame models. These lenses offer convenience and versatility, eliminating the need to carry multiple lenses while driving. Benefits of Super Zooms for Desert Driving Photography: Versatility: Super zoom lenses provide a wide focal range, allowing you to capture various perspectives and subjects. Whether its photographing distant cars doing their things or your own vehicle up close during breaks, a super zoom lens has you covered. Compact and Lightweight: Compared to carrying multiple lenses, a super zoom lens simplifies your gear setup and reduces the overall weight, making it more comfortable to handle during drives or even on hikes. Quick Adjustments: With a super zoom lens, you can swiftly switch between telephoto and wide-angle focal lengths. This enables you to adapt to different photography opportunities on the go, ensuring you don't miss any crucial shots. Cost-Effective: Investing in a single super zoom lens can be a cost-effective option, saving you money compared to purchasing multiple lenses to cover the same focal range. Great Travel Companion: Even when you are not driving, and you are on a break, it is still a great lens to take with you. Super zooms are typically listed in the Travel Category of the manufacturer page. They offer better clarity than the phone you have up close as well as taking those faraway landmarks. Cons of Super Zooms: Image Quality: Super zooms do not match the optical performance of specialized prime or high-end zoom lenses. But the difference in quality is often negligible for the intended use in forum or in Instagram. Aperture Limitations: Super zoom lenses have smaller maximum apertures compared to prime or high-end zoom lenses. Plus, they are most often variable as well. This can affect low-light performance and limit depth of field control. But when we drive in the desert, we most often have ample light, and the smaller apertures are not necessarily a problem. Distortion and Chromatic Aberration: Super zoom lenses most often than not will exhibit distortion, vignetting, or chromatic aberration, especially at the extreme ends of the focal range. However, these shortcomings can often be corrected during post-processing. When I import my photos into Lightroom I import them with lens correction, and Lightroom is smart enough to apply the necessary lens specific corrections to all the photos automatically. Here's a small list of compatible Super Zoom lenses: APSC Super-zoom Lenses for DSLRs Nikon AF-S DX NIKKOR 18-300mm f/3.5-6.3G ED VR (I bought mine second hand for my D5100) Nikon AF-S DX NIKKOR 18-200mm f/3.5-5.6G ED VR II Canon EF-S 18-200mm f/3.5-5.6 IS Sony E 18–200 mm F3.5-6.3 OSS APS-C Tamron 18-400mm f/3.5-6.3 Di II VC HLD Tamron 18-300mm f/3.5-6.3 Di II VC PZD MACRO Sigma 18-300mm f/3.5-6.3 DC Macro OS HSM Contemporary Full Frame DSLR Lenses: Nikon AF-S NIKKOR 28-300mm f/3.5-5.6G ED VR Canon EF 28-300mm f/3.5-5.6L IS USM Sony FE 24-240mm F3.5-6.3 OSS Full Frame Mirrorless Camera Lenses: Nikon Z 24-200mm f/4-6.3 VR Canon RF 24-240mm f/4-6.3 IS USM Sony E 18-200mm f/3.5-6.3 OSS LE Sony FE 24-240mm F3.5-6.3 OSS Tamron 28-300mm f/3.5-6.3 Di VC PZD Fujinon XF 18-135mm f/3.5-5.6 R LM OIS WR Tamron 18-300mm f/3.5-6.3 Di II VC PZD MACRO (available for Fuji) Note: Some lenses could be discontinued but listed here because they can be bought secondhand.2 points
-
@Frederic Thank you for Smooth and Relaxed Drive.2 points
-
Very good topic @Looper ! I agree that desert-driving photography is a bit tricky. I use full frame Canon EF with 24-105mm L series which is a good overall range but quite heavy to carry along. The fact that it has optical stabilization is a must in my opinion if you start to zoom in completely, and on a 300mm that would be definitely even more the case. (we are using it handheld and not on tripod). The Sigma 70-300mm with IS is a better and more cost-effective option and also less bulky. Aperture is indeed lesser of an issue as there is plenty of light available. Even too much at times. I've seen plenty of your photos on the forum, and how you nail them every time is impressive as my camera is quite old and is not that great for the quick shots (5D mk2). It takes time to get focus right and there's never enough time when cars are zooming past1 point
-
Thank you @GauravSoni for leading this drive, Your track was amazing, loved every moment 💛 Thank you @Chris Wing & @Sunil Mathew for your guidance and support1 point
-
It was an amazing newbie drive really enjoyed @Frederic thank you.1 point
-
I Was having the same problem with my cronos switch. Loose all lights and could not reset without restarting car. Would also get the handbrake (abs) warning light come on when ambient temp was above 30ish. I removed the cronos switch and replaced it with one made in Australia (I am told cronos tried to copy the Australian one) all my problems are fixed, the new one works perfectly. new factory look switch old harness on the left, looks similar but the new one on the right has much better workmanship/quality parts.
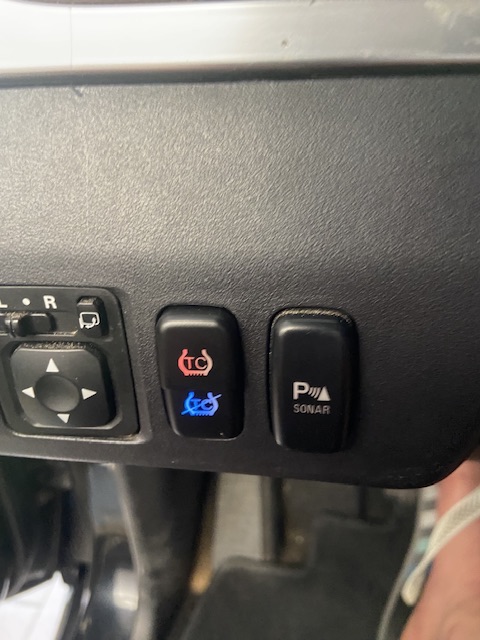
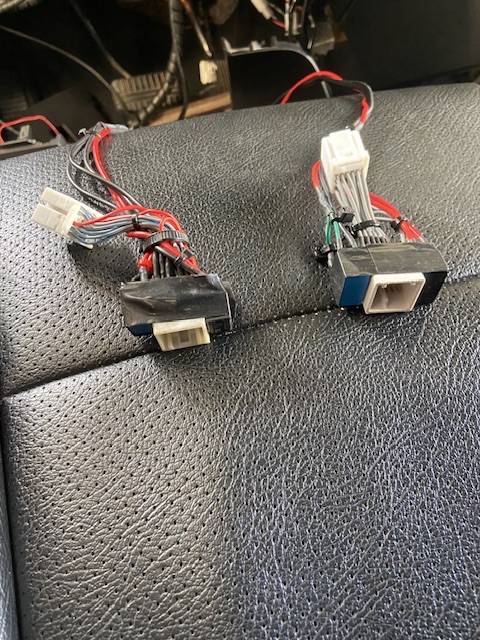 1 point
 -
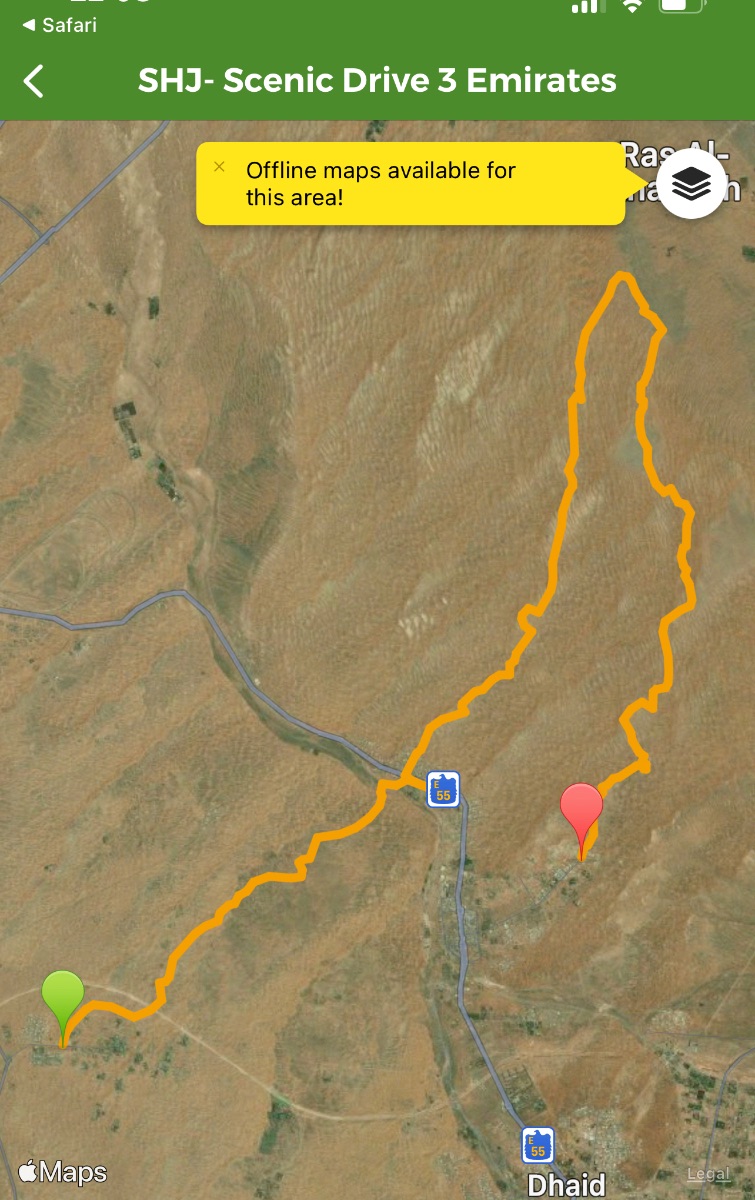
Relive video: https://www.relive.cc/view/vYvrVzEEExv GPS Track: Check out this trail from @Wikiloc! https://www.wikiloc.com/offroading-trails/shj-scenic-drive-3-emirates-140635213 (SHJ- Scenic Drive 3 Emirates)
 1 point
 -
Thanks @GauravSoni for the joyful ride today. @Gertjan I'm already back )) Right after my early exit I went to the garage and get it fixed. As @Krishna R said it was a fast and very cheap fixing. It was great to catch up with all you guys in today's ride. See you next time 👋1 point
-
1 point
-
1 point
-
1 point
-
1 point
-
1 point
-
1 point
-
1 point
-
1 point
-
1 point
-
1 point
-
1 point
-
1 point
-
1 point
-
1 point
-
1 point
-
1 point
-
1 point
-
1 point
-
1 point
-
1 point
-
1 point
-
1 point
-
1 point
-
Just don’t get stuck near the ghost 👻 town please 😂anywhere else no problem 🤣1 point
-
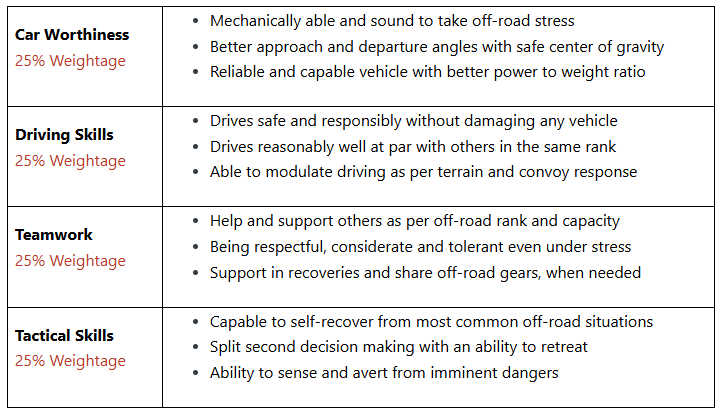
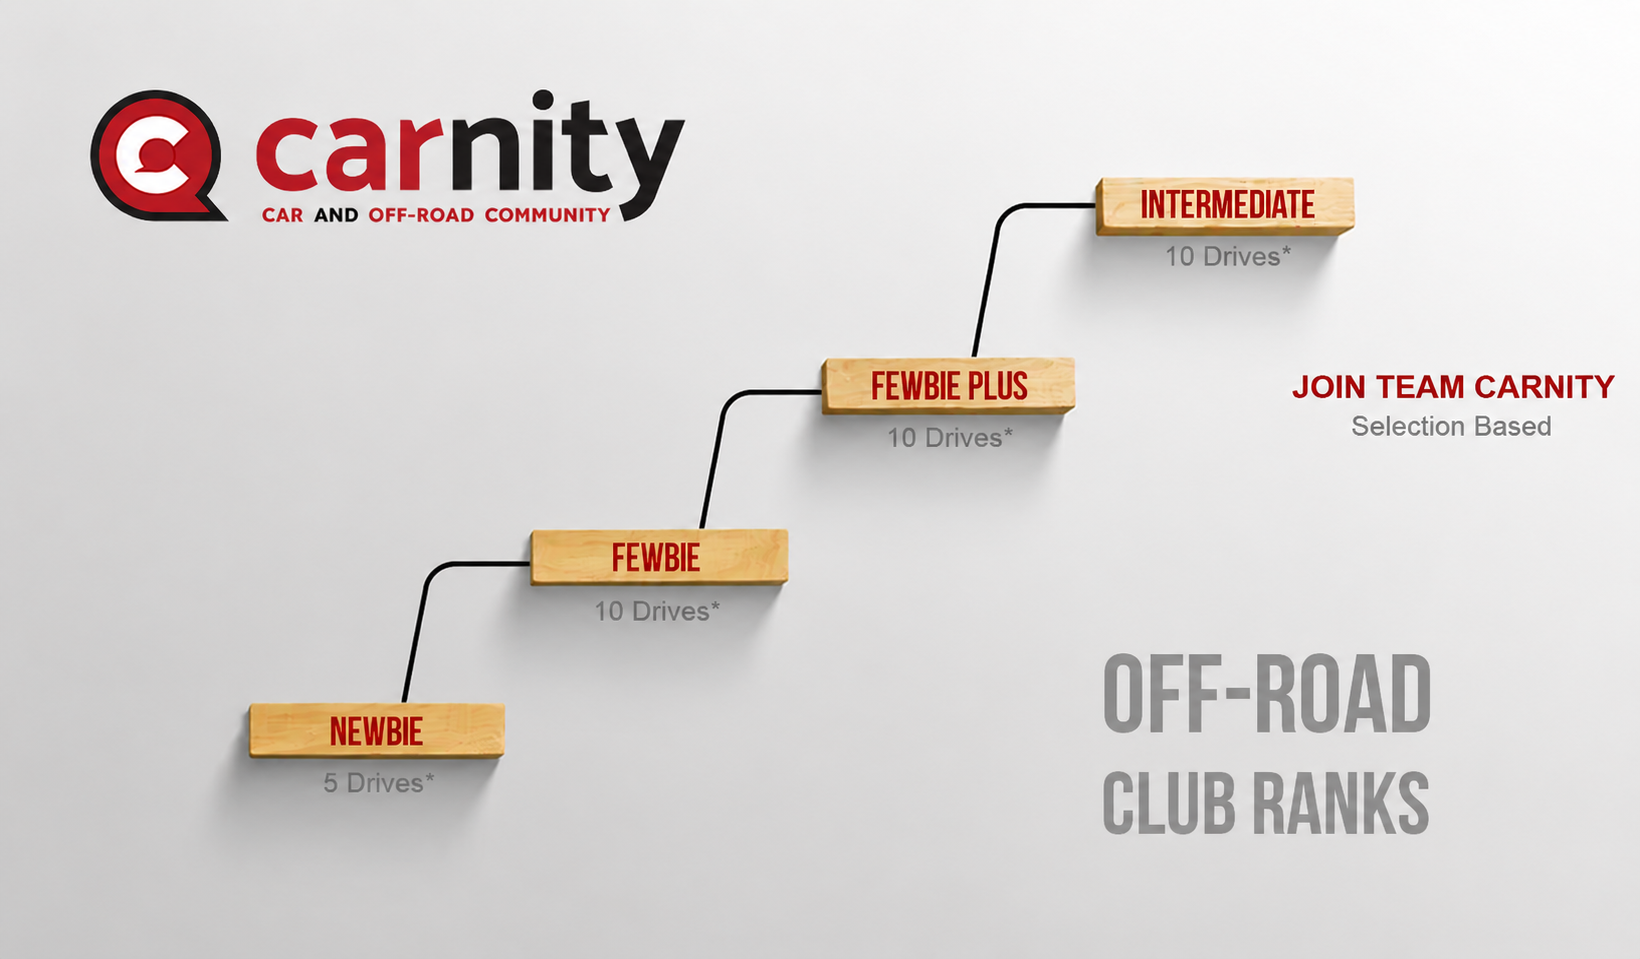
Our Grading Structure provides you with a clear road map for your off-road journey, recognizing Offroaders based on their Capabilities, Skills and Performance. This lets you navigate your own path as you gain experience while keeping you, other drivers and your vehicle safe. Driving with graded routes maximizes the fun for everyone without causing any delays or pushing yourself or your vehicle beyond limits. With an aim of continuous improvement, we have clarified, improved and developed this new grading structure version 3.0. Club Member Subscribe to off-road enthusiast subscription. Joins the Off road Club. Introduce yourself on the forum or drive topic. OFF-ROAD PROMOTIONS ARE BASED ON THESE FOUR MAJOR CRITERIAS: NEWBIE Drive Attended No prior offroading experience required What you'll learn Introduction to off-roading Desert driving techniques Advance vehicle handling Precise tire deflation and inflation Use of HI/LO gearing and differential lock Basic side sloping and crossing sand dunes safely Basic self-recovery techniques Basic radio communication skills Skills required Attentive and cautious Patience and tolerance towards others Clear communication and listening skills Car Worthiness Any 4x4 with 8 - 10 inches of ground clearance Front and rear tow hooks (stock tow hooks/eyelet are acceptable). Low Range Transfer Case. Off-road gear required Safety flag, tire deflator, tire pressure gauge, shovel, fire extinguisher, medical kit, radio (walkie-talkie), air compressor. Drive teamwork Follow the briefing and Trip Lead instructions Follow Off road Driving Etiquette's at all times No dangerous maneuver and stunts Drive Joining Join Newbie drives only Forum participation Active participation on the forum Share drive experience + feedback Share drive pictures in the gallery Update Emergency Contact Details under Carnity user profile FEWBIE Drives Attended (Indicative) Minimum 5 Newbie drives are required within the last 3 months for Fewbie promotion. After a long gap of 3 months of not off-roading with Carnity or a change of vehicle, you should join at least one Newbie drive, before resuming at Fewbie level drives. What you'll learn Basic dune and sand reading Self-recovery techniques Shoveling at right place Crawling out of difficult situations Blip Blip - Coordinate steering and gas control Basic side sloping and hill climb Basic ridge riding and criss crossing Basic control over technical dunes Slightly faster pace desert driving Ability to manage stuck/refusals with radio Learn to control and avoid fishtailing Never fight or challenge gravity Skills required Enthusiastic and positive attitude Willingness to learn and help others Presence of mind and attention to detail Car Worthiness Any 4x4 vehicle with low range gearing Suitable approach and departure angle Off-road gear required Safety flag, tire deflator, tire pressure gauge, shovel, fire extinguisher, medical kit, radio (walkie-talkie), air compressor. Drive teamwork Manage second lead and sweep positions upon request Intuitive and proactive to support Trip Lead Observe recoveries and offer help, when needed Drive Joining Join Newbie and Fewbie drives Forum participation Active participation on the forum Share drive experience + feedback Share drive pictures in the gallery Post trip report after the drive Apply for Fewbie Promotion, once you complete a minimum of 5 Carnity Newbie Drives. Duration: 3-7 days, to gather your feedback from all trip leads. FEWBIE PLUS Drives Attended (Indicative) Minimum 10 Fewbie drives are required within the last 6 months for Fewbie Plus promotion. After a long gap of 3 months of not off-roading with Carnity or a change of vehicle, you should join at least one Fewbie drive, before resuming at Fewbie Plus level drives. What you'll learn Advance dune and sand reading Advance recovery techniques Rocking and crawling to make path Learn to flatten/compact soft sand patch Self recovery from crest Advance side sloping and long hill climb Advance ridge riding and criss crossing Advance control over technical dunes Slightly faster pace desert driving FULLY control and avoid fishtailing Never fight or challenge gravity Skills required Enthusiastic and positive attitude Willingness to learn and help others Extremely attentive and focused while driving Car Worthiness Any 4x4 vehicle with low range gearing Suitable approach and departure angle Bash plate and skid plate protected Off-road gear required Safety flag, tire deflator, tire pressure gauge, shovel, fire extinguisher, medical kit, radio (walkie-talkie), air compressor. Drive teamwork Manage second lead and sweep positions upon request Intuitive and proactive to support Trip Lead Observe recoveries and offer help, when needed Drive Joining Join Newbie, Fewbie and Fewbie Plus drives Forum participation Active participation on the forum Share drive experience + feedback Share drive pictures in the gallery Post trip report after the drive Apply for Fewbie Plus Promotion, once you complete a minimum of 10 Carnity Fewbie Drives. Duration: 3-7 days, to gather your feedback from all trip leads. INTERMEDIATE Drives Attended (Indicative) Minimum 10 Fewbie Plus drives are required within last 6 months for Intermediate promotion. After a long gap of 3 months of not off-roading with Carnity or a change of vehicle, you should join at least one Fewbie Plus drive, before resuming at Intermediate level drives. What you'll learn Basic GPS and navigational skills Basic tow rope and winch recoveries Extreme side sloping and long hill climb Tall dunes ridge riding and criss crossing Precise control over technical dunes Fast pace desert driving Clear radio communication skills Advance recovery skills Self recover from dune crest Soft sand recovery Pop-out fixing Skills required Adventurous and thrill seeker but in a safe manner Level headed under stressful situations Responsible, dependable and accountable Car Worthiness Capable 4x4 vehicle with low range gearing Suitable approach and departure angle High profile tires Off-road gear required Safety flag, tire deflator, tire pressure gauge, shovel, fire extinguisher, medical kit, radio (walkie-talkie), air compressor, tool kit, rated recovery rope and 2 rated shackles, GPS. Drive teamwork Manage center forward position with Trip Lead’s permission Learn/assist recoveries under Trip Lead’s supervision Re-route convoy and coordination, when needed Drive Joining Join Newbie, Fewbie, Fewbie Plus and Intermediate drives. Forum participation Active participation on the forum Share drive experience + feedback Share drive pictures in the gallery Post trip report after the drive Apply for Intermediate Promotion, once you complete a minimum of 10 Carnity Fewbie Plus Drives. Duration: 3-7 days, to gather your feedback from all trip leads.

 1 point
 -
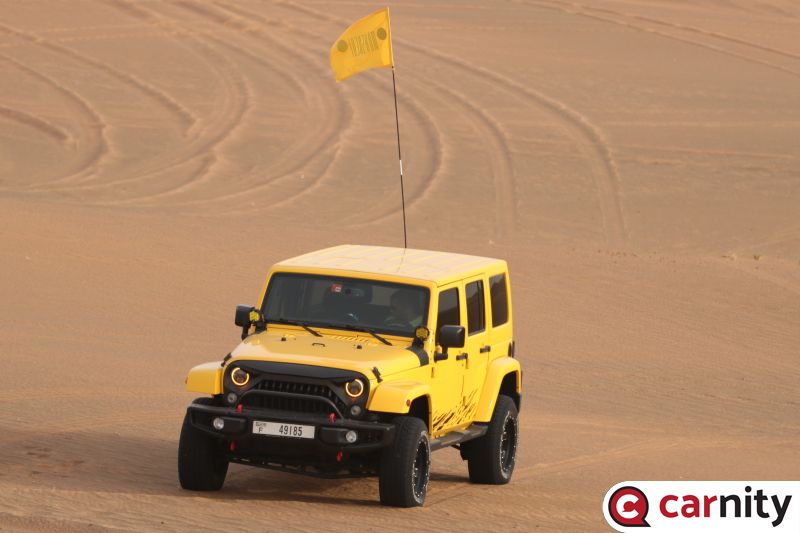
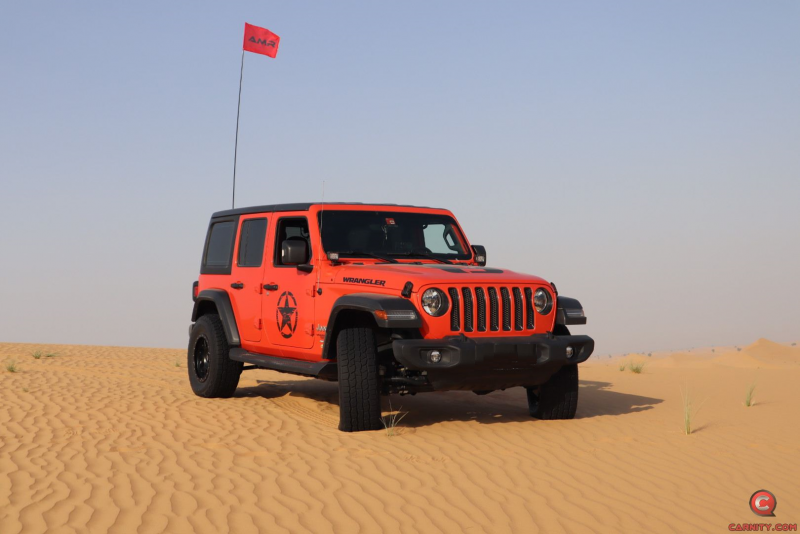 So you have decided to become an Offroad Enthusiast by either joining an Offroad-Club, or becoming a Solo Adventurer to explore the UAE deserts ? Then surely the time has come to start investing in the proper offroad gear. Good quality offroad gear will be your biggest help to be self-reliant and to enjoy this sport thoroughly. After all you don't want to be stranded in the middle of the desert with unsafe or unreliable equipment. We have compiled a list of essential tools you should have as per our club levels, and included some recommended gear which we have used in the club with good results. OFF-ROAD FLAG (NEWBIE AND ABOVE) A proper off-road flag is safely mounted with a bracket, or suction cup, and does not fall off on the first windy day. You can either buy a very decent flag like the AOR ones, or go to the nearest dune-buggy shop, or Dragon Mart. A fishing rod with flag also does the job. TYRE DEFLATOR AND PRESSURE GAUGE (NEWBIE AND ABOVE) Deflating your tyres will be a weekly practice, and the accuracy of your tyre-pressure gauge will make the difference between struggling in the sand or floating on it. You can buy them in ACE, Speedex, or Dragon Mart and it is advisable to buy two different models to double-check the accuracy. Most cheaper models work well on normal tyre pressures (35 psi) but start to give inaccurate readings below 15psi. Deflating your tyres can be done with a stem removal tool or a quick deflator. Whatever works for you. How to deflate your tyres is well documented here: FULL-SIZE SHOVEL (NEWBIE AND ABOVE) Next to your Carnity buddies, a proper shovel will be your best friend in the desert.You should get a full-size laborer shovel, and not a small foldable camping spoon/shovel. Buy a shovel with a handle, and a v-shaped tip, you will find them in general hardware shops. Example below is perfect, and will allow you to displace a lot of sand. TWO WAY RADIO (NEWBIE AND ABOVE) While driving with an offroad-club, a two-way radio is essential to communicate with the rest of the convoy and to receive instructions or guidance. In Carnity Off-Road Club, we use two-way UHF radios that are programmable to our frequency list that we have created. Make sure your radio is always fully charged for every drive, and if possible invest in having a second (spare) one. We can recommend the Crony/Motorola MT777 or the Baofeng UV5-R model as both are good radios with excellent price/quality ratio. You will find them in Dragon Mart. Do not buy a walkie talkie without a display, as these will be mostly pre-programmed and the frequencies cannot be changed unless you purchase programming software and cables. NOTE: THE BAOFENG 888 RADIOS THAT WE HAND OUT AS SPARE RADIOS WILL NOT WORK OUT OF THE BOX WHEN YOU BUY THEM AS THEY HAVE DIFFERENT FREQUENCIES. YOU CAN PROGRAM THEM BUT YOU WILL NEED PROGRAMMING CABLE, A LAPTOP, AND SOFTWARE CALLED CHIRP. IF YOU ARE NOT INTO THESE TECHNICAL THINGS, PLEASE STICK WITH BUYING THE CRONY/MOTOROLA MT777 or BAOFENG UV5R AS THESE CAN BE EASILY PROGRAMMED YOURSELF WITHOUT CABLES OR SOFTWARE. Instructions on how to program the Motorola/Crony and Baofeng you will find in below post: FIRE EXTINGUISHER AND MEDICAL KIT (NEWBIE AND ABOVE) Both items every vehicle should have, offroad or onroad. You will find DRY POWDER extinguishers at the petrol station or hardware shops, and a medical first aid kit at general hardware stores or pharmacies. Make sure they are immediately accessible in case urgently needed. 12V AIR COMPRESSOR (NEWBIE AND ABOVE) After every offroad drive you will need to re-inflate your tyres. If you are lucky to be nearby a petrol station you can slowly drive your way up there, but in many cases you will be miles away from one. You will find air compressors from 150 up to 2500AED as per your budget and liking, but if you are using it on a weekly basis you will find that sticking with a well-known brand like TJM, Bushranger, ARB really makes the difference. You can be lucky with the Camel branded compressors in Dragon Mart too, but do not expected any warranty on them. ACE, Speedex has the branded ones, and also a few cheaper options. GPS DEVICE (INTERMEDIATE AND ABOVE) From a dedicated GPS device such as the Garmin 276cx, or a smartphone with your favorite navigation app, it will be important from Intermediate level onwards that you start practicing navigation, putting waypoints, entry and exit points, and seeing the difference on your map between for example long range dunes and small technical dunes. Apps like MotionX for IOS, MyTrails, and GaiaGPS are very popular and allow you to properly prepare for your route / track beforehand. RECOVERY ROPE WITH 2 SOFT SHACKLES (INTERMEDIATE AND ABOVE) Recovering stuck vehicles in the desert is a skill, and from Intermediate level onwards you will be able to practice this. There are different types of ropes in the market, and finding the right one might be very confusing. - A Polyester Tow Rope is meant to tow a vehicle on the road, NEVER for off-road recovery. These are the basic tow ropes you will find at the petrol station. - A Webbing Sling is a Polyester rope that you can buy in hardware stores and is meant for industrial lifting, but can also be used as tow rope in specific cases (to re-direct a stuck vehicle with gentle tugs). This material does not stretch. - A Snatch rope (flat) or Kinetic Recovery Rope (round) is a rope made of Nylon that allows to stretch for about 20%, and is extremely useful for offroad recovery as the stretching creates a kinetic energy and the recoil effect helps in recovering vehicles stuck in the sand. When choosing a kinetic recovery rope, you should select a rope that has a breaking strength of 2-3 times the weight of the vehicle you will recover. For example; if you recover a Nissan Xterra which weighs 2 ton, the breaking strength of the rope should be at least 6 tons. Most recovery ropes have 10-15 Tons breaking strength. The reason for this is that the forces involved when a vehicle is completely stuck in the sand are far higher. Our club uses both the Viking Kinetic rope as well as the AOR Kinetic recovery rope with excellent results. The Viking rope costs about 350AED with a bag and 2 soft shackles included, while the AOR kinetic rope costs about 390AED without soft shackles. (AOR soft shackle cost 155 AED per piece). A shackle is a device that allows you to connect your rope to your tow point. These used to be mostly rated metal D-shackles, but nowadays the soft shackles, that were well known in the sailing world have become in offroading too. A soft shackle will be safer to use as the less metal involved the better during recoveries. More information on using these Kinetic recovery ropes and shackles can be found in below post: FLOOR JACK WITH WOODEN BOARD (ADVANCE AND ABOVE) A hydraulic floor jack in combination with a strong wooden board will allow you to safely lift a vehicle in the desert to replace a tyre or fix a pop-out. We do not advise using scissor jacks or bottle jacks, as these are only acceptable for on-road and will topple over in the sand or possibly even on a wooden board. A good hydraulic floor jack should be at least 2T capacity and a swivel neck (rotating handle) will allow you to put it further underneath the vehicle and still be able to lift it. JZX or YATO has good hydraulic jacks. Do not buy the cheapest one available as the consequences or risks when the floor jack collapses could be very serious. A strong wooden board should be at least 1 1/2 inches thick and made of natural wood and not MDF or plywood. A good example is scaffolding planks. It should be large enough to fit your hydraulic jack on it. TOOLKIT AND FLUIDS (ADVANCE OFF-ROADERS) A toolkit will come in handy for a multitude of reasons, in case a vehicle breaks down, to fix a loose exhaust, flag, or bumper, but can make you a hero if you are able to fix your vehicle instead of leaving it behind in the desert. Following items are recommended: A small basic multimeter, set of spanners up to size 24, some adjustable spanners, a hacksaw, hammer, set of screwdrivers, some electrical tape, duct tape, cable-ties, some spare car fuses, spare valves and stems, tie down straps, socket wrench set and some pliers. Also a tyre repair kit will be coming in handy, together with some thick gloves, and battery boost cables. Following fluids are recommended: - Engine oil: 1-2 liter - Coolant: 1-2 liter - ATF Transmission oil: 1 liter - A can of WD40 or penetrating oil - Spray-can with water to cool down an overheating engine.1 point
 -
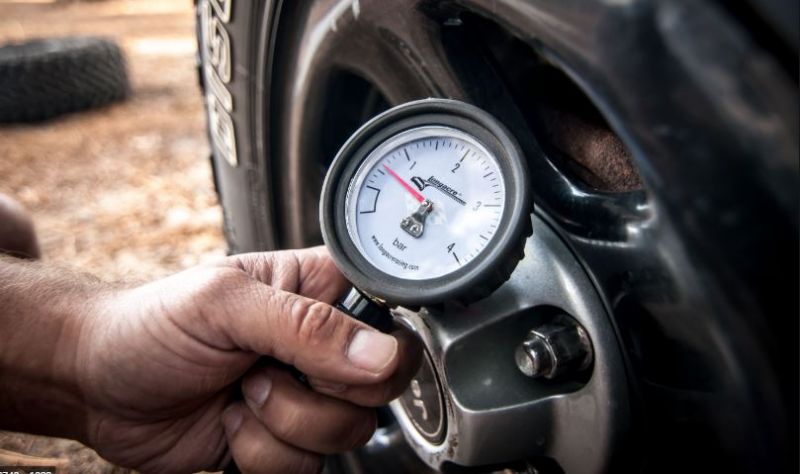 When starting as an off-roading enthusiast in UAE, you will come to hear about deflating your tyres, and setting your tyres to the right tyre pressure is one of the first things you will need to learn to master. The main reason for deflating your tyres is to obtain a longer footprint in the sand, and that enables you to drive on the sand, instead of digging into it. Tyre pressure is defined in PSI (pounds per square inch) or Bar. You will find both readings on your pressure gauge. In UAE most people use PSI, and the gas station compressors also use the PSI identification. Below you can see the corresponding PSI and Bar readings. As a beginner level offroader, you should reduce your tyre pressure to about 15 PSI. This is low enough to enable you to drive in the dunes without the risk of the tyre coming off the rim. This 15PSI is also perfect for on-road-tyres. After a few drives, and depending on the terrain, or if you have offroad tyres, you can slowly deflate further down to 10-12 PSI. Take note that the risk for having a pop-out will increase, so don't be afraid to post your questions on the Carnity website or consult one of the marshals if you are not sure about your tyre pressure. There are different ways of deflating your tyres, and each have their advantages and disadvantages. The more you will practice, the sooner you will find out what works best for you. How does a stem valve looks like ? The stem valve is consisting out of 3 pieces. The body, that is made of flexible rubber, the core, and the valve cap. Take note of the following: - The rubber valve body wears out over time. Once you start to see cracks, it is advisable to get it replaced at the nearest tyre center. - The valve core is a tiny component with a small rubber gasket. If you remove them on a weekly basis, the gasket slowly wears out or the core can even break. Carry 5-10 spares in your vehicle. The tyre center often give them for free. - The valve cap keeps dirt and sand from entering into the valve, so it's advisable to always screw the cap back on. The process of deflating / inflating goes by either pushing in the valve core, which allows air to be released, or by removing the valve core, which is a much faster option. How to check the tyre pressure ? Verifying your tyre pressure is really easy. Get yourself a pressure gauge, and push it against the tyre valve, or screw it on (depending on the model). You will see the reading in PSI or Bar. The digital ones are fine, but one day the battery will be empty, so a good old analogue is preferred to have as well. PS if you find that your gauge has difficulties reading the tyre pressure, and you really need to push it hard onto the valve, this is an indication that the valve core is worn out. Replace it with a new one and you will see that this will solve your problem. Which tools to deflate and how much time will it take ? 1) Set of keys, a rock, or anything you might find in your car (+/- 15 mins) PROS: CHEAP and plenty of stuff available CONS: Takes a very long time which you could use for a smoke or a chat and risk on damaging the valve stems. 2) Valve Chucks (4-5 minutes) Buy 4 of them and stick them on all tyres simultaneously and then wait about a few minutes (as per your type and size of tyre) to arrive at around 17-18 psi. Then take one tyre at a time and use your pressure gauge to further decrease and finetune the pressure of each individual tyre. PROS: Fast and Cheap CONS: none that i know off. 3) Stem removal tool (2-3 minutes) Available in most hardware shops. Enables you to remove the valve core stem so the tyre pressure comes down very fast. PROS: Very Fast and Cheap CONS: Be careful not to lose the stem as it can blow out. So taking some spare is advisable. Be careful not to deflate too much as it really goes fast. Use a stopwatch and learn to find the perfect timing when to screw it back in, and then double check with a pressure gauge. 4) Rapid Tyre deflator and pressure gauge ( 4-5 mins) This tool enables you to loosen the stem, quickly deflate and immediately take a pressure reading. PROS: Professional tool for reasonable price, pressure gauge and deflator in one tool. CONS: Might take a bit of practice to get the hang of it. The fake chinese ones are fairly unreliable. As with all tools and gear, we advise you to practice a bit at home to become familiar with them before your desert driving. It is also recommended to carry two pressure gauges, so you can compare them with each-other and double check your readings. Often we have seen pressure gauges giving accurate readings at high pressures (35) but very inaccurate results at 10-15 PSI.1 point



.jpeg.8292203f294af7c7fd32e986adce9d3f.jpeg)

This leaderboard is set to Dubai/GMT+04:00