
Leaderboard

.thumb.jpg.faf264f698ded093f59df7be5597f9ce.jpg)

Popular Content
Showing content with the highest reputation on 07/17/2023 in all areas
-
You’re the Pajero Master @Stumpy Paj ! Have a look at the Australian Pajero forums, I noticed they had some articles about it.3 points
-
Great topic @Looper, let's start some coaching again with the lens lover club, I miss those big time. Im still in love with my single lens AF-S NIKKOR 28-300mm f/3.5-5.6G ED VR on my Nikon D750 that always served me well from close up to wide angle.3 points
-
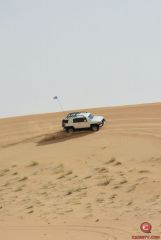
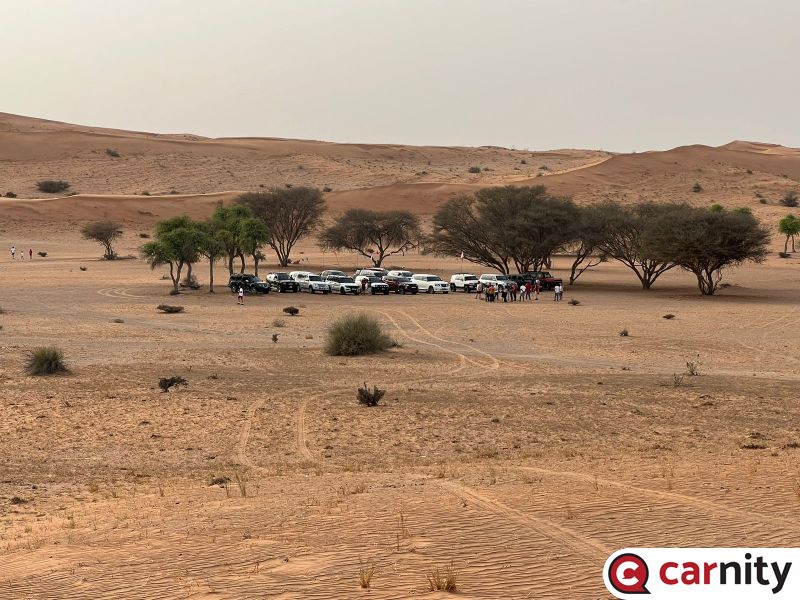
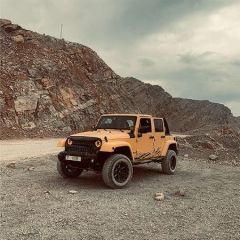
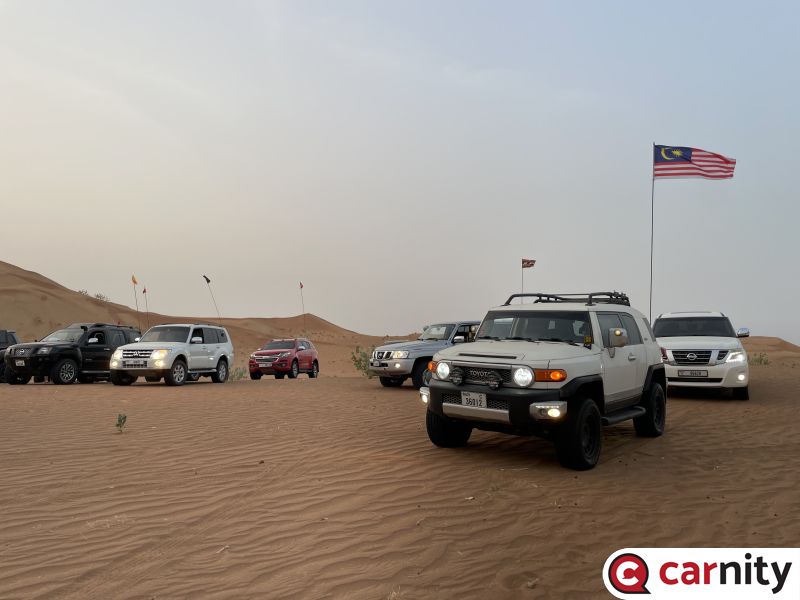
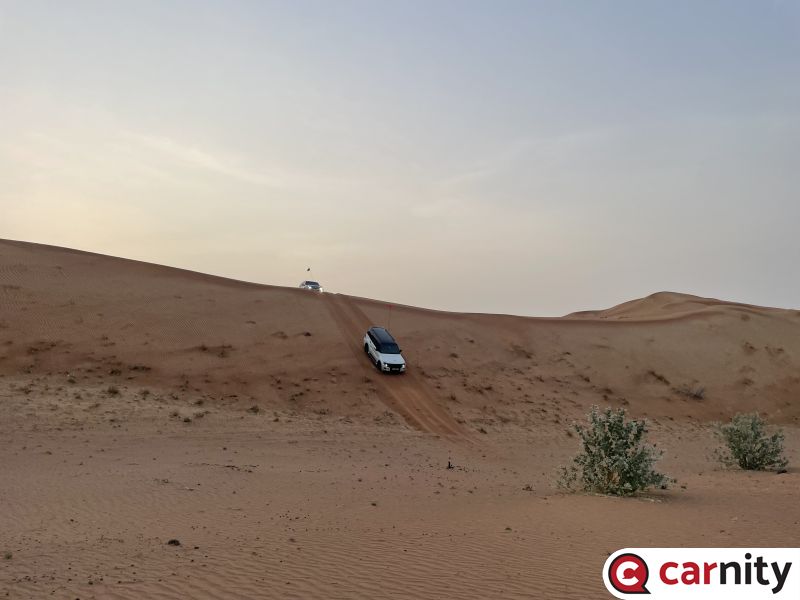
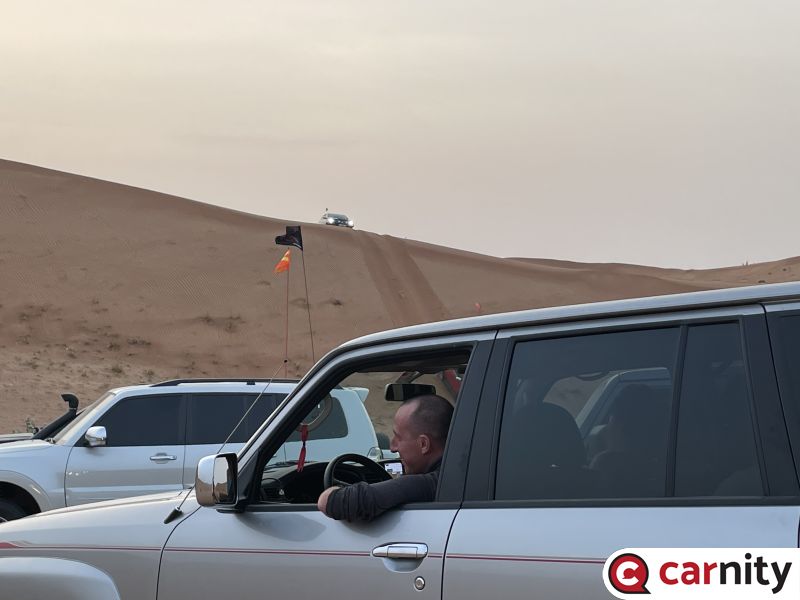
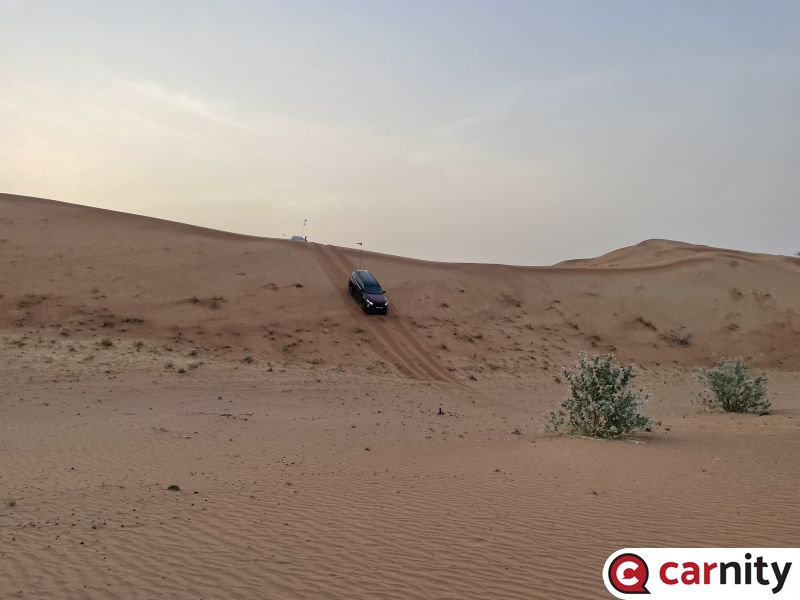
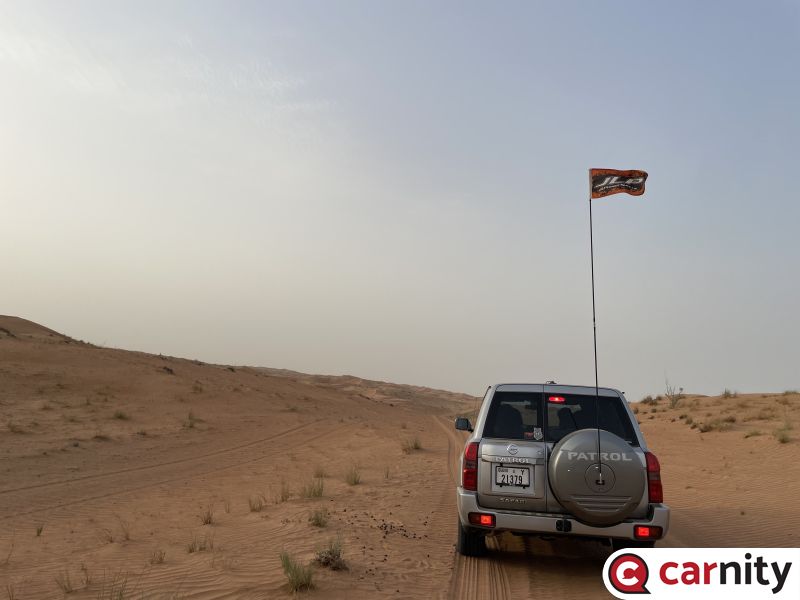
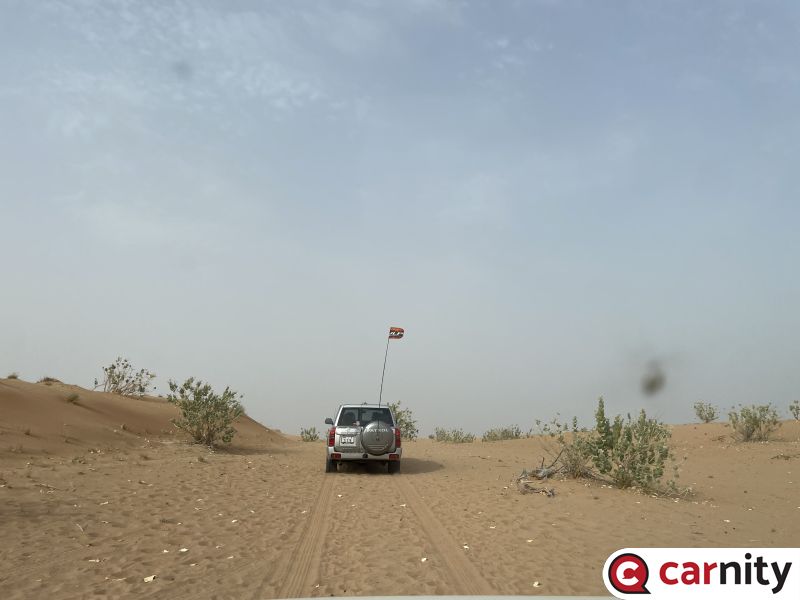
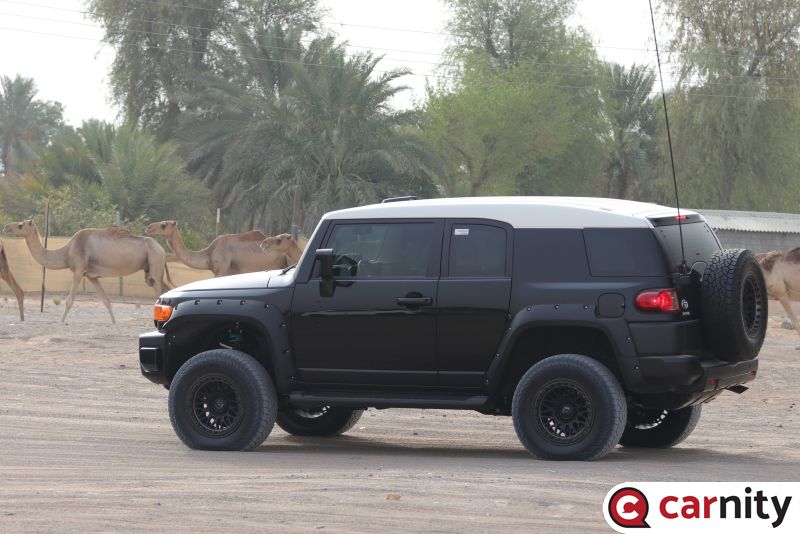
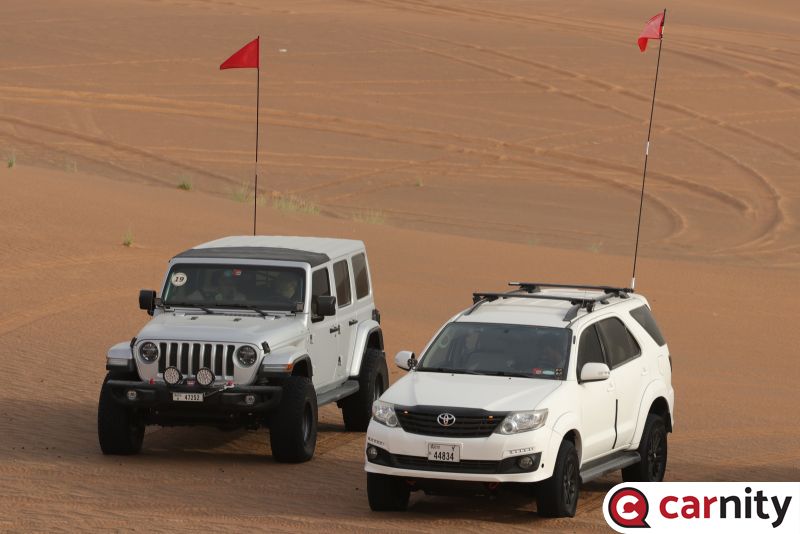
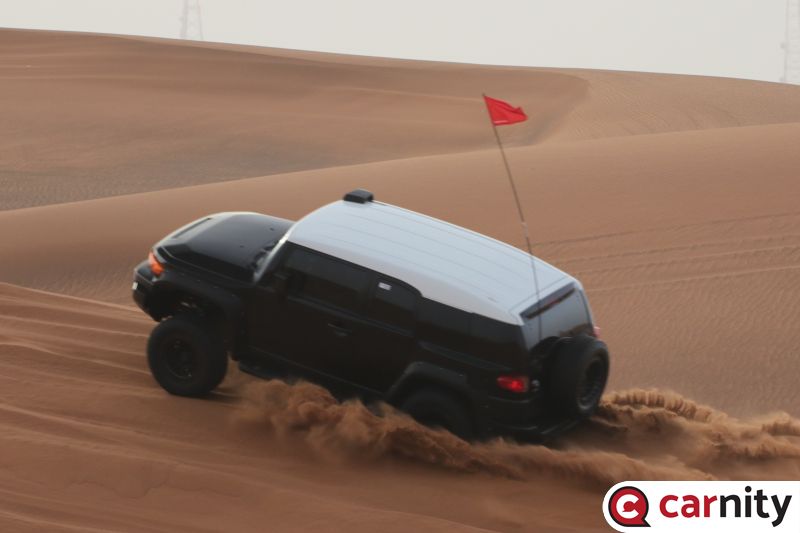
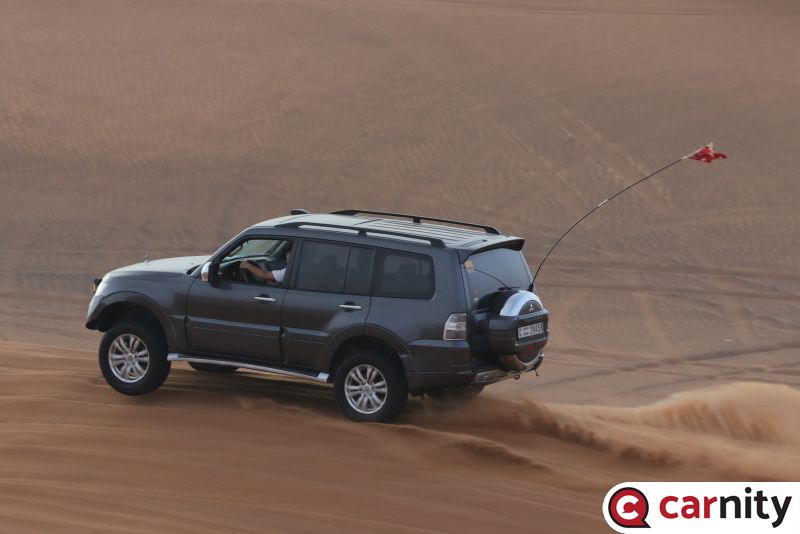
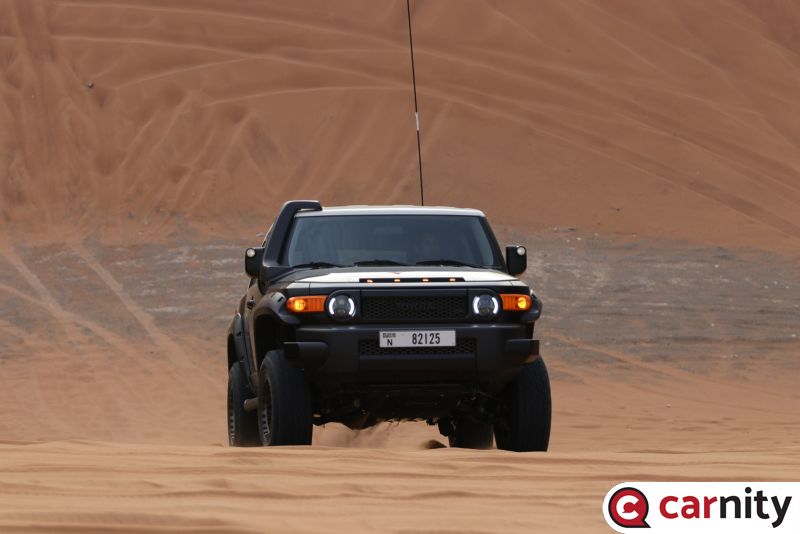
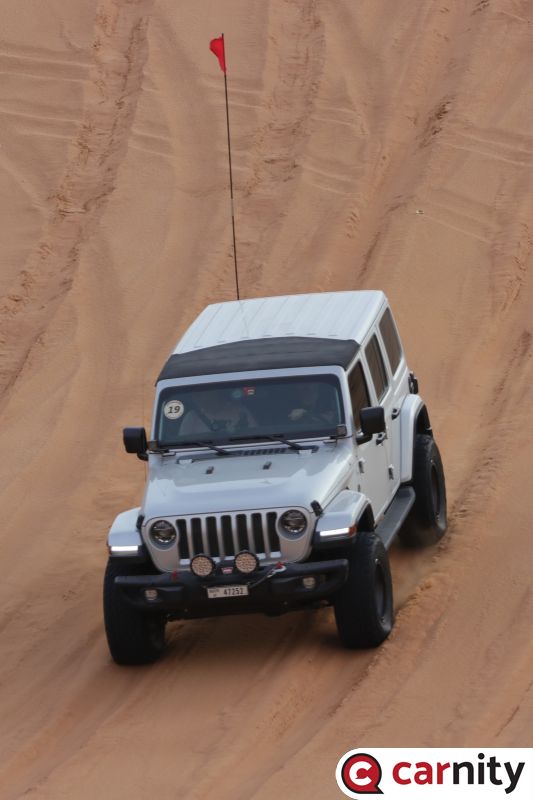
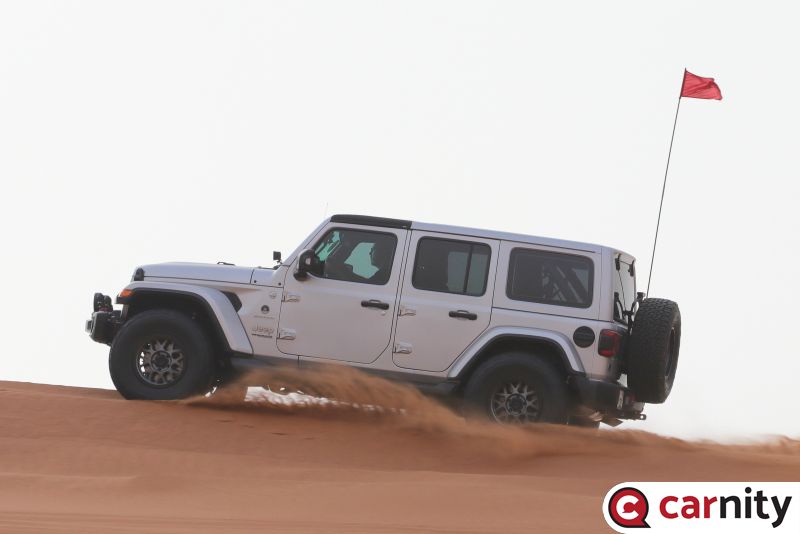
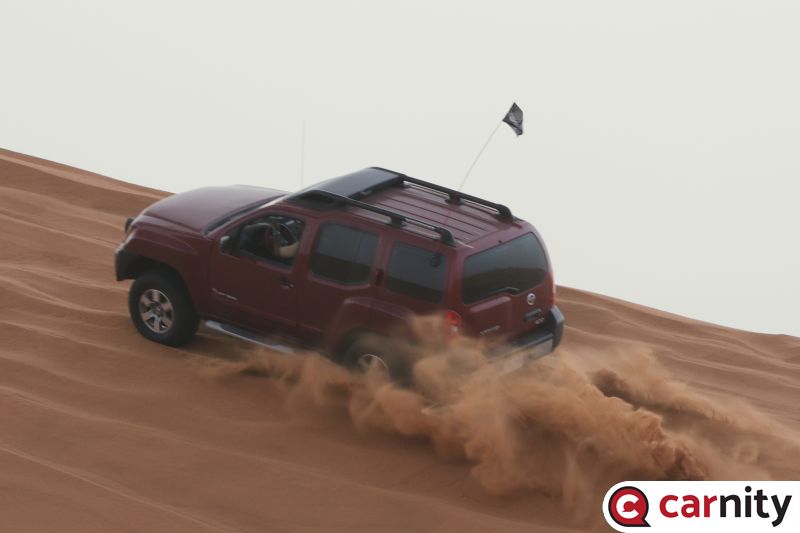
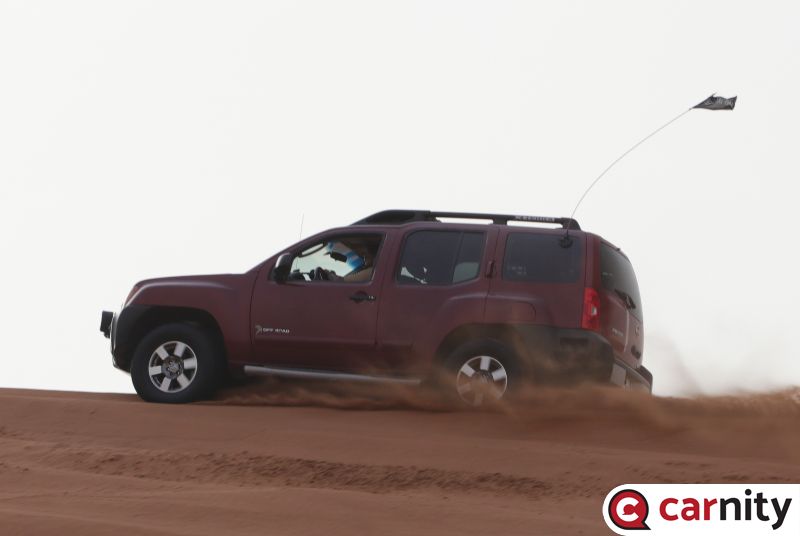
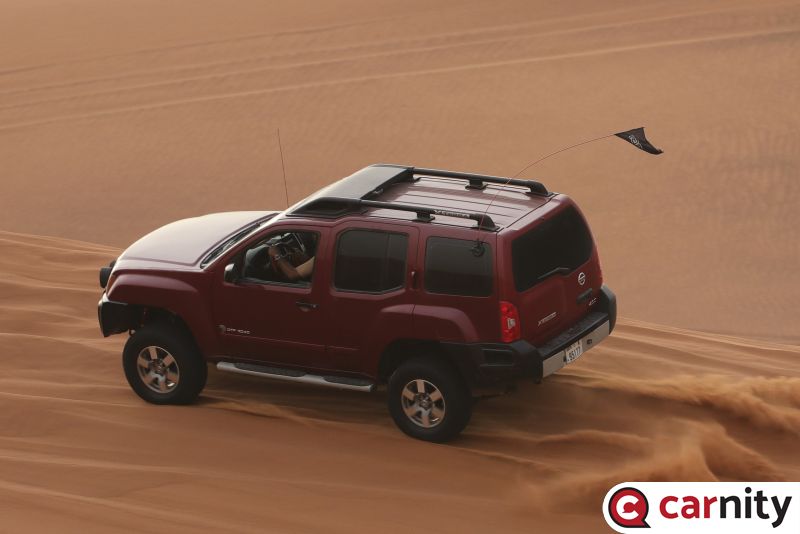
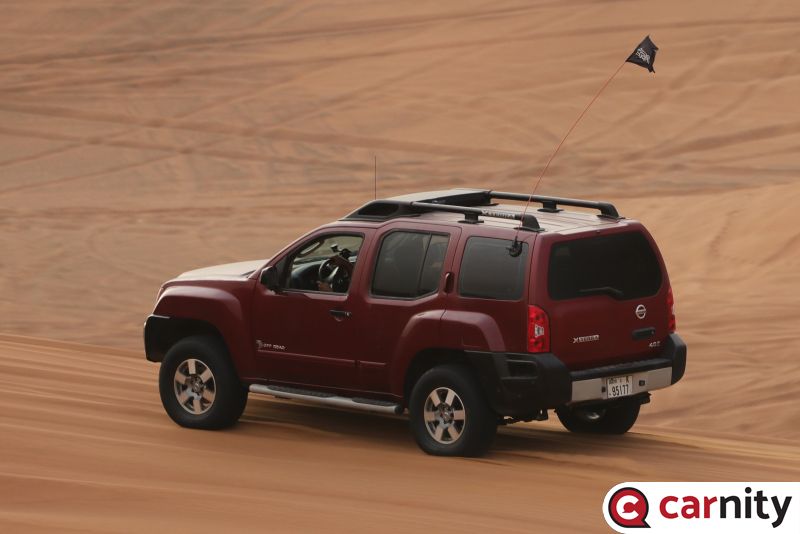
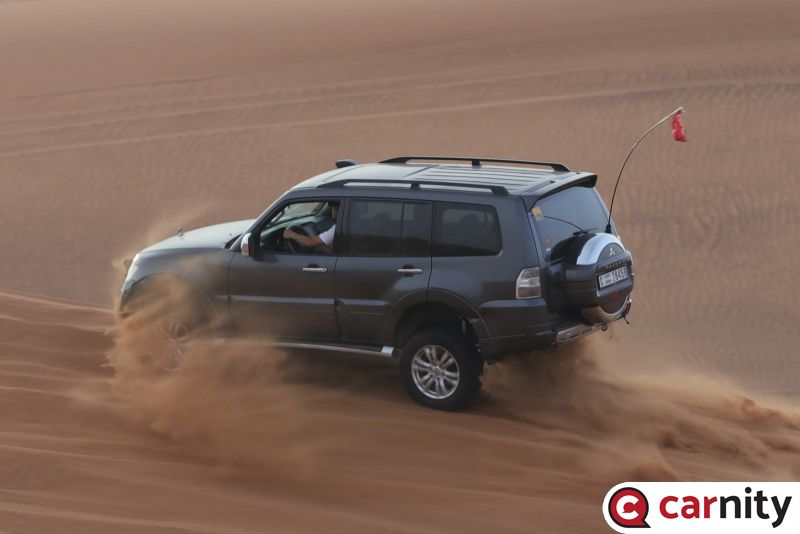
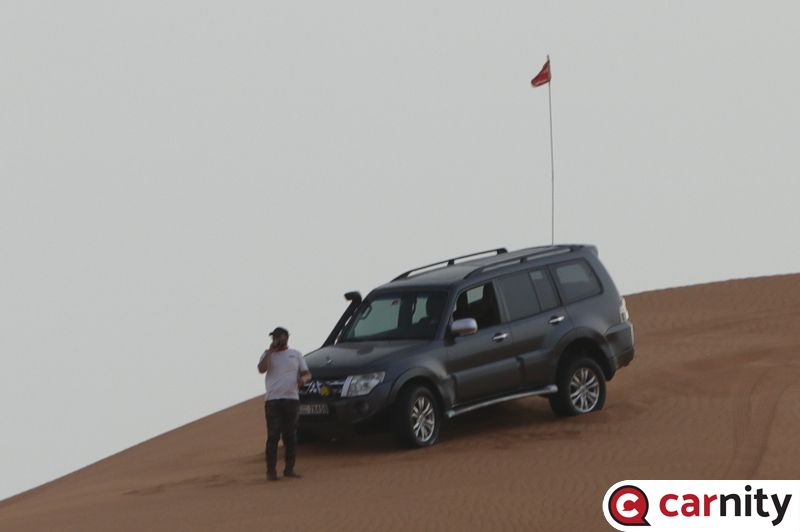
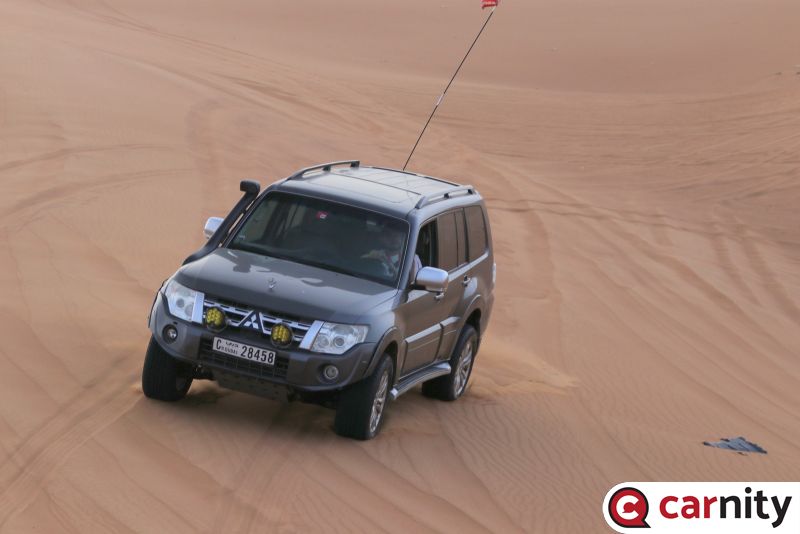
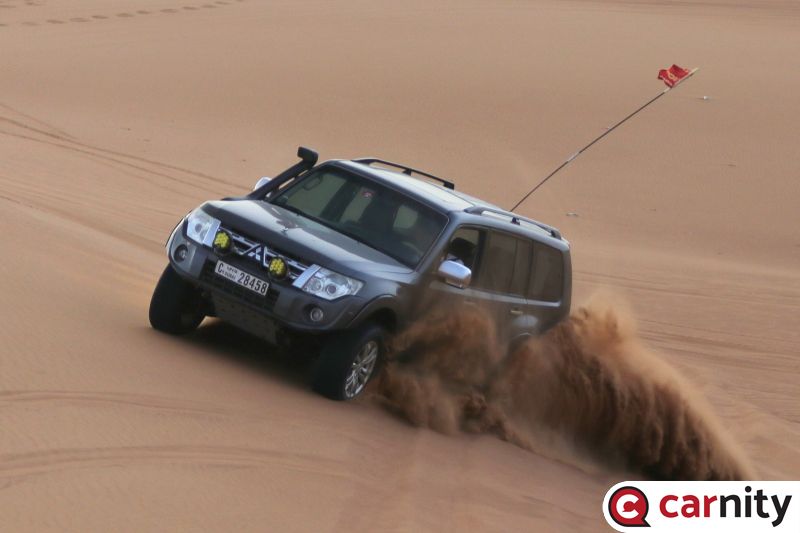
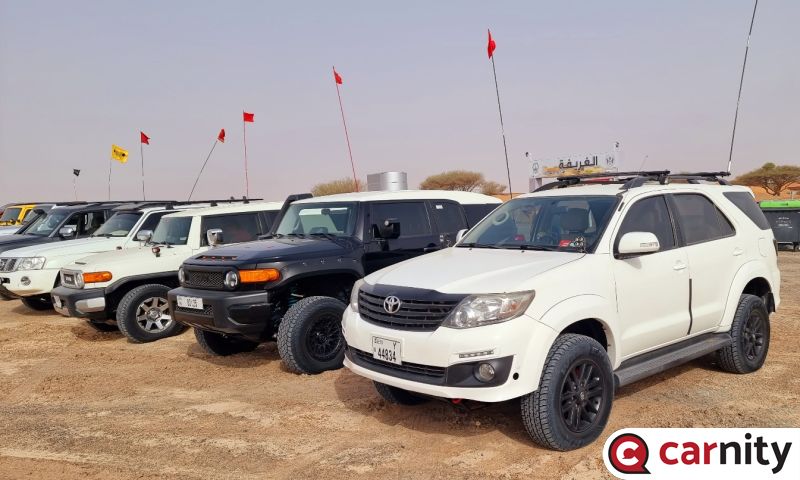
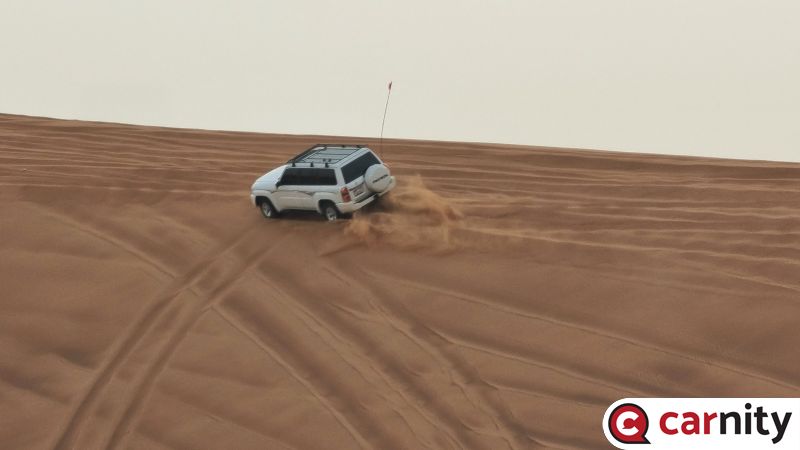
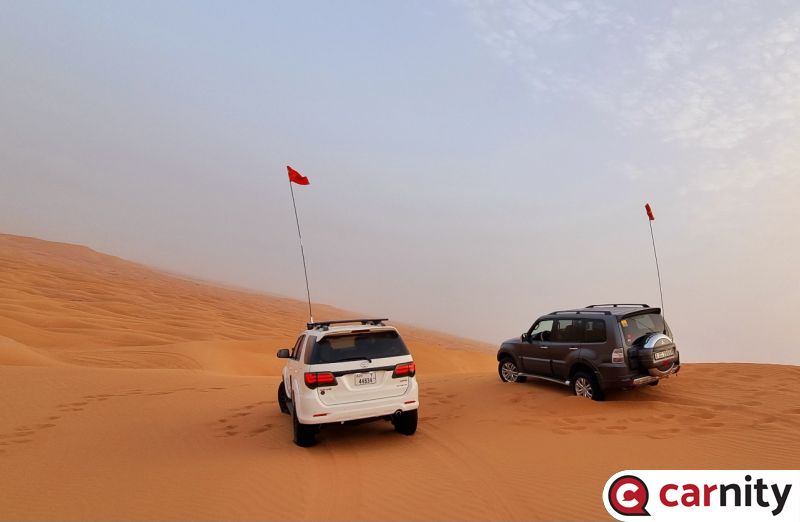
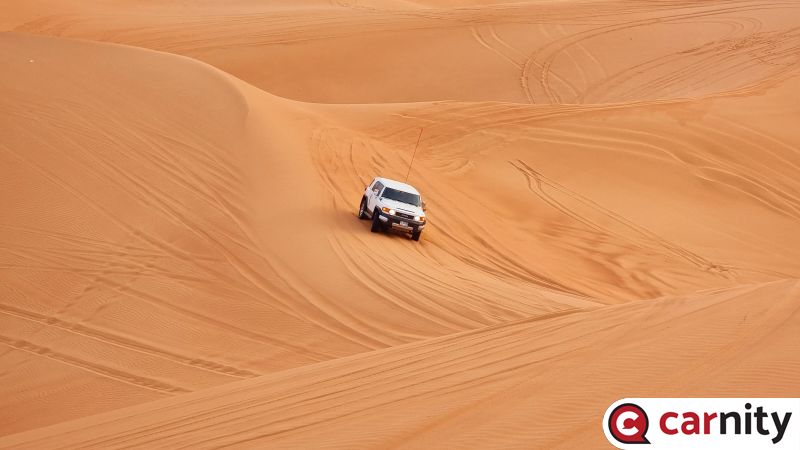
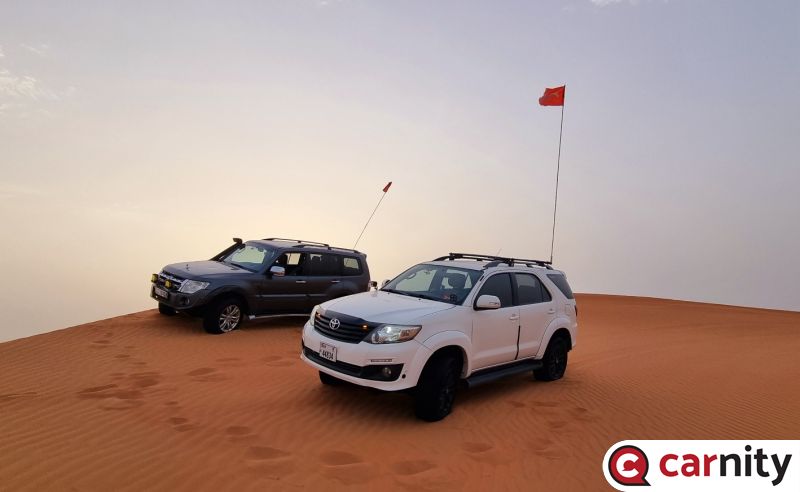
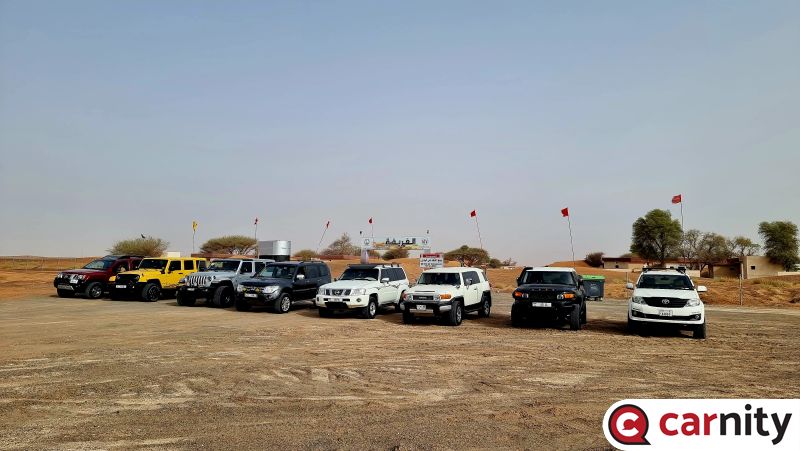
Thanks everyone who showed up especially to @Fredericwho led the drive, Dr @Chaitanya D who swept and support by @DP1011 and @Rajiv Sam It was a relaxing, scenic and enjoyable drive. This drive was good for me since I has been away from the sand for a few months. I have shared some photos.3 points
-
@babaski@BIBIN THOMAS@Pierre de Maigret@Glenn W@Thejas Uthran@topgear@Bashar Beasha@Dorian Zissi@Rajiv Sam@DTG@Arun Menon@Haneef Thayyil@Harshal@Abhilash Kottakkal @Chaitanya D @DP1011 Thanks to everyone for joining yesterday! I hope you enjoyed the laidback atmosphere and had a safe trip back home. Great support as usual from @DP1011, @Chaitanya D and @Rajiv Sam ! You’ll find some nice pics in the drive gallery ! See you soon in the sands again !3 points
-
When it comes to desert driving photography, having the right equipment is essential to capture the action from far as well as the cuteness of your ride from near. At the same time, you would also want to capture the vastness and unique beauty of these arid landscapes. Super zoom lenses offer a versatile solution, providing both telephoto and wide-angle capabilities in a single lens. We need the wide-angle for capturing photos of own cars that we love and cherish and telephoto for distant subjects like other cars while doing sidees or being recovering as well as ancillary subjects like the wildlife or other interesting details in the landscape. In this article, we will delve into the basics of super zoom lenses, highlight their benefits and drawbacks, and provide a selection of models available from popular brands. Understanding Super Zoom Lenses: Super zoom lenses, also known as all-in-one or bridge lenses, are designed to cover a wide focal range, typically ranging from wide-angle to telephoto, all within a single lens. Typically, you will find 18-300 mm in the APSC or crop sensor models and 28 mm - 200mm for the full frame models. These lenses offer convenience and versatility, eliminating the need to carry multiple lenses while driving. Benefits of Super Zooms for Desert Driving Photography: Versatility: Super zoom lenses provide a wide focal range, allowing you to capture various perspectives and subjects. Whether its photographing distant cars doing their things or your own vehicle up close during breaks, a super zoom lens has you covered. Compact and Lightweight: Compared to carrying multiple lenses, a super zoom lens simplifies your gear setup and reduces the overall weight, making it more comfortable to handle during drives or even on hikes. Quick Adjustments: With a super zoom lens, you can swiftly switch between telephoto and wide-angle focal lengths. This enables you to adapt to different photography opportunities on the go, ensuring you don't miss any crucial shots. Cost-Effective: Investing in a single super zoom lens can be a cost-effective option, saving you money compared to purchasing multiple lenses to cover the same focal range. Great Travel Companion: Even when you are not driving, and you are on a break, it is still a great lens to take with you. Super zooms are typically listed in the Travel Category of the manufacturer page. They offer better clarity than the phone you have up close as well as taking those faraway landmarks. Cons of Super Zooms: Image Quality: Super zooms do not match the optical performance of specialized prime or high-end zoom lenses. But the difference in quality is often negligible for the intended use in forum or in Instagram. Aperture Limitations: Super zoom lenses have smaller maximum apertures compared to prime or high-end zoom lenses. Plus, they are most often variable as well. This can affect low-light performance and limit depth of field control. But when we drive in the desert, we most often have ample light, and the smaller apertures are not necessarily a problem. Distortion and Chromatic Aberration: Super zoom lenses most often than not will exhibit distortion, vignetting, or chromatic aberration, especially at the extreme ends of the focal range. However, these shortcomings can often be corrected during post-processing. When I import my photos into Lightroom I import them with lens correction, and Lightroom is smart enough to apply the necessary lens specific corrections to all the photos automatically. Here's a small list of compatible Super Zoom lenses: APSC Super-zoom Lenses for DSLRs Nikon AF-S DX NIKKOR 18-300mm f/3.5-6.3G ED VR (I bought mine second hand for my D5100) Nikon AF-S DX NIKKOR 18-200mm f/3.5-5.6G ED VR II Canon EF-S 18-200mm f/3.5-5.6 IS Sony E 18–200 mm F3.5-6.3 OSS APS-C Tamron 18-400mm f/3.5-6.3 Di II VC HLD Tamron 18-300mm f/3.5-6.3 Di II VC PZD MACRO Sigma 18-300mm f/3.5-6.3 DC Macro OS HSM Contemporary Full Frame DSLR Lenses: Nikon AF-S NIKKOR 28-300mm f/3.5-5.6G ED VR Canon EF 28-300mm f/3.5-5.6L IS USM Sony FE 24-240mm F3.5-6.3 OSS Full Frame Mirrorless Camera Lenses: Nikon Z 24-200mm f/4-6.3 VR Canon RF 24-240mm f/4-6.3 IS USM Sony E 18-200mm f/3.5-6.3 OSS LE Sony FE 24-240mm F3.5-6.3 OSS Tamron 28-300mm f/3.5-6.3 Di VC PZD Fujinon XF 18-135mm f/3.5-5.6 R LM OIS WR Tamron 18-300mm f/3.5-6.3 Di II VC PZD MACRO (available for Fuji) Note: Some lenses could be discontinued but listed here because they can be bought secondhand.2 points
-
@Frederic Thank you for Smooth and Relaxed Drive.2 points
-
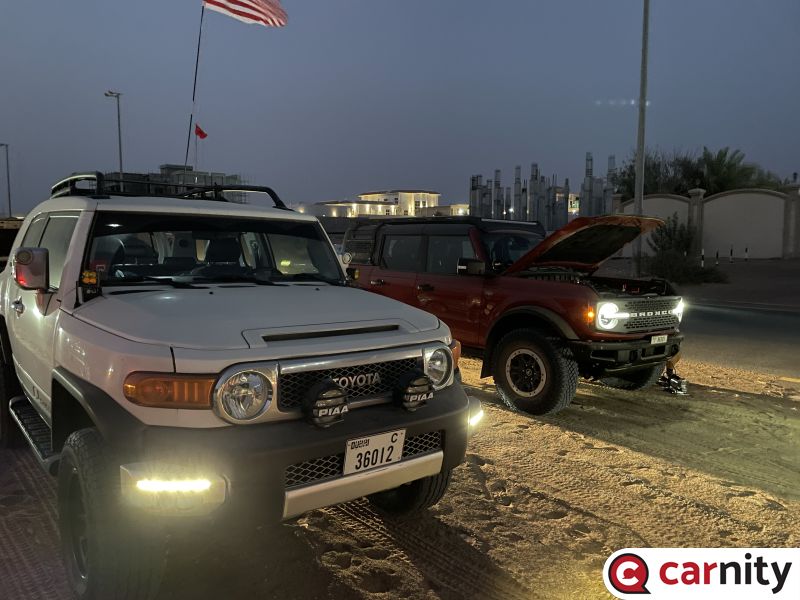
Dear Pitch Black Loopers Hello and welcome to the second version of this night drive which is reloaded this time with more loops and darker then ever . its a dark hot night and trust me you will need all the fluids needed for your self and your truck . having said that check your vehicles and your gear and be prepared for lots of climbs , loops re loops and in and out boweling especially around the big red . little advise dont bring passengers whom are liable to develope motion sickness. there will be no immediate exit when we are in the middle of the darkness. stay tuned toward end of the week . MUST READ AND COMPLY Environmental Policy Offroad Flag Guideline Two Way Radio Guideline Off road Driving Etiquette's Emergency details for all off-roaders Off Road Driving - Roles & Responsibilities Drive Details Level: Fewbie and above Meeting time: 8:15 PM Friday 21 July Meeting Point https://goo.gl/maps/BEPGeXWQD5g8jKNR7 Tawi Nazwa 4X4 track Type of Car: Any proper 4x4 with front and back tow hooks and 8-10 inches of ground clearance. What to bring along: Loads of water, snacks (for yourself), smiles, face mask, rubber gloves, enthusiasm and willingness to learn. Approximate finish time: 12:15 AM Saturday 22 July P.S. Only join if you have a compressor to inflate your tires after the drive. LIMITED SPOTS AVAILABLE: Limited to 10 cars maximum. RSVP will close the night befor the event. If the RSVP is full and you wish to join, please add your self on the wait list option and the system will pull in after one drive retriction will be released if there are available slots and drive not closed yet. Latecomers will be returned back - without ANY EXCEPTIONS. Members without RSVP will be returned back - without ANY EXCEPTIONS. Members that do not confirm the terms of the COVID requirements will be removed from the RSVP list. Please withdraw your RSVP, if you aren't joining, so your spot can be taken by others. Repeated no-show members after RSVP will have their account suspended for a month. PLEASE RSVP ON THE CALENDAR
 1 point
 -
untilDrive Details Level: Newbie and above (All Level) When: 21 July 2023, Friday Meeting time: 7:00 PM (SHARP - Without any exceptions) Meeting Point: - https://goo.gl/maps/GrQg1a37jH9FWs4d8 Type of Car: Any proper 4x4 with front and back tow hooks and 8-10 inches of ground clearance. What to bring along: Loads of water, snacks (for yourself), smiles, face mask, rubber gloves, enthusiasm and willingness to learn. Approximate finish time: 11:00 PM P.S. Only join if you have a compressor to inflate your tires after the drive.1 point
-
Thank you @GauravSoni for leading this drive, Your track was amazing, loved every moment 💛 Thank you @Chris Wing & @Sunil Mathew for your guidance and support1 point
-
Amazing drive. Despite the high temperature, all showed on time, and got ready to move. Had to do briefing while starting the drive, since it was really hot and not convenient to stand more under the sun. As soon as radio check done and briefing over, we started crossing the most un pleasant part of mahafiz, with many bushes. Visited few bowls, and started moving towards faya. Faya was really amazing with very smooth un touched track, allowed us to keep moving, crossing the little fossil rock, till we reach the back of faya dune. All made his way climbing and down again, from both sides of the bowl. All enjoyed, then after that to faya. Wanted to reach top, and start taking videos for all, and suddenly found most of you guys already behind me 😅. Thought, will stop for few minutes to try to enjoy the sun set, and the wind, which was not bad. Down from the center of faya, to ask big boys IM level drivers to climb from the right side.By around 7 started moving out. @lucas amat first time driving together, you did amazing job, with your little liberty Jeep. I really liked how you were driving and appreciating your car capacity. Keep it up. @Saverio Arena again first time meeting, you did very well, no issues all the way through. @Abdelghani @Hugo @KAMALIO good job, nice meeting you again. Big thanks for the support @Mohamad Anwer @Benjamin @Pacific and @salah2u sweeping us. Thank you friends again for joining, and the most important for the great job, exiting without any shoveling or tugging, which was really tough to do under such weather. Nice weakened. Take care1 point
-
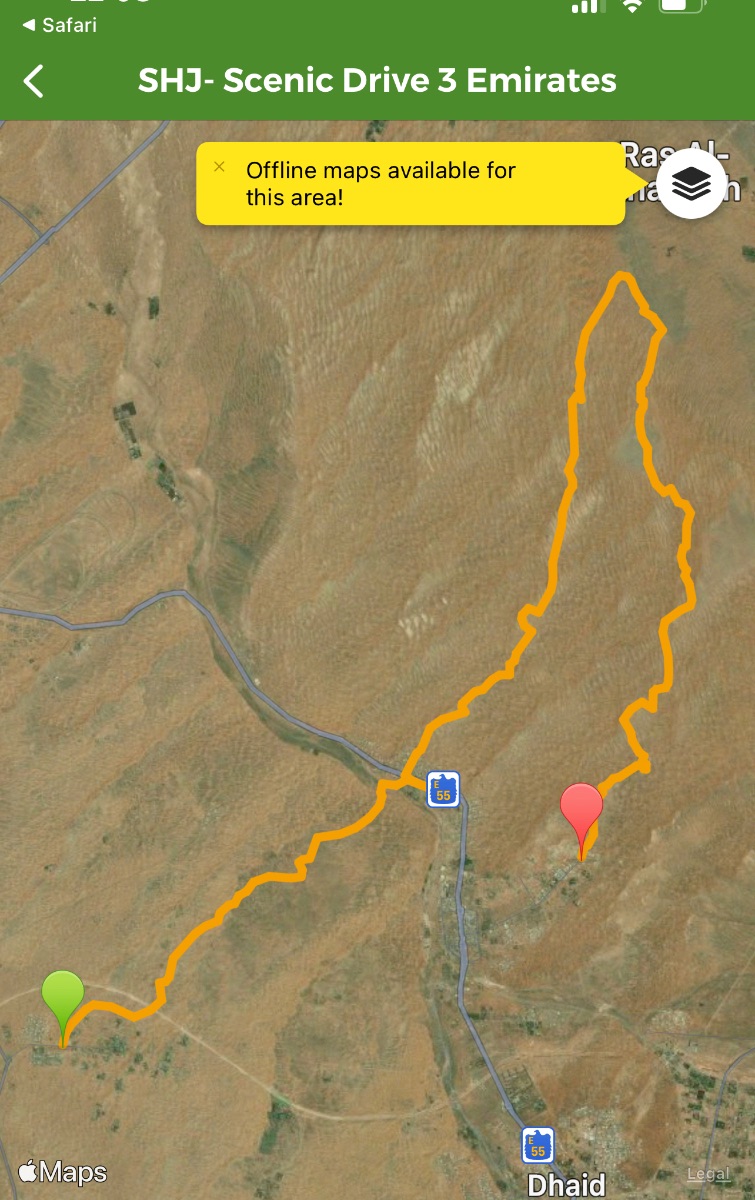
Relive video: https://www.relive.cc/view/vYvrVzEEExv GPS Track: Check out this trail from @Wikiloc! https://www.wikiloc.com/offroading-trails/shj-scenic-drive-3-emirates-140635213 (SHJ- Scenic Drive 3 Emirates)
 1 point
 -
Thanks @GauravSoni for the joyful ride today. @Gertjan I'm already back )) Right after my early exit I went to the garage and get it fixed. As @Krishna R said it was a fast and very cheap fixing. It was great to catch up with all you guys in today's ride. See you next time 👋1 point
-
1 point
-
1 point
-
1 point
-
1 point
-
1 point
-
1 point
-
1 point
-
1 point
-
1 point
-
1 point
-
1 point
-
1 point
-
1 point
-
1 point
-
1 point
-
1 point
-
1 point
-
1 point
-
1 point
-
1 point
-
1 point
-
1 point
-
1 point
-
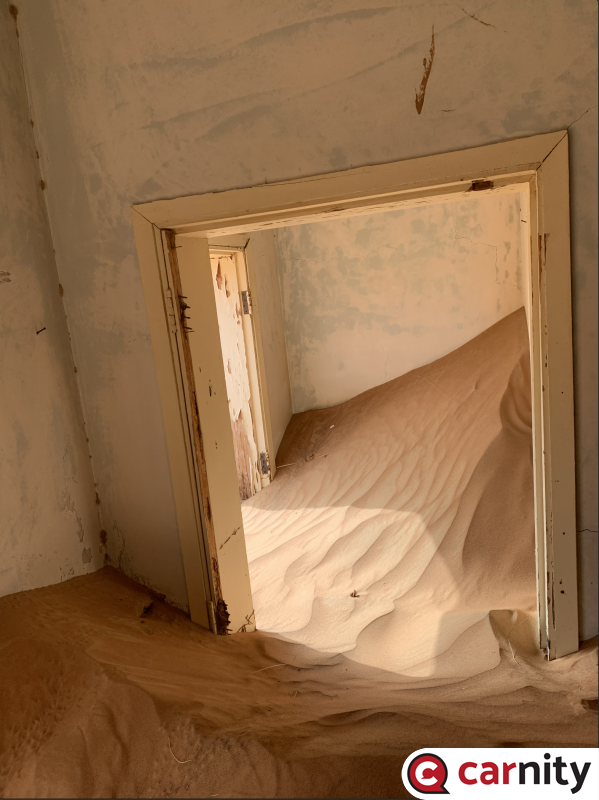
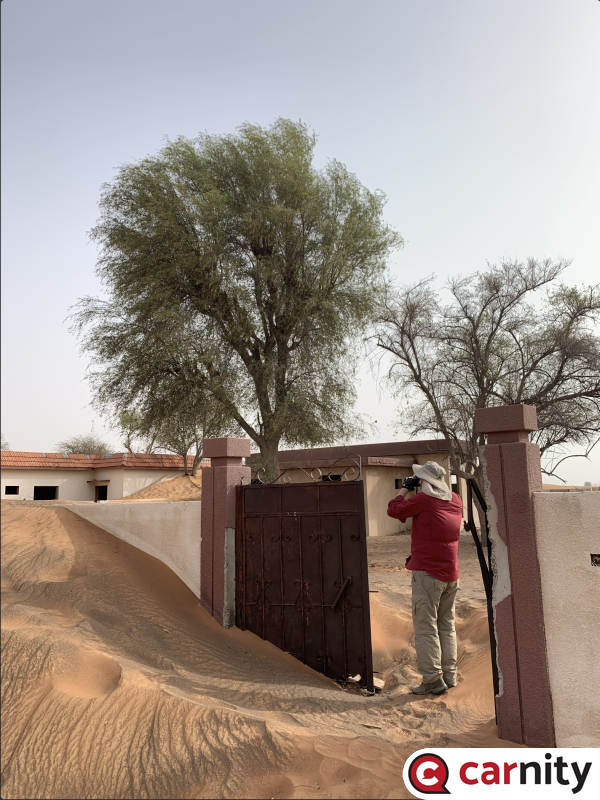
Just don’t get stuck near the ghost 👻 town please 😂anywhere else no problem 🤣1 point
-
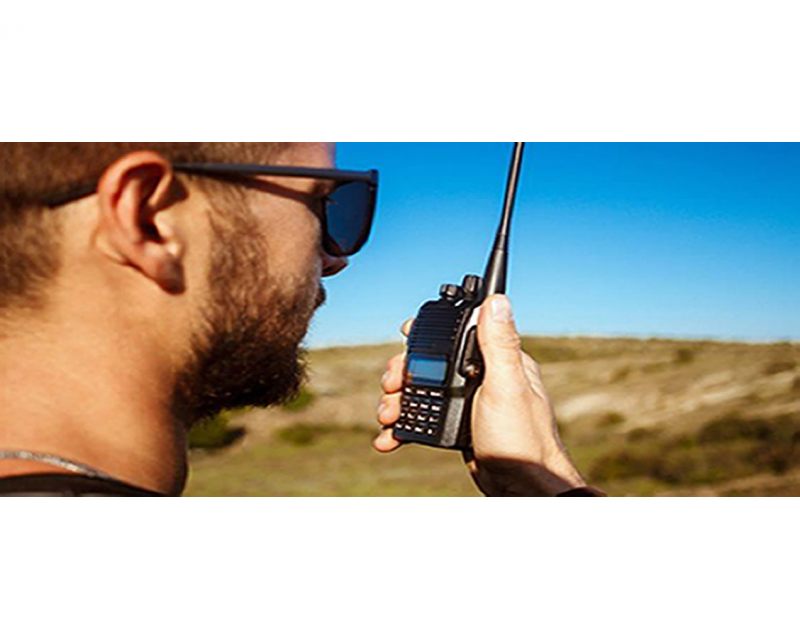 Two-Way Radio Guidelines A two-way radio is an essential safety device during every Carnity Offroad Club drive. It is the primary means of communication between the convoy members. Before the Drive Every participant must bring their own two-way radio. We highly recommend programming your radio with the Carnity frequencies listed below beforehand. We do not provide spare radios or program radios at the meeting point. For your very first club drive we can lend you a radio for that day only. Ensure your battery is fully charged before every drive. No radio = No drive. If you need help choosing, programming or operating your radio, simply create a topic on the Carnity website. Our community will gladly assist you. Radio Channels Carnity Offroad Club uses multiple radio channels so that several convoys can operate simultaneously without interfering with one another. Your Drive Lead will always announce the channel to use before the convoy starts. Recommended Radio Models and Brands UHF Two-Way Radio (400-470Mhz operating range). (VHF will not work). Handheld radio (built-in models can be purchased as extra but you need at least one handheld model. Recommended brands are: Baofeng (UV5R, UV5RH, UV5R Mini), Crony or Motorola MT777, TYT, Make sure it's equipped with a keypad so you can enter the frequency. Do not buy the models without keypad unless you are savvy enough to program with a separate USB cable and Chirp Software. Recommended Radio Settings For best compatibility with other convoy members, we recommend: Frequency Step: 6.25 kHz CTCSS / DCS: Disabled (unless instructed otherwise) VOX: Off Radio Etiquette Listen before transmitting. Keep messages short and clear. Do not interrupt emergency communications. Use the radio for convoy-related communication only. Follow the instructions of the Drive Lead and Marshals. The 10 radio frequencies are listed below: Technical Details STEP FREQUENCY: on the FM band, frequencies are spaced from each-other at a certain bandwidth. The Step frequency is basically the incremental change in your radio when you turn the rotary knob on top of your radio. When you program the radio to a certain frequency, you will need to make sure the appropriate step frequency has been set correctly. (see on the above frequency list). PTT: Short for PUSH-TO-TALK: This is the button on the side of your radio that you push when you want to broadcast a message. MON: Most radios have a Monitor button. When pushed you are basically monitoring the channel. If no-one is broadcasting you will just hear noise. But this is useful to set your desired volume. SQL or Squelch: To make sure that your radio does not pickup every little signal, the squelch acts as a gatekeeper to only allow a broadcast on your radio when it is strong enough or nearby enough. If you encounter a lot of noise that's being picked up by the radio, try changing the SQL setting a little bit. A higher setting makes the radio less sensitive to noise. RX and TX frequencies: RX stands for Receiving frequency, which TX stands for transmitting frequency. in Carnity we transmit and receive on the same channels. DCS / CT codes: These are basically encryption settings that allow a user to make sure only radios with exact same CT codes can listen in on the chatter. As these settings are confusing and complex, they should not be used (CT should not be showing on your display). Programming the Motorola/Crony MT777: Note: This radio has 2 operating modes called "Frequency" and "Channel". To switch between these modes, keep the ENTER button pressed while switching on the radio. Pressing the VFO/MR button while you're in Frequency mode will bring you to the combined mode, which is basically a screen that shows both the channel and the frequency. You can use either one of these modes during operation. To Program the Channels: 1. Make sure your radio is switched off. 2. Press the Moni (black button on top of the orange one on your left side), and MENU key together while switching on the radio. 3. Wait for the set to display SELF (which means manual setup). 4. Press Enter and it will show the Channel number. 5. You can choose which channel to program by selecting it from the rotary selector knob on the top of your device. 6. Once you have the desired channel, press ENTER. 7. Type your first frequency you want to program. 8. Press ENTER on every setting below to go through the advanced settings and verify if they are programmed as following: (If above settings are not correct they can be changed with the rotary knob on the top keep pressing enter until your set displays the next channel to be set). 03=OFF (if a number is showing here, push the *Lock button until OFF appears). 04= Enter the same frequency as the one you want to program. 05= OFF (if a number is showing here, push the *Lock button until OFF appears). 06= OFF 07= ADD 08= HIGH(H) 09= NARROW 10=-------- 9. Repeat from Step 5 to program the rest of your channels. Very useful Youtube video below: method for adding a single frequency later on, without going through the whole SELF programming mode again: 1. Make sure the radio is in Frequency Mode. Type in the frequency you want to program. E.g 446.00625 2. Press MENU and then press the VFO/MR button. The channel number will start to blink. 3. Use the rotary selector knob to select on which channel you want to save this frequency. 4. Press VFO/MR button again to confirm and exit. Keypad can be locked by pushing the * LOCK button for a few seconds. --------------------------------------------------------------------------------------------------------------------------------------------------- Programming the Crony CN888: Note: This radio has 3 operating modes called "Frequency", "VFO", and "Channel". You can toggle between these modes by pressing the orange Function button on the top left corner, followed by pressing 1 (Mode). Programming the radio as described below can only be done in VFO mode. 1. Switch on the radio. 2. Press the Function Key (orange button on top left corner). 3. Press 4 (STEP) until it shows 6.25. Press EXIT to confirm. 4. Now type the first frequency you want to program. Eg. 446.00625 5. Now press the # button. The Channel number in the corner of the display will start to blink. 6. Select with the A (up) or B(down) buttons to choose wich channel you want to save the frequency. 7. Press the C button. the radio will confirm by saying "SAVED AS RX FREQUENCY" 8. Press the # button again. The Channel number in the corner of the display will start to blink. 9. Press the D button. the radio will confirm by saying "SAVED AS TX FREQUENCY" Keypad can be locked by pushing the Function button, followed by the *F.L button. Programming the Baofeng UV5-R: When buying a radio like the Baofeng UV5R, many certain frequencies and channels are already programmed into the radio, but these are different from the ones we use in Carnity. As you will be programming 5 new channels onto Channel number 1 till 5, it is important to first delete these existing frequencies stored in those channels. You can do that as following: Step 1: Delete the existing channels from channel 1 till 5: 1- Switch on the radio 2- Press the MENU button followed by the buttons 2 and 8. (Menu 28). 3- Press MENU, and then use the UP/DOWN arrows to select which channel you want to clear. 4- Select CH1 and press MENU again, you will hear "delete channel, followed by confirmed". 5- Now go back to step 3 and do the same for the following channels (CH2-CH3-CH4-CH5). 6- Now all 5 channels are clear and ready to be programmed. Step 2: Set the step-frequency: - Switch on the radio - Press the MENU button and with the up and down buttons select STEP frequency. - Change this to 6.25 and press MENU to confirm. - Press EXIT to go back to the main menu. Step 3 Program the new frequencies in the radio: 1- Press the VFO button. You will hear the confirmation “frequency mode”. 2- Make sure the arrow is on the top line. If not, press the blue A/B button. 3- Type in the frequency you want to save. I.e 446.00625 4- Press MENU, followed by button 2 and 7 (menu 27). You will see MEM-CH. 5- Press MENU and now use the up and down buttons to select the channel you want to save it on. 6- Press MENU again to confirm. Your first frequency is now stored under channel 01. (receiving memory). 7- Press MENU TWICE again to confirm. Your first frequency is now stored under channel 01. (transmitting memory). 8- Press EXIT and repeat from step 3 onwards to program your remaining channels. Note: To program the Carnity backup frequency channel 5, you will need to set the step frequency to 12.5. When done, follow the same steps to program and save it under channel 05. You can either program these channels one by one into your radio, which is the easiest for you later on, or you can just enter the frequency without saving it. Some extra notes: Option 5 in your menu should be on Narrowband. Option 10 and 12 in your menu should be set to OFF (we are not using CT codes). BaoFeng_UV-5R_Manual_(1).pdf1 point
 -
This tutorial will describe the safest techniques to recover a vehicle from the desert. We will try to cover all scenarios and focus on the safety aspect. Although many offroaders have already learned the art of off-roading in the UAE desert, performing recoveries is a skill in itself and needs practice and clear understanding and respect of the dangers involved for the person recovering, the person being recovered, and bystanders. This is a skill that will require practice, and the more recoveries you do from different situations, the more experienced you will become. Whenever you have ANY doubt in during a recovery, you should assess the situation with other senior members and make the decision together. 2-3 people will most likely have a better total overview and will result in a safer recovery attempt. Team work is essential in this sport and all the more during recoveries. 4x4 Recovery Tools D-Shackle or Bow Shackle The D-shackle, also called a bow shackle, is the tool that you will use to connect your recovery rope to the tow-hook of the vehicle (both sides). Since the uprising of soft shackles, and the incidents that happened with poor quality D-shackles, most Off-roaders have now shifted to using soft shackles. A good quality, rated D-shackle can still be useful in some scenarios, and they are safe if the recovery is being done properly, but the risk of this projectile flying through the windshield and potentially killing people has made this shackle a tool only to be used by people who have 100% skill level and know what they are doing. Soft Shackles Soft shackles were first used in the marine/sailing world and have recently become very popular as the perfect shackle to use for off-road recoveries. They are easy to use, and in case they break they will not become a deadly projectile. They are more expensive than metal D-shackles but will last quite long and there is no compromise when it comes to safety. The shackle is made of UHMWPE, also known as Ultra High Molecular Weight Polyethylene, or Dyneema. This synthetic yarn is 10 times stronger than steel. Kinetic Recovery rope or Snatch Strap. A kinetic recovery rope is made of Nylon. The most useful characteristics of this rope is that it stretches about +/- 20% during a pull. This means the “tug” or “jerk” effect of the recovery will be dampened, resulting in less strain on the vehicle’s tow-points. The downside is that because of this characteristic, people sometimes have the tendency to start pulling much harder, which can result in breaking the vehicle’s tow-points or chassis. The recoil effect of this rope creates a massive force and that is why during a recovery we clearly instruct to not exceed 15km/h during recoveries, and to gradually build up the strength of the pull in 2-3 attempts. Do not use this rope for towing a vehicle. Due to the stretch effect it will be difficult to control the towing process, and furthermore you will damage the rope as it needs to recoil and settle after a recovery. When choosing a kinetic recovery rope, you should select a rope that has a breaking strength of 2-3 times the weight of the vehicle you will recover. For example; if you recover a Nissan Xterra which weighs 2 ton, the breaking strength of the rope should be at least 6 tons. Most recovery ropes have 10-15 Tons breaking strength. The reason for this is that the forces involved when a vehicle is completely stuck in the sand are far higher. Our club uses both the Viking Kinetic rope as well as the AOR Kinetic recovery rope with excellent results. The Viking rope costs about 350AED with a bag and 2 soft shackles included, while the AOR kinetic rope costs about 370AED without soft shackles. (AOR soft shackle cost 155 AED per piece). This rope is not the same as a Polyester Webbing sling that you will find in most hardware shops ! Kinetic recovery ropes will cost you about 350-400 AED. A Polyester webbing sling is far cheaper but does not stretch. Performing a Recovery When doing a recovery there will be tasks involved for both the person doing the recovery, and the person being recovered. It is essential that there is a clear communication established over the radio or verbally to make sure the recovery is being done professionally and safely. Bystanders should remain at a distance radius of at least 10m during the recovery process ! Scenario 1: A vehicle is crested Getting crested is an event that happens regularly during off-roading, and by following below steps you can recover a vehicle safely. The individual tasks for each person are mentioned below: # PERSON PERFORMING THE RECOVERY PERSON BEING RECOVERED 1 Will first inspect if the vehicle is front-heavy, back-heavy, and if the car can be maybe recovered without ropes. In many cases it is sufficient to clear the sand from the wheels, from underneath the body of the car, and try the self-recovery method and engage diff-locks. can help with clearing the sand from the wheels 2 When recovery with a rope is deemed necessary, he will attach the rope to a secure “recovery point” of the car. The recovery point needs to be strong enough and in perfect condition. He will not perform recoveries on worn out or heavily rusted towpoints. You need to keep approximately 2m free-play in the rope, so you have space to ramp up the vehicle before the pull starts. 3 Will step inside his car, put on his seatbelts, engage 4LO and put his car in First Gear forward or Reverse depending on the direction he will be recovered. He then announces on the radio that he is belted up, car is running in low gear, and he is ready for the recovery attempt. 4 Get inside his vehicle, engages 4LO, puts on the seatbelt, and asks the person being recovered if he is ready for the recovery attempt. Acknowledges the message and confirms he is ready for the pull. 5 Will drive a little bit forwards and backwards to create a firm track if needed, then starts off with a gentle pull. This is to test the waters and in some cases the vehicle will already come out. 6 If second attempt is needed, he will announce on the radio that he will try again. Acknowledges the message and confirms he is ready for the second pull. 7 Performs second attempt which is slightly more aggressive 8 The car comes out and is bring brought to flat ground where the rope can be safely removed. Follows the recovery vehicle to flat ground Scenario 2: a vehicle is bogged down When a vehicle is bogged down or in a ditch, and needs recovery with a rope, the same scenario as scenario #1 will be applied. You should always clear the wheels and shovel as much as you can to ease the recovery. It is also very important to properly position the vehicle to avoid sharp angles. Again, the rope should have at least 2m free play before starting the recovery. Make sure you position your rope in a zig-zag shape and verify it is not in a knot. Creating a knot in a kinetic rope will damage it beyond repair ! Scenario 3: a vehicle needs to be pulled upwards In the case that a vehicle needs to be pulled upwards, you need to be aware that the force that you will need to apply will be far higher. Some examples: - Towing a 2 Ton vehicle on the road results in a 100kg pull resistance. - Recovering a wheel-bogged down 2 Ton vehicle on flat sand results in 2000kg of pull resistance. - Pulling a chassid-bogged down 2 Ton vehicle on an upward slope of 15° results in 3500kg of pull resistance. (as photo below). This is the main reason why it is so important to clear the wheels from sand and shovel out the body of the vehicle as much as possible to reduce the resistance. Be aware that when pulling a vehicle upwards on a steep angle might damage the front bumper on the vehicle that is being recovered. Especially on slopes of 10° and more, the rope can hit the front bumper. Additional safety measures Safety Strap At a more advanced level of off-roading, safety strap is a very helpful tool to secure the rope or d-shackle during extreme recoveries. In that case it will avoid from becoming a projectile. Tow Point Essentials Most 4x4 vehicles are equipped with proper tow hooks which are welded to the chassis. In more modern SUV's which are less meant for heavy duty use, you will sometimes find a screw-in type of tow hook. These are generally ok for occasional use but for weekly recoveries they will not do as the threading will wear out and eventually they will fly out. Every Offroader should make sure he has proper recovery points on the front and back and that they are in perfect condition. During more extreme recoveries there are additional techniques we apply to distribute the load, such as a bridle rope. This rope basically distributes the load between both towpoints. In which direction should i put my vehicle when i recover someone ? This will depend on a case to case basis: When during the recovery you want to have FULL visual of the car that you are recovering, it will make more sense to attach your rope to your front recovery towpoints. In the case the recovery needs a bit more force, and you have a towbar or stronger recovery points at the back, then it makes more sense to attach your rope to the rear towpoints or tow bar. In the case that you really want to see where your own car is going (in difficult terrain with bushes for example), it will also make sense to perform the recovery by attaching the rope to the back of the car. Can i attach my shackle or rope to a tow ball receiver ? Tow balls are NEVER to be used for recovery purposes. There have been many incidents where the tow ball has come off and became a deadly projectile. DO NOT ever recover a vehicle by connecting to the tow ball !!!1 point
-
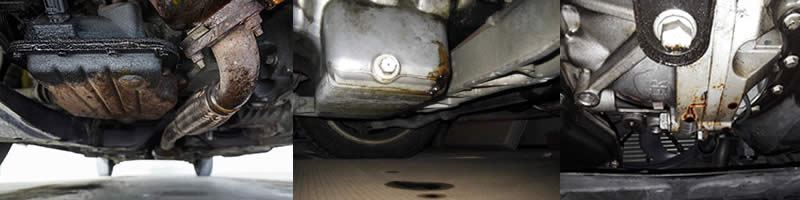
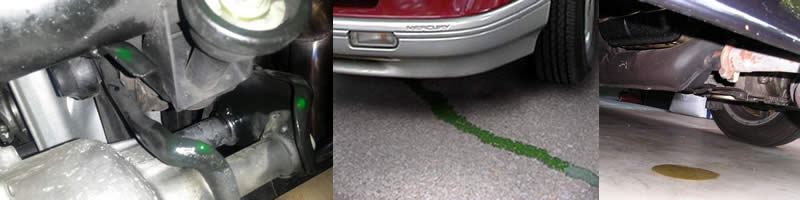
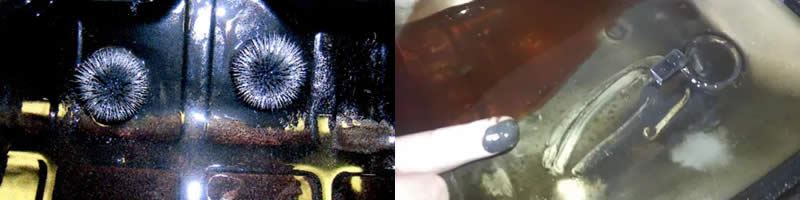
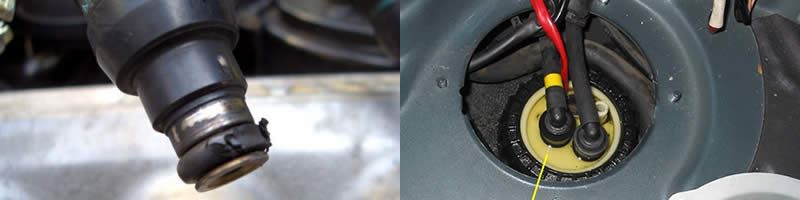
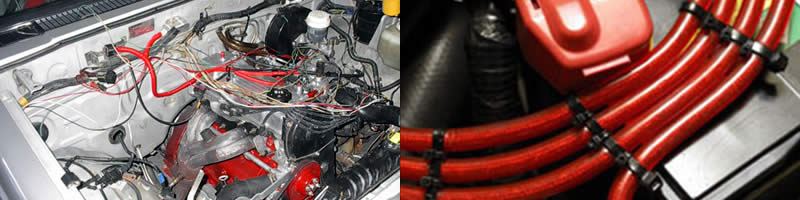
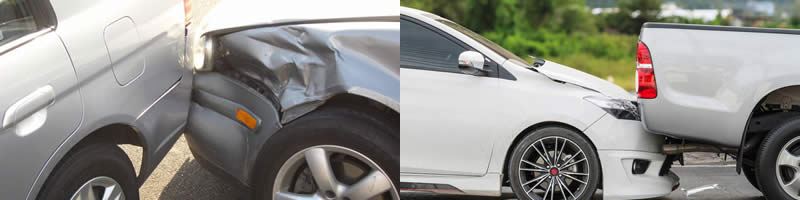
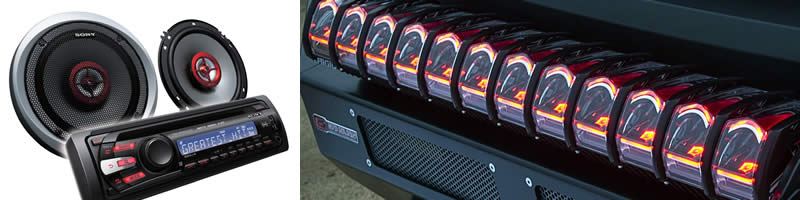
Having a fire extinguisher in your car is good, but sometimes it's of no use if car catches an instant and uncontrollable fire. In that scenario, best is to learn - how to exit the burning car with all your "critical belongings" under 10 seconds. Here are the stats that show the percentage of each type of cause that is responsible for an uncontrollable fire. 49% - Mechanical failure or malfunction 23% - Electrical cause 11% - Leaks or breaks 09% - Unknown causes 05% - Catch fire from another burning source 03% - Accidents or rollover So in short, 83% causes of an uncontrollable car fire is because of an owner negligence and only 17% is beyond anyone control. So NEVER delay car maintenance, use cheap parts, ignore leaks / rattling / grinding noise again. Here are the 7 main reasons that can cause an instant and uncontrollable car fire and how to prevent it: Engine Oil: As much as buying the best engine oil for your car is very important, you should also pay equal attention to any engine oil leaks. Most of the car engines leak oil when they get older, as the rubber gasket inside the engine tend to stop work and ideally they should be replaced before the leak starts. It's always a good practice to inspect the engine oil leak under the engine and sump area to notice any spotting or dry leak stains at least once a month. If you see any stains in your car park, it's already too late and you should check for its severity and/or replace gaskets/hoses asap. Changing engine gasket is not cheap so if you are press for expenses, get it checked for its severity and let a mechanic or car experts advise you if it's safe to drive for a while. You should also check your engine oil regularly if you have done any engine tuning recently. You can also do the car engine compression test to find out the overall health of your car engine. If engine oil is dripping on the exhaust or on any other heated surface, then don't take any chances as it may ignite on your next drive and get it fixed asap or stop driving that car immediately. If you get the check engine light or see smoke from the engine hood, switch off the car immediately. Even a small engine oil leak can catch fire and that small fire can burn down the nearby high-pressure hoses that can result in an uncontrollable car fire. Coolant: As the name suggests, it cools down the engine internally that has varied temperature from 60 degrees to 1500 degrees at various stages. Engine coolant constantly circulates between the engine jacket and radiator. Thermostat work as a gatekeeper to let the coolant cool down in radiator to exchange with hot coolant that was running in the engine jacket. Even the smallest of a coolant leak is very dangerous, because first, it will spoil your engine within a few seconds and then burn the whole car down in minutes. If coolant quantity reduces or becomes totally empty then the engine won't be able to cool down and will blow the engine head gasket first, warp the engine head and then catch fire. Make sure to check your coolant level always at least once a week, and for off roading just before every drive. And you should know how to test car engine coolant. If there is a coolant leak, please DO NOT DRIVE to save from huge expense that comes from rebuilding an engine or risking your life. Always keep an eye on the heat gauge in the dashboard while driving and pull over the car if it rises above the ideal range. If the heat gauge moves up "little" in the slow-moving traffic and AC stop cooling and come back to normal on the highway, that means something is wrong in the cooling system and get it checked asap but still, you can drive with caution. Gear Oil: Any unusual behavior from the gear shifting with jerk or delay in picking gear or confused with downshift or upshift is a tell-tale sign of failing gear or gear oil. You should also read 5 signs to change your transmission for more details. As the first rule of thumb, get the gear oil and filter change to OEM specs and inspect the sump magnet for any metal shavings. Very fine shavings like a paste are acceptable but if shavings are like spikes then the gear is failing and it needs to be rebuild or change asap. And never believe on the myth about lifetime transmission fills. Continue driving with failing gear is extremely hazardous as it will heat up the gear oil more than its normal temperature. If the car is equipped with A/T light, you can still stop until it cools down, but if the car has no A/T warning light in instrument cluster then it will overheat and explode the weakest pipe or joints and catch an instant and uncontrollable fire under the dashboard. I have recently witnessed this scenario and we were unable to fire-fight instead of several extinguishers used and the car was fully burnt within few minutes. Fuel: One of the most inflammable item in your car and you should never ignore the fuel smell coming from any part of your car. The fuel system is completed sealed and pressurize so ideally not even a vapor can escape. In several occasion leaking fuel pump due to the bad gasket or leaking injectors can cause an instant and uncontrollable fire. If you spot any such fuel smell immediately switch off the car and let competent mechanic have a thorough look rather than taking a chance to drive back home or work. If the smell is coming from fuel cap, then switch off the car and wait for 10 minutes and open the fuel cap to release any excess fuel pressure (if any), occasionally this helps to some extent and then start the car and let it idle for 5 minutes to test. If you still smell the fuel, take no chance and put the car on recovery bed. Electrical: One of the easiest thing to fail and cause a fire is electrical wiring, fuses, relays, etc. Although most of the time the electrical fire is controllable by a car fire extinguisher, but if it happens near hot and pressurized hose then it will become uncontrollable very fast. A major cause of electrical failure is bad workmanship and running the cables from non-designated areas. Using educated electrician is very important to install new electrical components safely, be it off-road lights, winch, music system, amplifier, etc. If any additional cable has been pulled from the car battery then it has to have a certain rating to draw the required amperage load. Wrong or cheap cables will melt and may cause a fire. Such fire or short circuit is also traceable with the plastic burning smell and thin smoke. If you spot the plastic burning smell or smoke or both, immediately switch off the car and reach to your fire extinguisher. First and foremost check the switches, wire and electrical component that you have recently installed. Most of the bad workmanship fail within a few months or under extensive load, so you can doubt accordingly and go close to that switch, cable or component and smell the source. Switch on the car ignition and see if it again smell or produce smoke, then switch off the car and disconnect that component either from switch level or fuse or directly from the battery. Accident: Rare but possible, that after an accident you might damage some flammable fluid hose that can cause a fire. For safety reason, in case of an accident especially small ones, on which we always focus on the accident damage rather than the whole integrity of the car. You should inspect the car from all sides and look for any leaks or burning smell from the engine bay and under the car. If you spot any leak other than AC water dripping, don't drive the car until you figure out what has been leaking and is it safe for a short drive to mechanic or not. Ignoring any small leak, smell, smoke can cause an instant and uncontrollable fire as something under the hood must have been impacted and might leak or explode under the pressure if you drive again. Must read: The top 10 things to check after a car accident. Accessories: One of the first things to fail in your car is an aftermarket accessory, as many car owners buy the cheapest quality of car accessory for the sake of price only. If you are really lucky, it will simply stop working, but if not it can cause the other car component to fail to cause the fire or shutting off the car completely for smallest of internal short circuit. Always stay away from rock-bottom cheapest accessory as it might cost you the whole car. Go with a trusted brand, model and spec that has been proven in the market. Do your research before installing them, for what all additional changes/upgrades you should be doing to support that accessory. For example, if you plan to install 3000 watts music system with amp and woofer, battery upgrade is a must or at least test your battery. Same for additional lights or other electrical stuff that you plan to install. It's always best to discuss your build plan with car experts to seek the best advice like here: Help needed in car audio system selection. It's a prime example of how to research, discuss and then build any aftermarket car accessory that brings you great value and peace of mind for years. MUST READ: How to correctly use the Car Fire Extinguisher Types of extinguishers that are out there to stop a fire in your car
 1 point


.jpeg.8292203f294af7c7fd32e986adce9d3f.jpeg)


This leaderboard is set to Dubai/GMT+04:00