-
4.9 Stars ⭐⭐⭐⭐⭐ 450 Google Reviews
Looper
-
Posts
4,765 -
Joined
-
Last visited
-
Days Won
84 -
Country
India -
Carnity Points
6,732 [ Donate ]
Content Type
Profiles
Forums
Advice
Business Listing
Car Deals
Recall
OBD II Car Diagnostics
Guest lead capture
STORE
Events
Gallery
Blogs
Posts posted by Looper
-
-
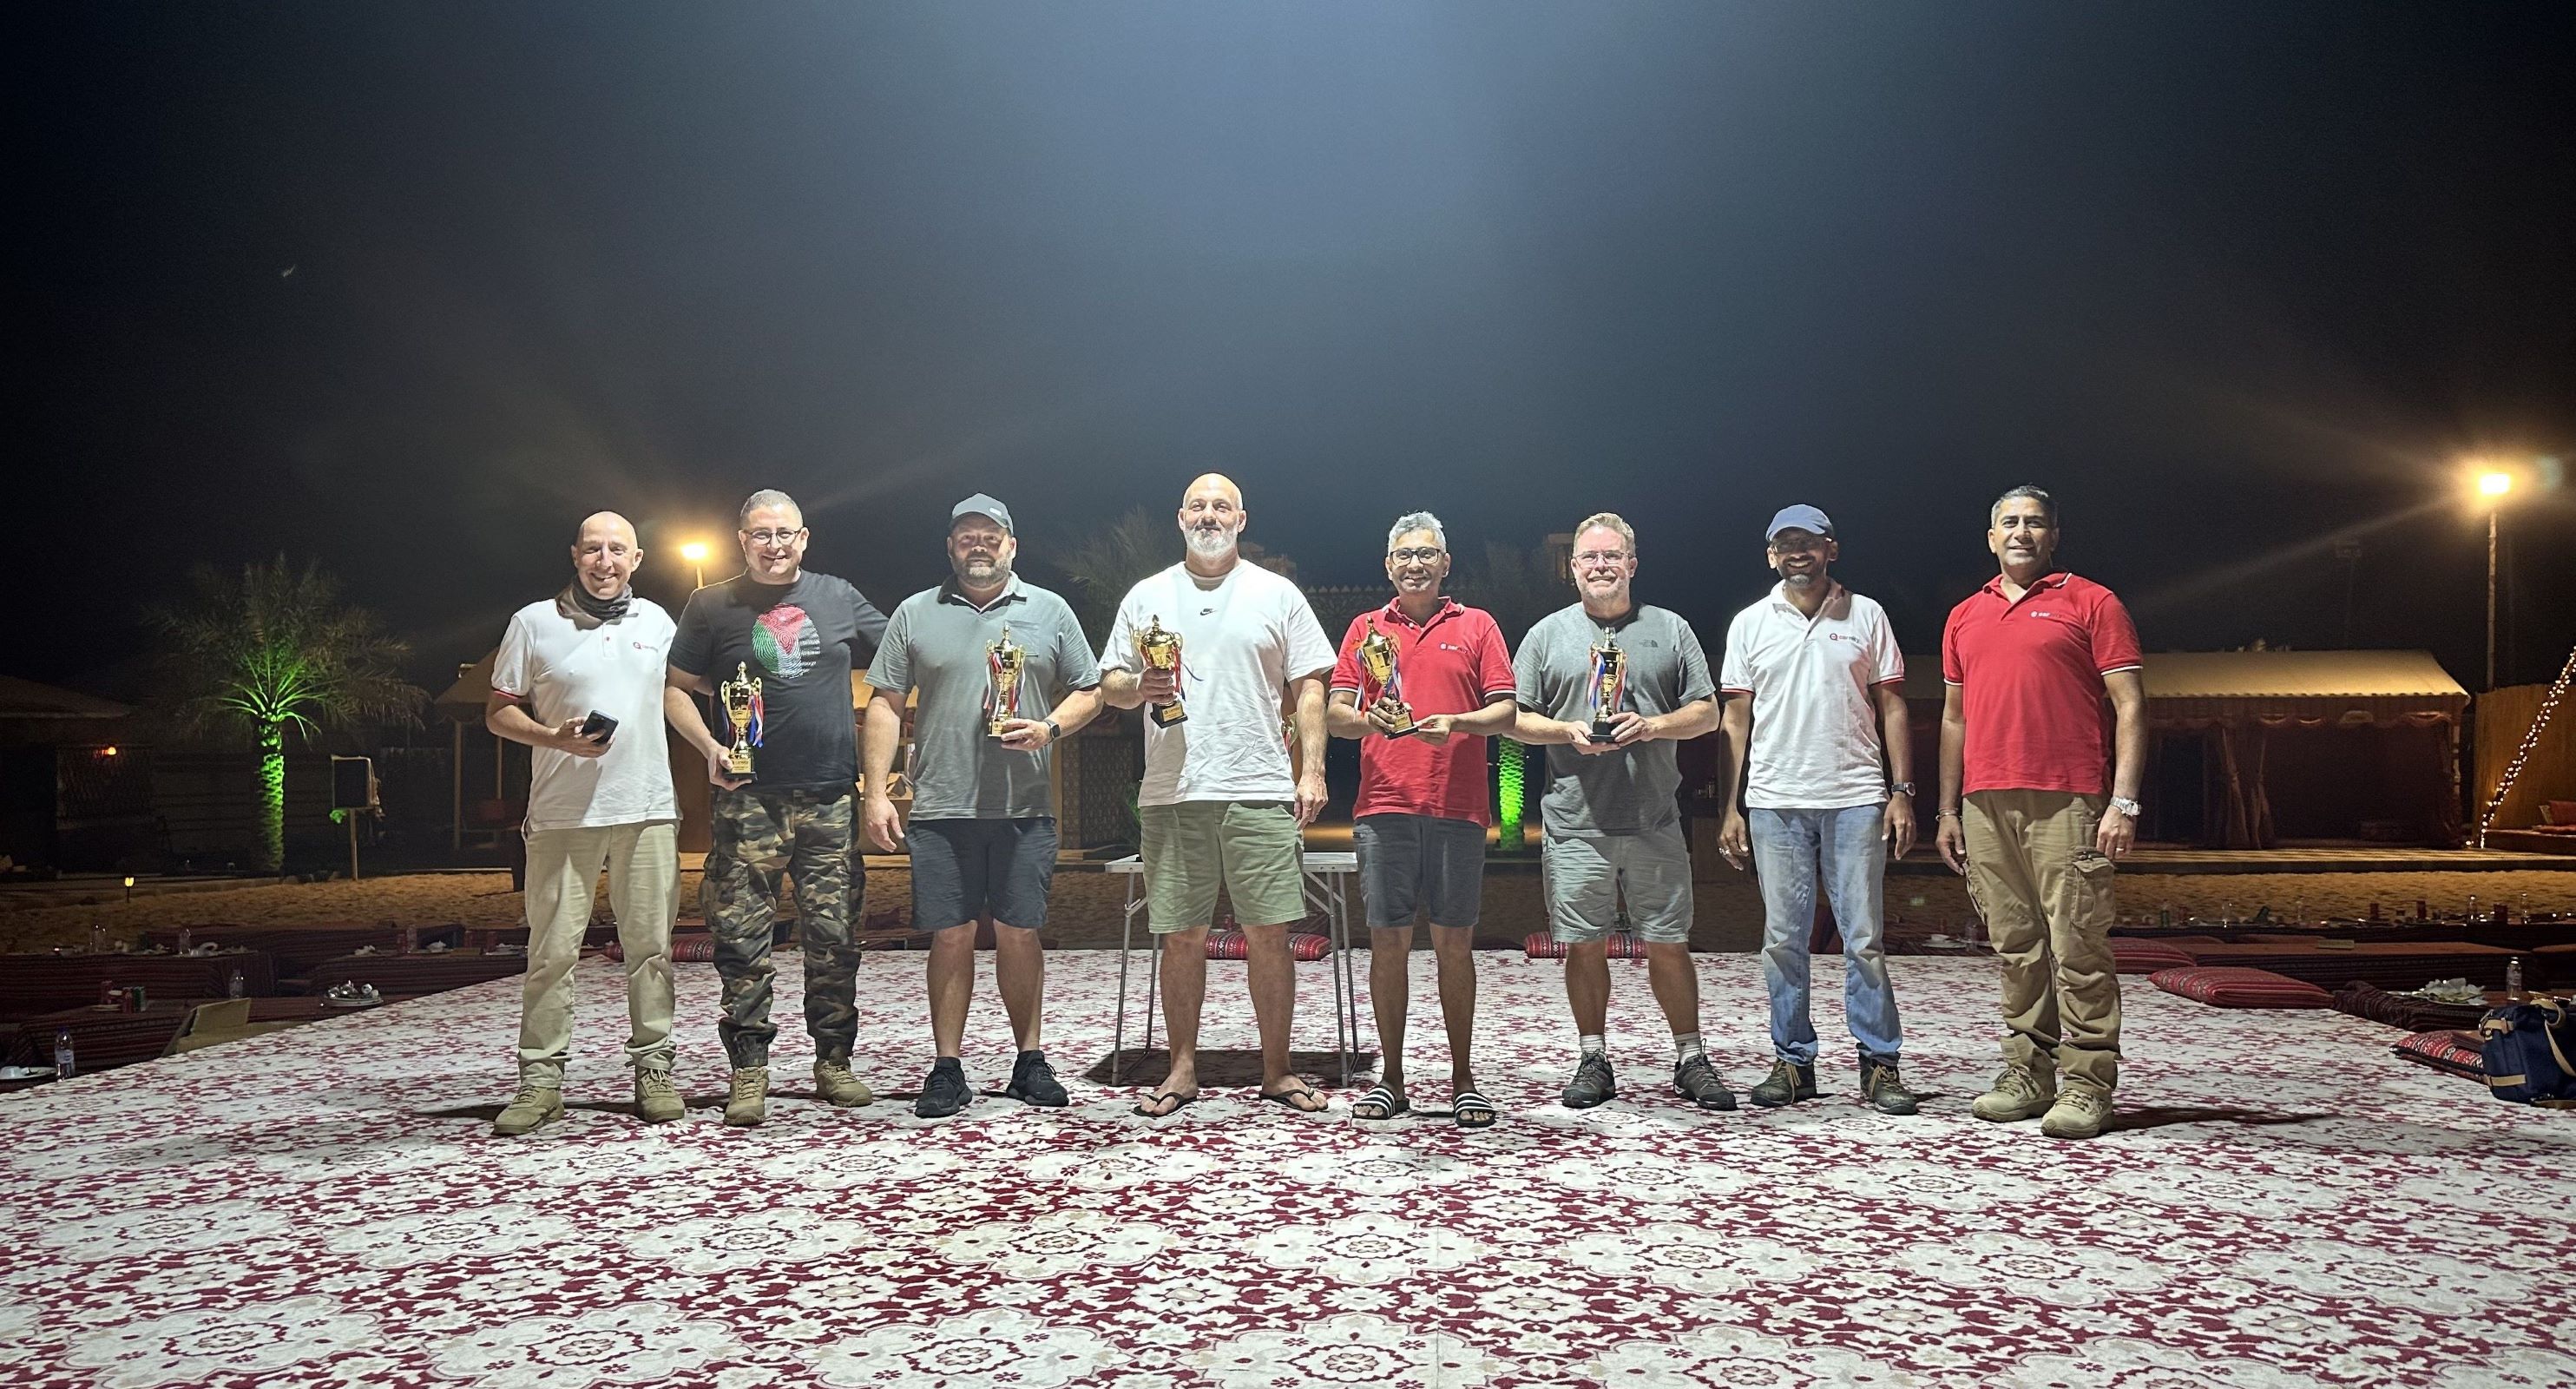
We will be riding on CH 2
This is the convoy order:
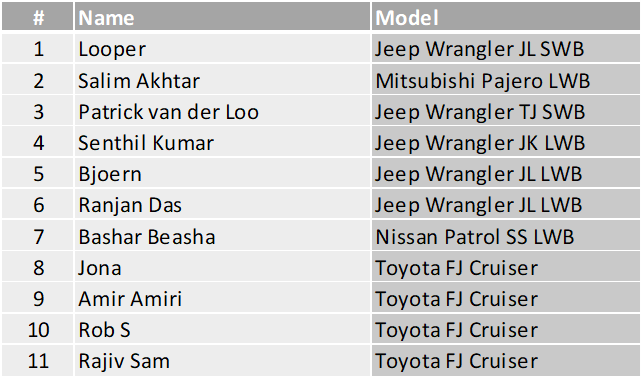
@Salim Akhtar, @Patrick van der Loo, @Bjoern, @Senthil Kumar, @Ranjan Das, @Bashar Beasha, @Jona, @Amir Amiri, @Rob S, @Rajiv Sam
-
 6
6
-
-
One more drive video, one more experiment. In this video I have mimicked Jump Cuts with a single clip by cutting the video and changing the angle and FOV. It now looks like as if I had many different takes of the action from diffent angles. Earlier I used to export diffent angles and use either multicam which was slightly more efficient to cut but resource hungry than layering one over above another to do the effect. Now using a 360 video in Final Cut I can do the same with so much less time and processing resources. Post video export I observed that FCPX likes 90 degrees but Insta360 doesn’t. Enjoy some music while you watch the video.
-
2
-
 2
2
-
-
Looks like we are going to be a single convoy now. I once again thank you @Hisham Masaad to offer to take a portion of convoy if necessary.
-
1
-
 1
1
-
1
-
-
4 hours ago, Frederic said:
If this formula proves successful, we will be organizing regular winter sonic experiences. Stay tuned !
Or movie nights, with After Party Drives. Sure to be a hit with people who want to camp and drive. Please count me in for the music festival followed by a drive 🚙🚙🚙🚙 !!!
-
1
-
-
@Bashar Beasha, @Jaro Tuzinsky, @Patrick van der Loo, @Jona, @Amir Amiri, @Stumpy Paj, @Krishna R, @Mohamad Anwer, @Bjoern, @Salim Akhtar, @Tareq Al Turq
@Pacific, @Ranjan Das, @Rajiv Sam , @Senthil Kumar, @Rob S,
@Hisham Masaad graciously agreed to take half the convoy and so we have extended RSVP to include all. We will be 9 a convoy so we have some more space. Having said that please make sure that you have cleared up your schedule and are ready to join if not then please sign off by Friday afternoon. Nothing is more irritating than a no-show since a lot of planning goes into the convoy and route planning.
-
8
-
-
-
Section 4: Some Key Terms
Before you start with editing you should know these terms and information to decide what you want to do.
Stitching
When you record a video on a 360 camera, what you essentially do is record two videos front and back with wide angle lens that covers the entire 360 degrees field of view. Stitching is the process in which both these videos are combined to make one panorama video. You will most often be using the device software to do the stitching. A 360 video can be uploaded directly to YouTube since it supports that format. See this example:
Reframing
Reframing is the process of manipulating your 360 video and turning it into a “normal” video. Re-framing allows you to choose where the camera is pointing at any one time after you’ve shot your video, opening up more editing opportunities than you would get with a normal camera. You can also change the perspective and field of View (FOV) and edit a video to show exactly what you want to show.
Aspect ratios
Aspect ratio is the ratio between the width and the height of a video or a screen. It determines how wide (or long) your video will be. Aspect ratios are usually written as – x : y and read as – x by y. The first number refers to the width, while the second to the height.
16:9 (Widescreen): This is the most common aspect ratio today. It’s widely used for TV broadcasts, YouTube videos, and feature films.
2.35:1 (Ultra Widescreen): This gives the 70 mm look, and used mostly in the Movies.
1:1 (Square): This aspect ratio is commonly used for social media platforms like Instagram, YouTube Shorts.
9:16 (Vertical): This is commonly used for mobile content, especially on platforms like TikTok and Instagram Stories and Reels & YouTube Shorts.
Different platforms may prefer different aspect ratios. For example, YouTube typically uses 16:9, while Instagram can use 1:1 (for posts), or 9:16 (for stories and Reels). Remember, choosing the right aspect ratio is crucial as it can affect the viewing experience of your audience.
Examples of YouTube Videos (not Shorts):
Ultrawide (2.35:1):
Wide (16:9):
Square (1:1):
Vertical (9:16):
Resolution
Video resolution is a crucial aspect of video editing as it determines the amount of detail in your video, or how realistic and clear the video appears. It’s measured by the number of pixels contained in each frame. Here are some common video resolutions you would be using:
720p (1280 x 720 pixels): This is considered an acceptable resolution for smaller web content. However, with most computer screens being HD, it’s best to aim for a higher resolution than 720 for web use and streaming.
1080p (1920 x 1080 pixels): Often referred to as “full HD,” this has become the standard for a crisp HD digital video.
4K (3840 x 2160 pixels): This is becoming increasingly popular, especially with the advent of 4K-capable smartphones and TVs.
Always use the 4K or the equivalent resolution for your aspect ratio. Instagram unless you specify will upload a lower resolution file. It will convert your video to a 720p file and save a file on your phone. YouTube will however take a 4K upload. So, you make sure that you upload the 4K version if you are uploading both to Instagram and YouTube.
Understand the Files
In this section I will not go deep into all the video formats but will tell you the 3 files for every clip you will see in insta360 even then it will seem a little bit daunting.
File Name Format
VID_yyyymmdd_hhmmss_xx_nnn.insv
- yyyy = four-digit year (2022)
- mm = two-digit month (01-12)
- dd = two-digit day (01-31)
- hh = two-digit 24-hour (00-23)
- mm = two-digit minute (00-59)
- ss = two-digit second (00-59)
- xx = camera
- 00 – back camera
- 10 – front camera
- nnn = sequence number (000-999)
Extensions:
- .insv = 360-degree video
- LRV_ – 360 low res version of the video. xx will be 11:
- VID_ – 360-degree full size video. Two files with same yyyymmdd_hhmmss name and xx of 00 for back camera video and 10 for front camera video.
You can preview a .insv file by adding the extension “.mp4” to the end.
Also note that 00 file contains the GPS telemetry data and is usually slightly larger than the 10 file. If you want to use 3rd party telemetry software after you have exported a flat video file you can use these 00 numbered files.
PS: I plan to update and revise certain sections to enhance clarity, streamline information for brevity, and improve language and grammar.
-
1
-
3
-
Congratulations @Ali-M on your promotion to Fewbie level. Enjoy the new level.
-
1
-
-
Congratulations @AnasArif on your promotion to fewbie level. Enjoy the new level.
-
1
-
-
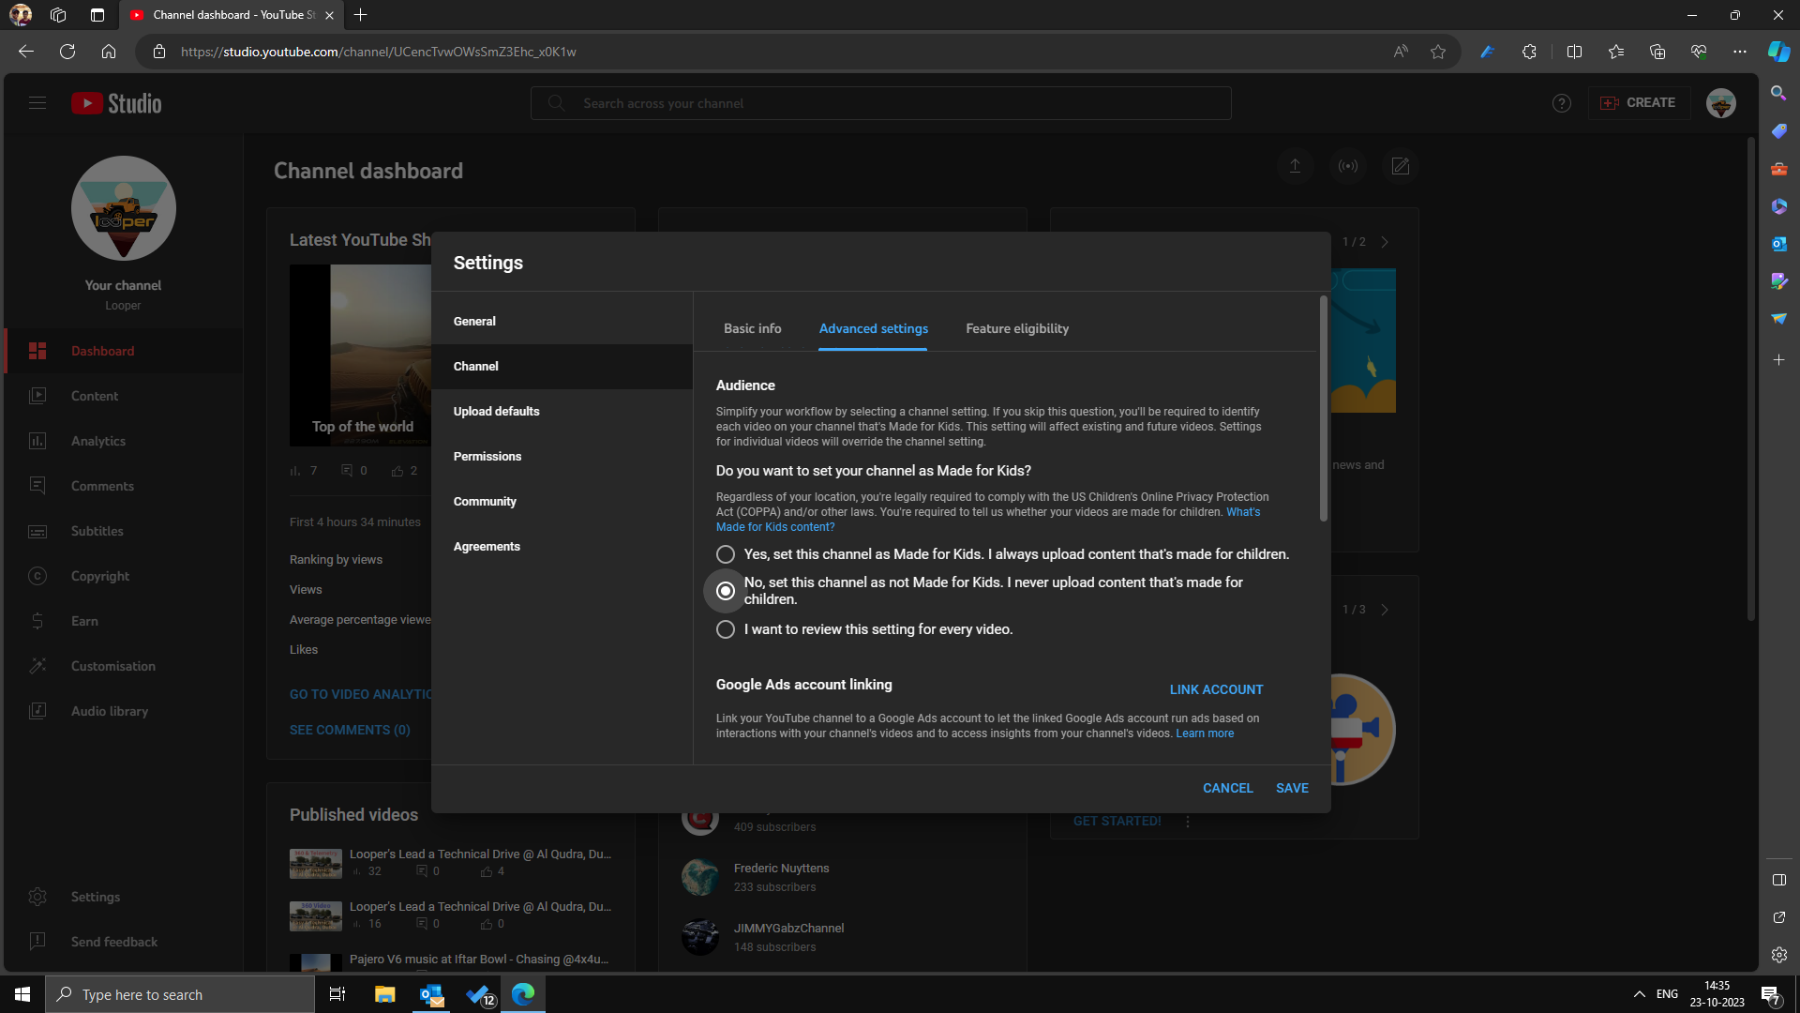
Updating to add that you can permanently set up the channel so that no video gets flagged by default into Kids Mode.
In YouTube Studio (https://studio.youtube.com/) (in desktop mode) > Select Settings (cog icon at the bottom lefthand side corner) > Channel > Advanced Settings and selected the 2nd Option as shown below. And press save. With this you will not be required to tell YouTube for every video that the damn video is not meant for kids, especially kids 🤪.
-
DRIVE PLAN
We come, we see, we conquer; all of them... till the end.
We request every member that joins this drive to go through the information below and strictly follow these guidelines, etiquette, and responsibilities.
MUST READ AND COMPLY
- Environmental Policy
- Offroad Flag Guideline
- Two Way Radio Guideline
- Off road Driving Etiquettes
- Emergency details for all off roaders
- Off Road Driving - Roles & Responsibilities
DRIVE DETAILS
Level: Intermediate and above
When: 28 October 2023, Saturday
Meeting time: 6:00 AM - Sharp (Without any exceptions)
Meeting Point: https://maps.app.goo.gl/2GbCmPJtqL382jiV8
Approximate finish time: 10:00 AM
Type of Car: Any proper 4x4 with front and back tow hooks and 8-10 inches of ground clearance.
What to bring along: Loads of water, snacks (for yourself), smiles, enthusiasm, and willingness to learn.RECOMENDED OFF-ROAD GEAR:
- Tire deflator & Tire pressure gauge
- Compressor (MANDATORY)
- Walkie-talkie radio (MANDATORY)
- Off-road flag (MANDATORY)
- Shovel, Tow Rope & 2 Shackles
- First-aid kit
- Fire extinguisher
LIMITED SPOTS AVAILABLE
- This drive is limited to 10 cars only. RSVP will close on Saturday - 12 PM.
- If the RSVP is full, you can add your name to the waitlist, once anyone drops, you will be moved to the RSVP list.
- RSVP will close a day prior to preparing a convoy list.
- Latecomers will be returned - Without any exceptions.
- Members without RSVP will be returned - Without any exceptions.
- Please withdraw your RSVP, if you aren't joining, so your spot can be taken by others.
-
Repeated no-show members after RSVP will have their account suspended for a month.
PLEASE RSVP ON THE CALENDAR
-
4
-
It was a fantastic drive & indeed a masterpiece of a drive by @Davie Chase. Loved every second of it. A impeccable second lead by @DP1011 and thanks for the coffee during the break. I had the break point mapped on my Gaia but did not know what it was for, it was a wonderful place to visit. @Ranjan Das and @Dodi Syahdar helpful support from you guys, and much appreciated as well, tugging out the stuck cars. @Mohit Gurnani & @Rk ram were only FB+ in the convoy so it felt less like a FB+ drive and more like a IM drive - you guys did great. @Patrick van der Loo your tiny TJ can go anywhere and seems to do it with so much ease. @Gertjan thanks for doing so much for making these drives more memorable with your photography. I off-loaded my responsibilities to my friend who was visiting us and just enjoyed the driving.
-
3
-
1
-
 1
1
-
-
It was a fantastic drive. I am so inspired by it that I plan to have an IM drive next week. In the drive plan I had mentioned that we will be taking photos. We did not get any time from driving to take photos did we? I managed a sum total of 1 image from the entire drive.
Thank to @Stumpy Paj, @Bravoecho & @Mahmoud Taha for participating in today's drive. We missed you @Bashar Beasha in today's drive. We were virtually a SWB convoy and your presence would have made a lot of difference in the convoy.
-
3
-
-
Being a Nikon guy, I will suggest you check secondhand D850 or a Z6 if you can go for new then Z6 II or Z8 even.
I have a Z6 first gen. I haven't done any photography on it except for a couple of birthday shoots on it.
-
On Sunday 24th September we went on a Fewbie drive at Qudra. It was a rerun of a drive I did few week earlier. I made a couple of videos till now and ask for your comments on the formatting. In the first video I have reframed it (in FCPX for the first time) and layered it with telemetry data. The second video is done in 360 format but did it with and without telemetry as it seemed to me that the telemetry is a bit distracting in 360 format. I had posted 360 videos earlier as well but they were not processed in FCPX so that’s another first. Please check them out and leave your comments in YouTube about what you liked or dislikes about them. It being a FB drive in a technical area it is not a fast paced drive.
Part 1
Part 2 with telemetry
Part 2 without telemetry
Obviously I will be talking more about the entire workflow in coming days.
-
1
-
1
-
-
I want to leave this here for easy reference tomorrow morning:
https://maps.app.goo.gl/XpCRDACquc4m5ZDs8
This is the ADNOC fuel station 18km to the meeting point. Note that it does not have an ADNOC Oasis shop, but rather a small shop/cafe that doesn't sell much. No Hot coffee for sure.
-
2
-
-
Congratulations @Lalaji on your promotion. It is well deserved.
-
-
Congratulations @Imran Asghar, welcome to Team Carnity!!
-
2
-
1
-
-
Congratulations @Sunil Mathew on your promotion, welcome to Team Carnity.
-
1
-
1
-
-
Team Looper with @Bravoecho, @Stumpy Paj, @Bashar Beasha and @Mahmoud Taha was the first to complete and the invitation closed. Thank you all for joining. We have already kickstarted our preparations starting with a preparatory drive this Sunday. Inshallah we will do great in DCT, all the best to us.
-
2
-
2
-
-
Section 3: Data Acquisition for Telemetry Overlay
Introduction to Telemetry Overlay
Telemetry is the in-situ collection of measurement of various data points such as speed, elevation, G force, track etc. In our sport we use Global Positioning Satellite or GPS to collect this information. Most of us record the track in apps such as Gaia GPS.
While driving we feel the adrenaline but by the time we look the same drive footage, it does not look that impressive. This is where in my opinion the Telemetry Data overlay plays an important role as it helps to highlight the rollercoaster ride that we experience. I like to overlay the Track, Speed, Speed Profile and Elevation profile along with the Compass to give an immersive experience of the drive.
Integration with Insta 360 X3
We can record the GPS data embedded with the footage we record while driving. This can be achieved in two ways. In Insta360 X3 camera, if GPS remote is used to record video, it also records the GPS data by default. In case a phone is used as a remote, in that case the user can enable GPS data recording as well. However, in my experience the data collected using phone as a remote is quite unreliable and gives erroneous information.
GoPro Max, however, records the GPS data by default in the device itself and it does not need external sources to get the data.
Another way to overlay telemetry data is using external independent data sources such as Gaia GPS. However, it becomes cumbersome to sync data with the footage to overlay on the video data source.
An issue with GPS data is, however, good the data source might be, it still sometimes looks different than the footage. Because the data is collected using satellites and there is always a time delay. This is more pronounced while looking at Speed data, while a vehicle would have come to a stop in the footage, but the data recording will show gradual decrease in the speed to zero. Another issue is if you are using maps to show the track, it might not correlate to the actual footage, due to the shifting dunes as well.
In this video I recorded at Faya (see the previous post) I have overlayed a mini map showing the track, and speed and direction. You will see that the dunes on the map don't match all the time with the footage.
In the following video I recorded at Badayer I have overlayed the speed provided as well as elevation profile. These two are normally an approximation rather than cent percent accurate data.
PS: I plan to update and revise certain sections to enhance clarity, streamline information for brevity, and improve language and grammar.
-
2
-
2
-
-
Just now, Juan R said:
Yes first part was good, especially the start. For the last part yes agreed, could skip, but for me, it was ok to have a more of a relaxing drive to end it.
Agree, one can enjoy every type of terrain, we had long stretches of radio silence which was in a way quite relaxing - just driving and not doing much, unfortunately there was not much to do as well.
was there a typo in your post I your previous post ? I was responding to you saying it was NOT nice to drive in different types of terrain.
-
3 hours ago, Juan R said:
Thanks for the drive @Looper. It was not nice to explore all the different terrains all in one drive
I could totally disregard the second part for next time. The first part was quite good though, no?
Morning Intermediate Drive - Shuwaib Sprint - Area 53 - Sharjah - 28 Oct 2023
in Offroad Drives
Posted
@Rob S Yes we will go to Shuwaib. We will start at Badayer